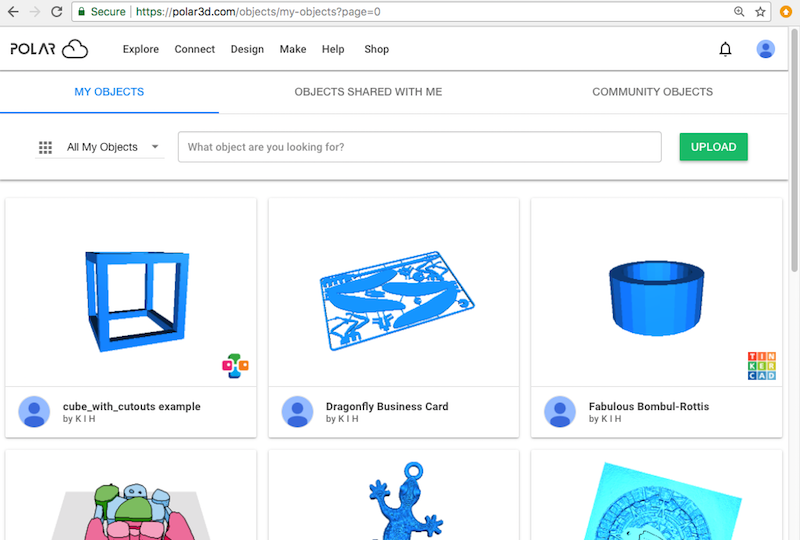
Figure 2.14: Polar Cloud menu Explore → Objects
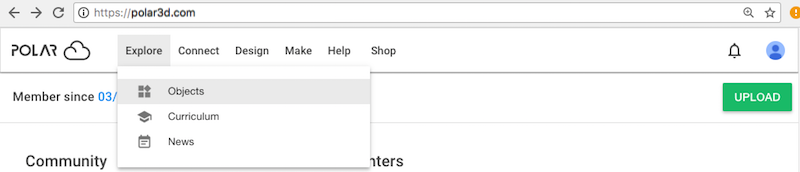
At the Polar Cloud main screen’s top menu (Figure 2.4 for narrow displays, or Figure 2.14 for large displays), under “Explore”, click “Objects” to take you to the OBJECTS screen with tabs for categories of objects: “MY OBJECTS”, “OBJECTS SHARED WITH ME”, and “COMMUNITY OBJECTS”; see Figure 2.15. Under each of these tabs, you may select (click on) any available object, enter search terms into the search box to find particular objects, or click the “UPLOAD” button to upload additional object files into the Polar Cloud.
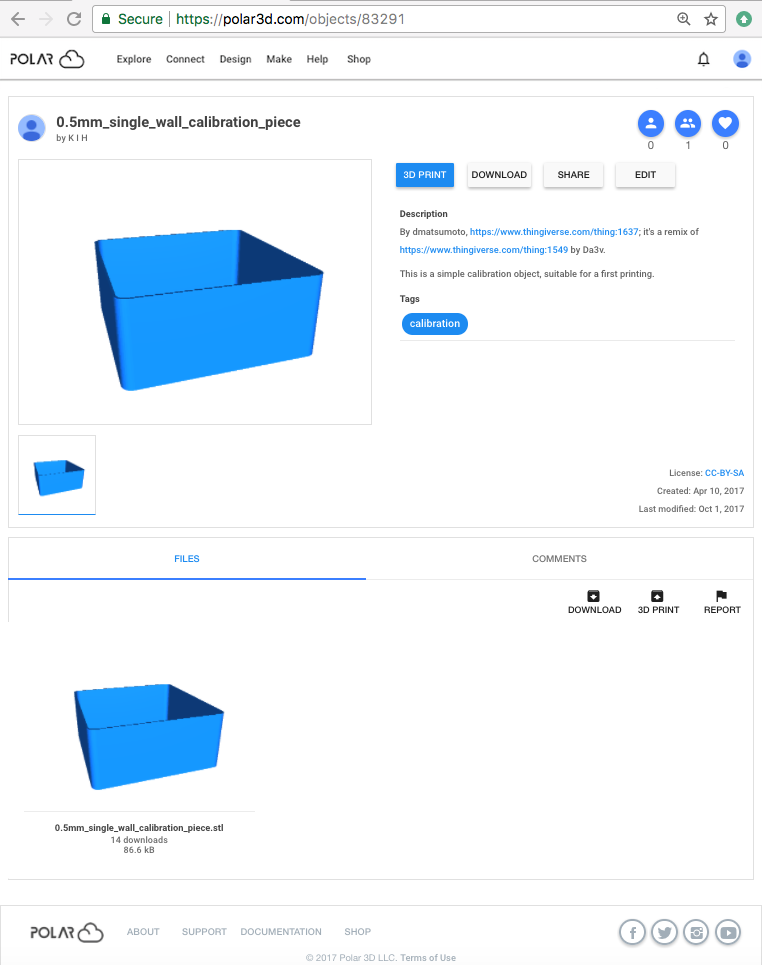
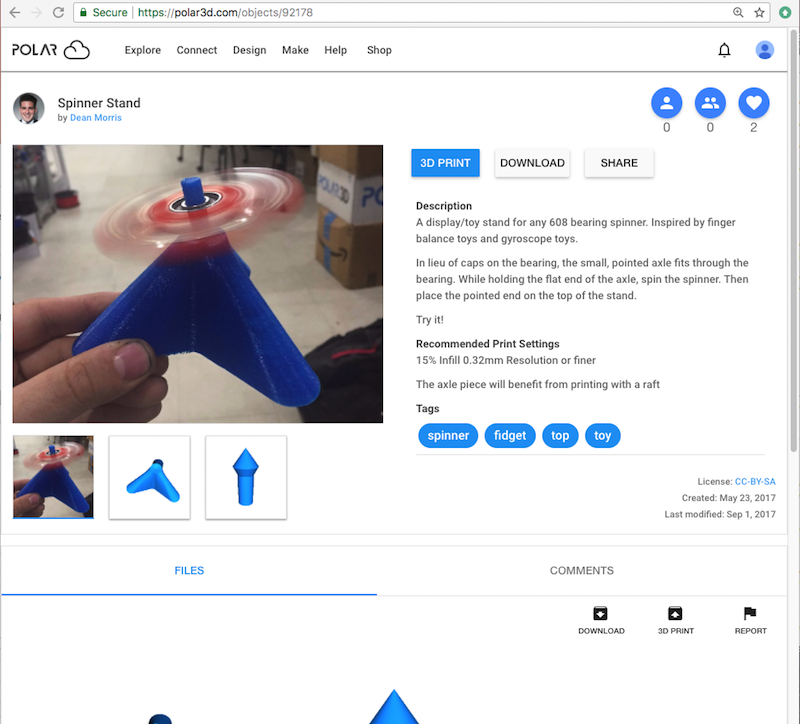
Clicking on the tile icon for an object1 itself will take you to that object’s detail screen where (for one of your own objects) you may “3D PRINT”, “DOWNLOAD”, or “SHARE” your object, or “EDIT” the object’s files and text description; see the buttons towards the upper right of Figure 2.16. For publicly shared objects (i.e., “COMMUNITY OBJECTS”) or objects shared with you via group membership, you have similar choices “3D PRINT”, “DOWNLOAD”, or “SHARE”; see Figure 2.17. For objects shared with you individually, in addition to the usual shared object choices “3D PRINT”, “DOWNLOAD”, or “SHARE”, you also have the choice “REMOVE ME” (to remove yourself from the list of members sharing the object); see Figure 5.48. Many objects also permit viewing and adding comments regarding the object; for access to comments, see the “COMMENTS” tab, visible for instance towards the lower right in Figure 2.16 and Figure 2.17.
Your Polar Cloud home page also displays the most recently published community objects (and optionally, your own most recently created objects; see Section 3.4). Clicking on an object tile displayed on your Polar Cloud home page will take you directly to that object’s detail screen. Or clicking on the “SEE MORE” button towards the lower right of the community objects or your own objects section of your home page will take you to the “COMMUNITY OBJECTS” or “MY OBJECTS” screen, respectively.
You may also “LIKE” others’ objects by clicking on the heart icon (towards the upper right of an object’s detail screen); see Figure 2.17. (Note that clicking on the heart icon of one of your own objects will have no effect: you cannot “LIKE” your own objects.)
Clicking on “3D PRINT” at the object detail screen takes you to the build plate screen where you may adjust “PLACEMENT” (the object’s size and its position and orientation on the build plate), “PRINT SETTINGS” (the slicing profile used when printing the object), “REQUEST” (add requests regarding the print job), “UI SETTINGS” (a few controls over the operation of the build plate screen), as well as click the “PRINT” button when you are ready to print. The build plate screen is where you get ready to print an object, and it will be discussed in great detail in Section 10.2.
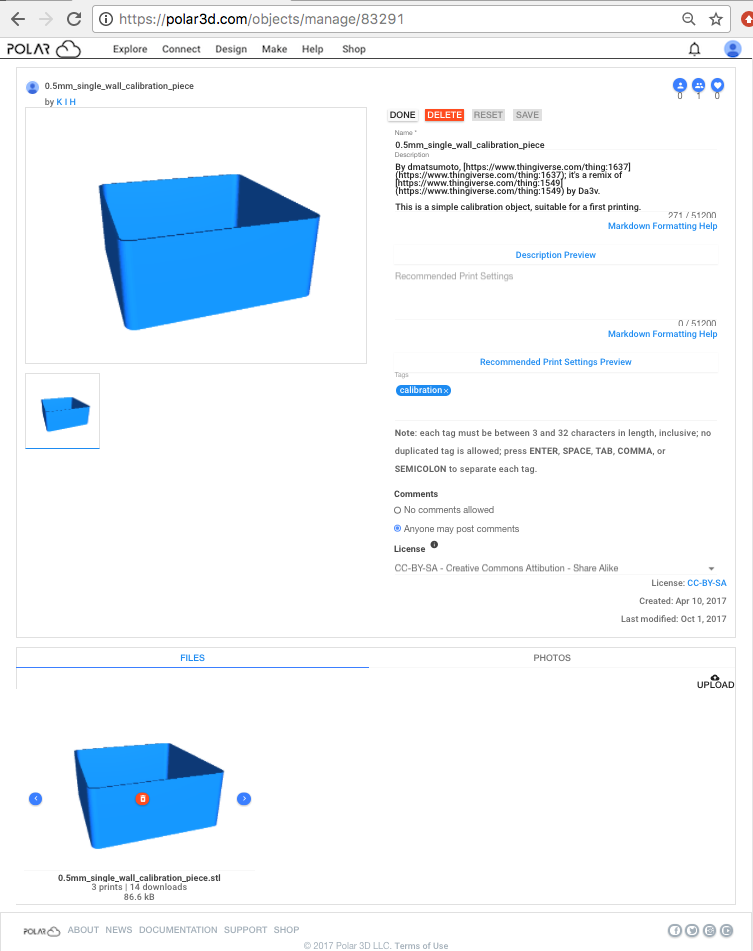
While still considering navigation of objects, however, note that clicking on “EDIT” at your own object’s detail screen takes you to an object detail management screen, see Figure 2.18, at which you may enter or change the text of: “Name”, “Description”, “Recommended Print Settings”, “Tags”, and “License”. At this screen you may also “DELETE” the object from the Polar Cloud, “UPLOAD” additional files for components of an object, “UPLOAD” photos of a printed object, etc. For further details on using the object management screen, see Section 5.2.
1Note that within the object tile may appear the logo of the CAD/design tool with which the object was created, such as the BlocksCAD logo, Doodle3D Transform logo, Makers Empire logo, or Tinkercad logo. Such a logo is itself active and will open a new window to the CAD/design tool. Click elsewhere in the object tile to go to the object’s own detail screen.