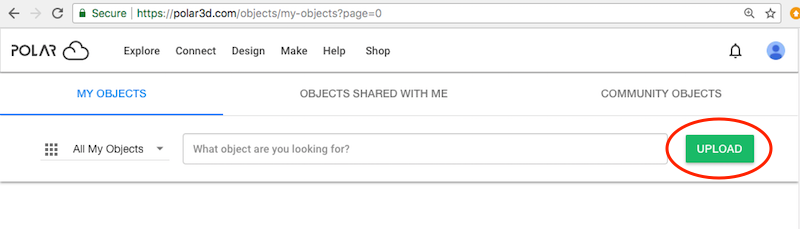
Figure 5.24: Polar Cloud MY OBJECTS screen: UPLOAD button
You may upload objects into your Polar Cloud collection of objects. Such objects might be ones you yourself created using your choice of CAD software accessed through the Polar Cloud or external CAD software or objects you found or purchased off the Internet. Any normal .stl file can be uploaded into the Polar Cloud. OBJ files can also be uploaded into the Polar Cloud (though not all OBJ files are well-suited for 3D printing purposes).
Note that when you upload an object into the Polar Cloud, the object is always uploaded to your private collection of objects, (as shown under “MY OBJECTS”), regardless of what context (“MY OBJECTS”, “OBJECTS SHARED WITH ME”, or “COMMUNITY OBJECTS”) you may be in when you perform the upload. If you wish, subsequently you may choose to share your uploaded object with particular Polar Cloud members, or groups, or make the object publicly available in the Polar Cloud.
To upload an existing object .stl file or OBJ file from your device or from Google Drive2 into your private collection of objects in the Polar Cloud, at the Polar Cloud’s top menu, under “Explore, select “Objects”, as shown in Figure 5.1 (large display) or Figure 5.2 (narrow display). This will take you to the Polar Cloud “OBJECTS” screen, highlighting whichever of “MY OBJECTS”, “OBJECTS SHARED WITH ME”, or “COMMUNITY OBJECTS” you most recently viewed. (If this is your very first time in the Polar Cloud, clicking “OBJECTS” will take you to the Polar Cloud “COMMUNITY OBJECTS” screen such as shown in Figure 5.3.)
Though for your upload, it does not matter which list of objects you are viewing, if you wish, you may go to the “MY OBJECTS” screen: at whichever “OBJECTS” screen you may be at, click the “MY OBJECTS” tab.
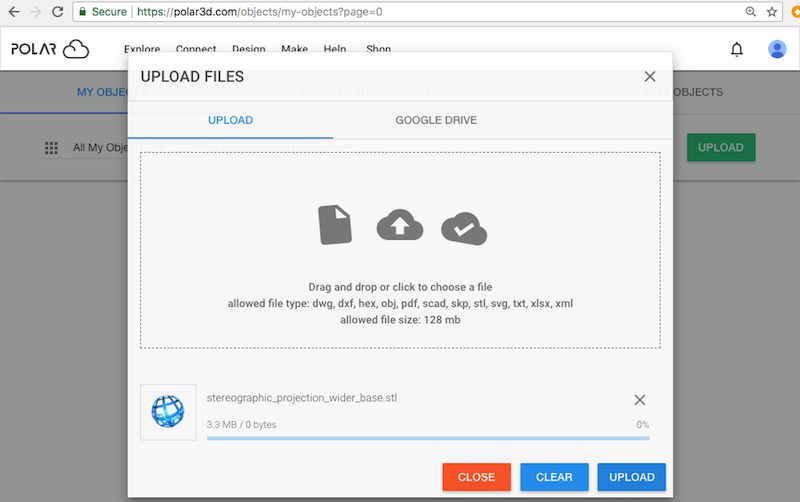
At the “MY OBJECTS” screen (or at the “OBJECTS SHARED WITH ME” screen or the “COMMUNITY OBJECTS” screen) click the “UPLOAD” button; see Figure 5.24. This will open up an “UPLOAD FILES” window, as shown in Figure 5.25. With “UPLOAD” selected, you may drag-and-drop files from your device, or click inside the window to search the files on your device. Or with “GOOGLE DRIVE” selected, you may select file(s) stored on Google Drive.
You may select and upload more than one file at a time at the “UPLOAD FILES” screen. And in addition to model files (.stl files or OBJ files) you may also upload subsidiary files; descriptive files in text, PDF, XML, or Microsoft Excel Open XML format (XLSX file); CAD design files in DWG file, DXF file, SCAD file, SKP file, or SVG file format.
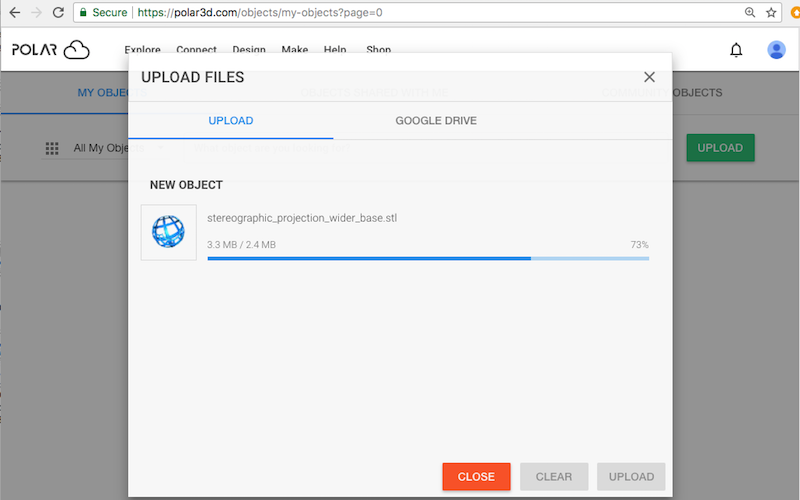
At the “UPLOAD FILES” screen, once you have specified the file(s) you wish to upload, click the “UPLOAD” button (towards the bottom right); see Figure 5.26. The progress of the upload will be displayed; see Figure 5.27.
Note that you do not need to pause your work while the upload occurs; clicking either the “CLOSE” button or the “X” mark at the upper right of the “UPLOAD FILES” screen shown in Figure 5.27 will close that window, but your upload will continue, and you will continue to see the blue swirl progress icon in the lower right of whatever Polar Cloud screen you are at. Clicking on the upload blue swirl progress icon from a different Polar Cloud screen will re-open the “UPLOAD FILES” progress window, should you wish to return to it.
Once the file(s) have finished uploading, you will automatically be taken to the build plate screen with the object loaded (as if you’d selected the object and clicked “3D PRINT” on the object’s detail page), as illustrated in Figure 5.28.3
At the build plate screen, you may perform all the normal modifications of the object or its print settings (discussed in detail in Section 10.2), and then click the “PRINT” button when you are ready to print the object.
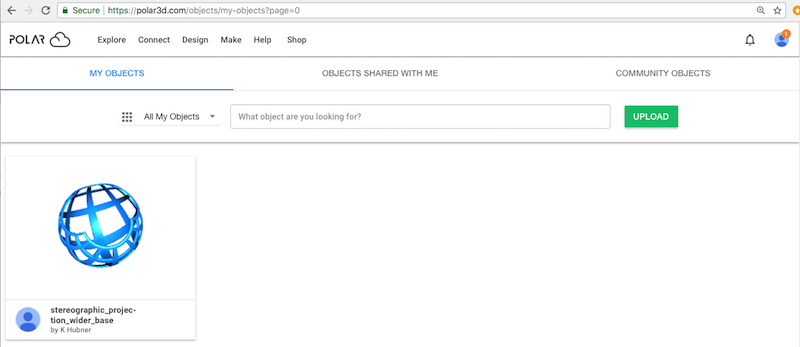
After uploading, the object is also now in your collection of objects, and will be included in your listing at the “MY OBJECTS” screen, as shown in Figure 5.29.
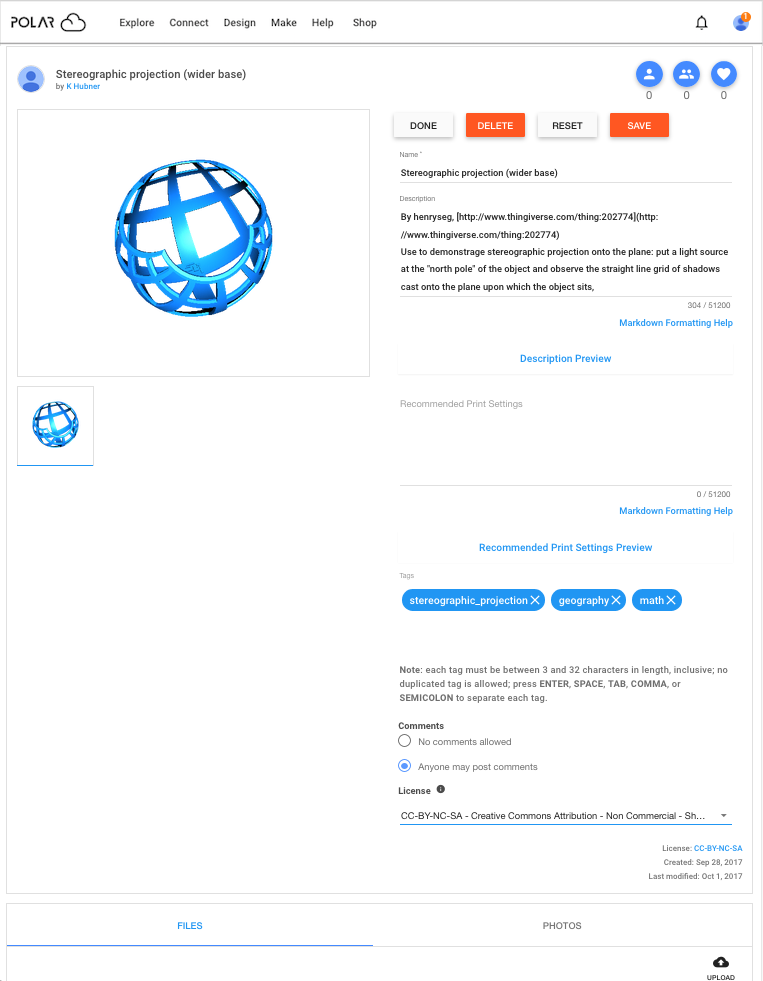
If the object you uploaded came from an outside source, be sure to go to the object manage screen and enter any proper credit and licensing details. From the “OBJECTS” screen, click the object tile to go to the object detail screen; at the object detail screen, click the “EDIT” button to go to the object manage screen. At the object manage screen, enter the appropriate details; see Figure 5.30. Click the “SAVE” button to save your edits, and then click the “DONE” button to return to the object detail screen.
2There are actually two ways to upload .stl files from Google Drive: While using the Polar Cloud, you can “UPLOAD” an object which happens to be stored in Google Drive, as discussed here. An alternative, discussed in Section 5.4, is to go to Google Drive, select the desired .stl file(s), and then “Open with >” “Polar Cloud”.
3Because uploading an object generates a new entry on your account “ACTIVITY” screen, you may observe in Figure 5.28, Figure 5.29, and Figure 5.30 that the Polar Cloud member profile icon at the top right of the screen has a red circled number superimposed to indicate new account activity. The new activity indicator on your member icon will be present until you go look at your “ACTIVITY” screen.