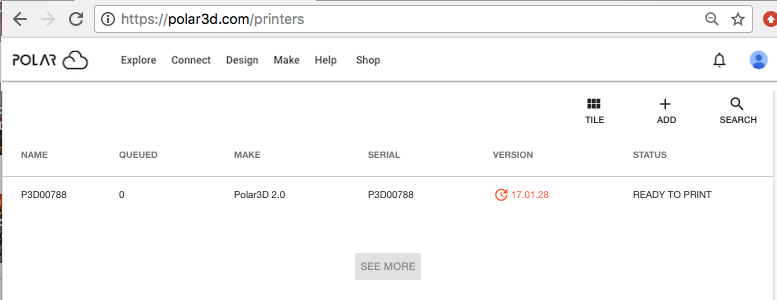
Figure 2.8: Polar Cloud menu Make → Printers

At the Polar Cloud top menu, Figure 2.4 (narrow display) or Figure 2.8 (large display), underneath “Make”, select “Printers”; this will display a list of printers (which can either be displayed via photos or via names – the “TILE” and “LIST” buttons switch between respective displays), as well as a button to “ADD” a printer, and a button to “SEARCH” for a printer (relevant if you have many accessible printers). For an example of the “TILE” display, see Figure 2.9; for an example of the list display, see Figure 2.10. Note that when you select “Printers” at the Polar Cloud top menu, you will be taken to whichever of “TILE” or “LIST” display you most recently viewed.
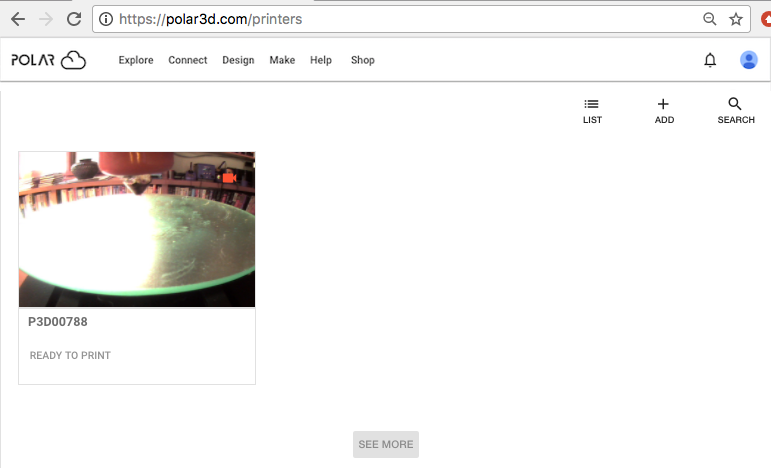
Clicking a printer tile on your Polar Cloud home page, see Figure 2.2, is another way to go directly to that printer’s dashboard screen. Or on your Polar Cloud home page, clicking the “SEE MORE” button to the lower right of the page’s printer section will take you to your list of printers in whichever of “TILE” or “LIST” display format you most recently viewed.
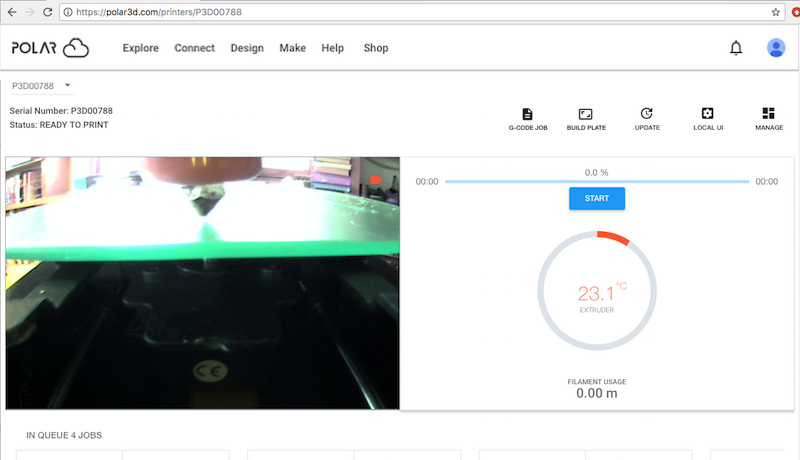
Clicking on a printer image (tile) on the “TILE” display screen or clicking anywhere on that printer’s line on the “LIST” screen will take you to the printer’s dashboard screen, such as shown in Figure 2.11.
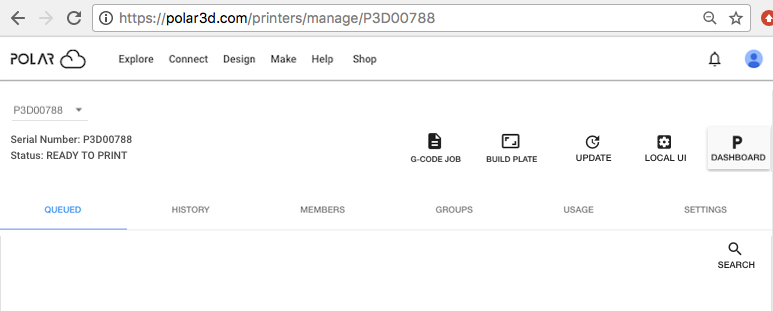
Clicking on the “MANAGE” button from the printer dashboard, see Figure 2.12, will take you to the printer management screen, such as shown in Figure 2.13. On the printer management screen, the printer owner and managers will see tabs “QUEUED” (display the current queue of jobs submitted to the printer), “HISTORY” (display the recent jobs printed on that printer), “MEMBERS” (display and control which members may use the printer, and which members are considered managers of the printer), “GROUPS” (display and control which groups share access to the printer), “USAGE” (display printer usage statistics), and “SETTINGS” (printer settings); see Chapter 9 for detailed discussion of printer management and these screens.
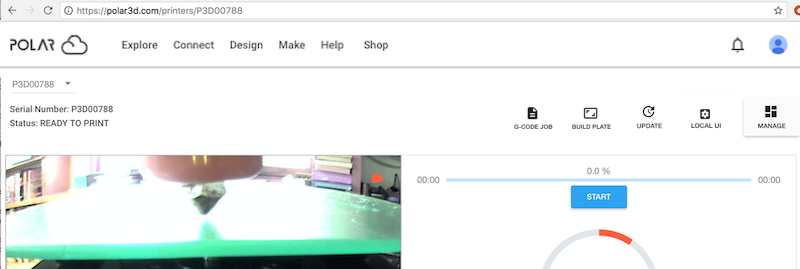
Note that the “DASHBOARD” button on the printer management screen, Figure 2.13, and the “MANAGE” button on the printer dashboard screen, Figure 2.12, take you back and forth between the printer dashboard screen and the printer management screen.
Some makes of printer and printer controllers (e.g., Polar3D printers, and OctoPrint servers) provide a local web interface. On either the dashboard or management screen, clicking the “LOCAL UI” button will cause the Polar Cloud to attempt to connect back (over the Internet) to the printer’s local web interface at its local IP address; see Section 9.6.
When an update is available for the Polar3D printer firmware, the “DASHBOARD” and “MANAGE” screens will both also display an “UPDATE” button, to the left of the “LOCAL UI” button, as visible in Figure 2.12 and Figure 2.13; (note that Section 9.5, as well as Chapter 5: Updating the Polar3D printer of the Polar3D Printer Guide, discuss updating the printer firmware).
On either the dashboard or management screen, clicking the “BUILD PLATE” button will take you to the build plate screen. The “G-CODE JOB” button (only available to printer managers) may be used to create a print job directly by uploading G-code.