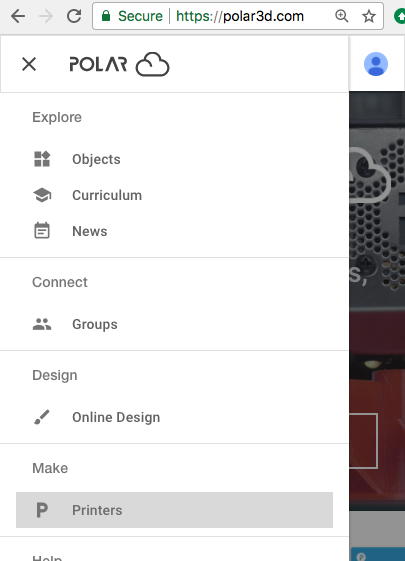
Figure 9.1: Polar Cloud menu Make → Printers

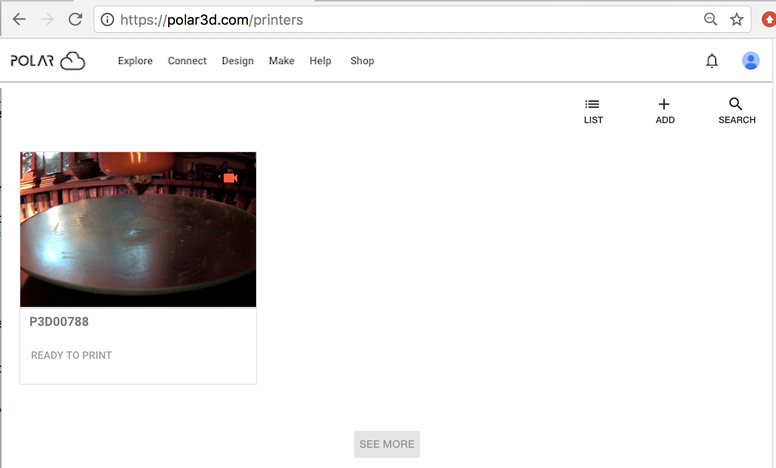
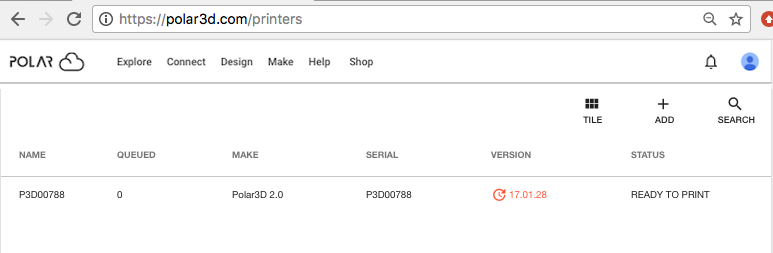
At the Polar Cloud top menu, under “Make”, click “Printers” (Figure 9.1 on large displays, or Figure 9.2 on narrow displays) to go to the Polar Cloud “PRINTERS” screen. On the “PRINTERS” screen, you will see a list of accessible printers (displayed either via tiled images or via a list of text line descriptions), a SEARCH button (magnifying glass), an ADD button (+), and a button for switching to “LIST” display vs. “TILE” display. Figure 9.3 shows an example of what the list of printers in “TILE” display might look like with only one printer accessible to you. Figure 9.4 shows an example of what the list of printers in “LIST” display might look like.
The very first time you view your printers, you will be shown the “TILE” (images) display; thereafter, clicking the “PRINTERS” tab will show you whichever of “TILE” or “LIST” display you most recently viewed.
Note that the “TILE” display includes a (periodically updated) still image of the printer’s build plate; the “LIST” display includes the printer’s, make, serial number and firmware version.1
Clicking on the image of a printer on the “TILE” screen (Figure 9.3) or anywhere in the line describing the printer on the “LIST” screen (Figure 9.4) will take you to the printer dashboard screen, as illustrated in Figure 9.5.
The printer dashboard screen, a main control center for operating your printer, will be discussed in more detail in Section 10.4.