| Exercise 5 | Tourist Bureau Project |
| Data | Community Mapping/Food Vendors (Esri Geodatabase) |
| Overall Goal | Create a GPS-compatible dataset of food vendors for the local tourist bureau |
| Demonstrates | Basic Data Translation and Data Inspection |
| Start Workspace | None |
| End Workspace | C:\FMEData2019\Workspaces\DesktopBasic\Basics-Ex5-Complete.fmw |
You've barely started in your new job, but requests are coming in fast!
The local tourist bureau is running a promotion where they provide tourists with a GPS device to help them visit street food vendors in the city. Your manager wonders whether you can use FME to produce the data used in this scheme.
Let's get onto that right away shall we?
1) Start FME Workbench
Start FME Workbench. In the Create Workspace section of the Start window, choose the option to Generate (Workspace). When prompted generate a translation with the following parameters:
| Reader Format | Esri Geodatabase (File Geodb Open API) |
| Reader Dataset | C:\FMEData2019\Data\CommunityMapping\CommunityMap.gdb |
| Writer Format | GPS eXchange Format (GPX) |
| Writer Dataset | C:\FMEData2019\Output\Training\FoodVendors.gpx |

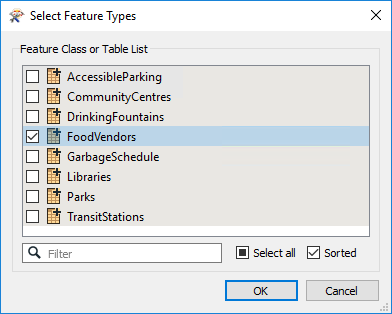
Click OK to accept the parameters. When prompted which tables to use from the source data (there are several) deselect all tables except for FoodVendors and click OK to create the workspace:
2) Connect Reader/Writer
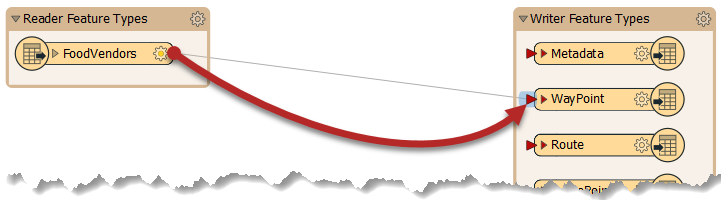
When first created, the reader and writer are not connected in this workspace. Connect them by dragging a connection from the output port of the reader feature type to the input port of the writer feature type labeled WayPoint:
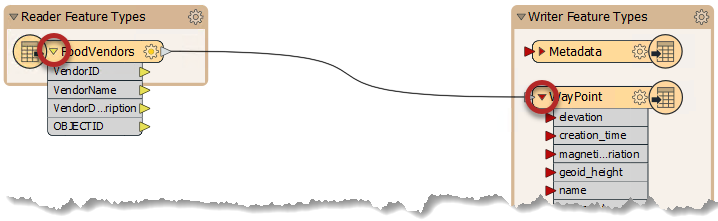
Click the expand buttons on the two objects to expose the list of attributes on each:
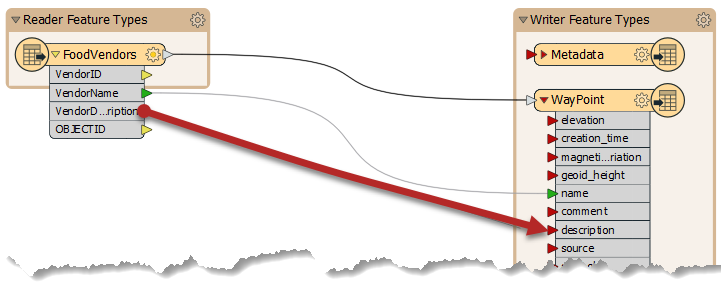
Now drag a connection between the Reader attribute VendorName and the writer attribute name. Repeat the process for VendorDescription and description:
The technique of connecting objects like this is called schema mapping, and we will learn more about it later.
3) Run Workspace
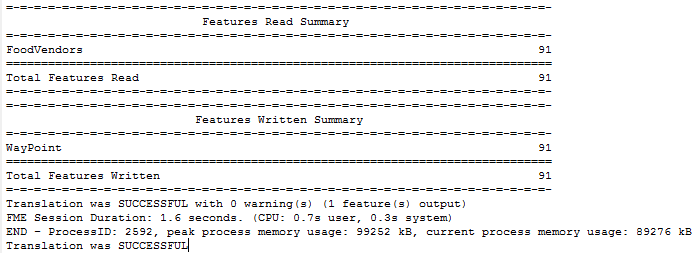
Save the workspace, so you have a copy of it, then run the workspace by pressing the green run button. The workspace runs, and the data is written to a Garmin POI dataset:
4) Inspect Data
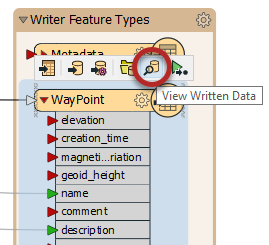
Let's try to inspect the data using Visual Preview. Click on the WayPoint feature type and then click the View Written Data icon:
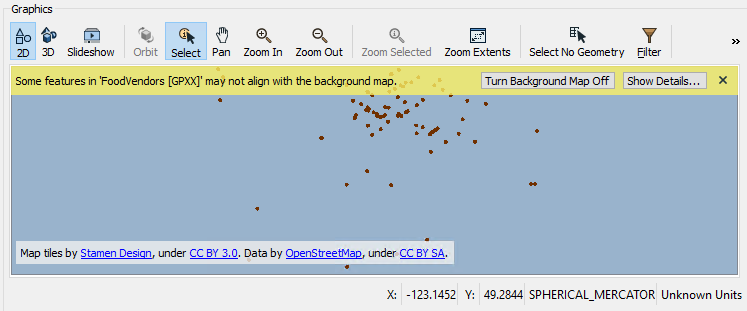
The points will be displayed in Visual Preview, but note that you receive a warning and they appear to be in the wrong place, in the middle of the ocean:
This is because the GPX format does not record its coordinate system inside the dataset. So, to get it to display properly, we have to open it in Data Inspector and specify the coordinate system.
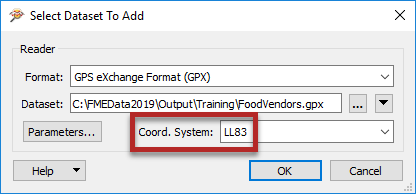
Go to the FME Data Inspector. Select File > Open Dataset from the menu bar. Doing so opens the dialog titled "Select Dataset to View."
Set the format type and select the GPX dataset. You can specify the coordinate system in the bottom-right corner. Type in "LL83" and click OK:
Click OK, and the dataset will be opened for you to verify that it is correct (points should appear in Vancouver, BC):
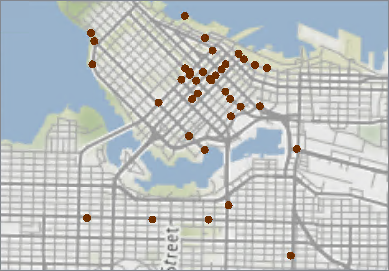
Map tiles by Stamen Design, under CC-BY-3.0. Data by OpenStreetMap, under CC-BY-SA.
5) Filter Data
All this talk of food is making you hungry. It must be lunchtime. To find somewhere to get a quick lunch, filter the data to show hot dog vendors in the city:
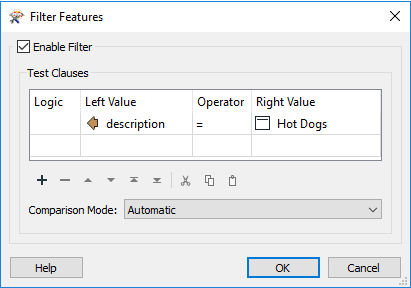
You should see in the Navigator that 38 food vendors serve hot dogs and 53 do not, for a total of 91 vendors.
| CONGRATULATIONS |
By completing this exercise you proved you know how to:
|