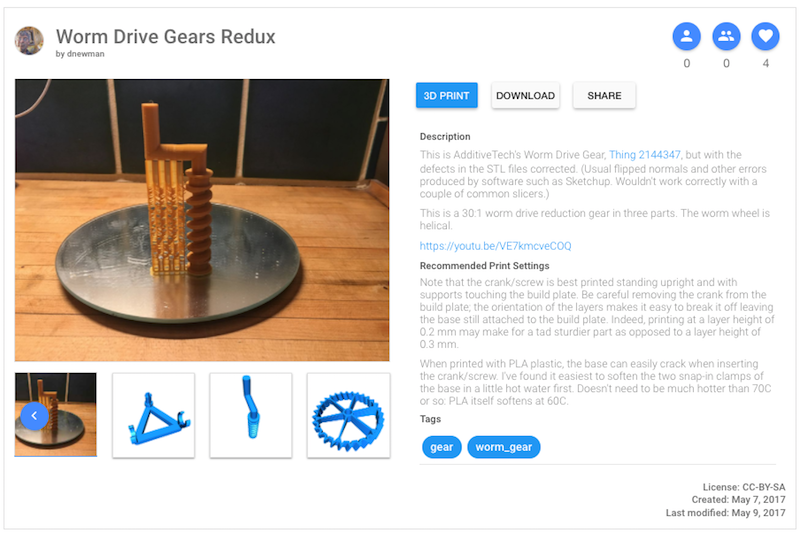
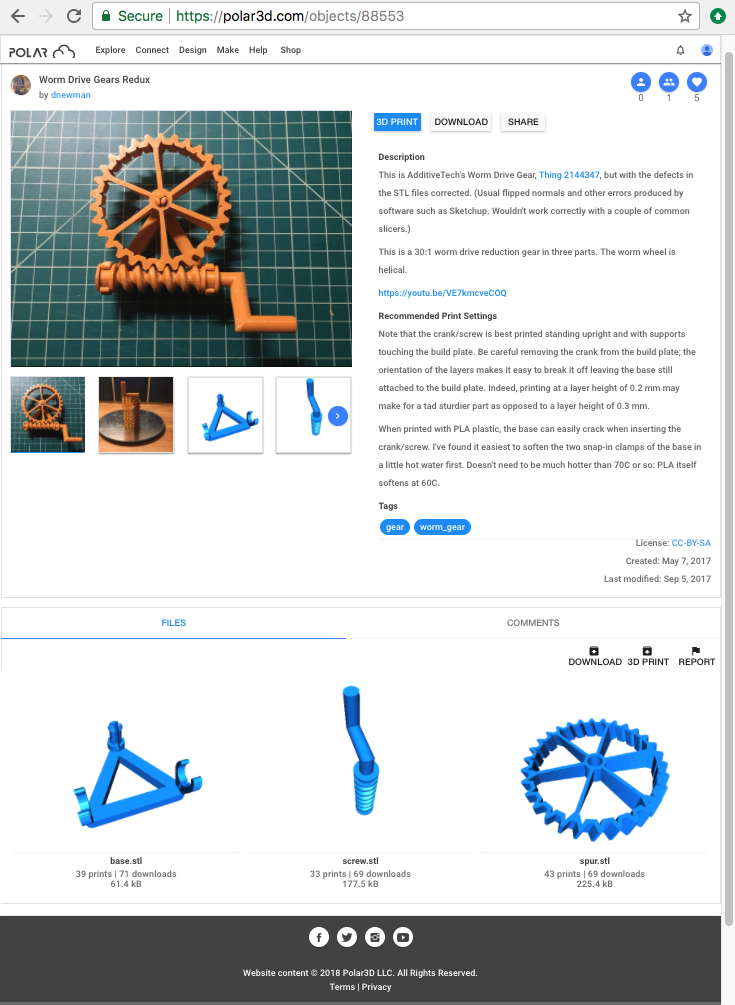
Figure 5.5: Polar Cloud public object Worm Drive Gears Redux detail
screen
The start of this chapter introduced the object detail screen in the context of the process of selecting an object (to bring up the object detail screen) and then loading that object to the build plate (via the detail screen’s “3D PRINT” button). Section 5.2 will discuss the “EDIT” button (only available for your own objects; used to navigate to the object management screen where for your own objects you may change the information displayed here, at the detail screen), Section 5.5 will discuss the object detail screen’s “DOWNLOAD” button, Section 5.6 will discuss the “SHARE” button, Section 5.7 will discuss the “REMOVE ME” button (only present on objects shared with you individually), Section 5.10 will discuss the heart-shaped “LIKE” icon (only active for others’ objects), Section 5.11 will discuss the “COMMENTS” pane for commenting on objects, Section 5.12 will discuss the “REPORT” button for reporting problematic objects, and Section 10.1 will go into further detail regarding the “3D PRINT” button and getting printing!
However, the object detail screen has several additional features to become familiar with as you continue to use the Polar Cloud. Displayed on the object detail screen are two panes. The upper pane displays the name of the object, a primary image and possibly additional images of the object, control buttons, descriptive text, the object license, etc. For the lower pane, you may select “FILES” or “COMMENTS” to display the individual files comprising the object, or comment threads regarding the object, respectively; the lower pane has its own control buttons.
On the lower pane:
Figure 5.5 shows a sample object detail screen for a public object. This object comprises several component object files, and includes several images (including photos of the printed object). It includes some formatted “Description” and “Recommended Print Settings” text, as well as several “Tags”.
In Figure 5.5, note the “License” field at the lower right of the image (upper) pane of the screen, above the “FILES” pane; clicking on the license name, “CC-BY-SA” in the example of Figure 5.5, will open a new window to the full licensing details. “CC-BY-SA” indicates a Creative Commons Attribution-ShareAlike license – the default for Polar Cloud objects. (Note that for your own objects, you may, and in the case of objects uploaded from external sources often should, select a different type of license at the object “manage” screen, discussed in Section 5.2.)
In Figure 5.5, note that this composite object is comprised of three separate .stl files, shown in the lower “FILES” pane. Each such individual .stl file or OBJ file, as well as any uploaded images of the object, will also be displayed in the upper pane as separate thumbnail icons below the primary image for the object. When there are more image thumbnails than will fit, they will be displayed carousel-style, with blue arrow keys to scroll through the icons. Clicking on any of these thumbnails below the primary image will cause that thumbnail image to be displayed in the bigger, primary image window; see for instance Figure 5.6.
Examining the enlarged photo of the screw component in Figure 5.6, one may observe that this screw component benefits from printing in a particular (perhaps not immediately intuitive) orientation, using support. (The “Recommended Print Settings” text also discusses this orientation recommendation.)