Gameplay
- Contesting & You: At A Glance
- Questing & You
- An Overview, Training Quests, Breeding Quests
- Finances & You
- The Basics, Sending PG to Others, Understanding Bonus Points (BP)
- Selling & You
- How to Put a Pony up for Sale, Where Can I Advertise?
- Buying & You
- How to Purchase Ponies & Where to Find Them
- Tattooing Your Ponies
- A Basic Guide to Tattooing Your Pony, Tattoo Locations
- Items & You: Your Inventory
- Understanding Your Inventory, Navigating Your Inventory, Moving Items, Selling Items, Item Display Case
- Items & You: The Store
- Understanding the Store, Merchandise, Shopping Cart, Check Out
- Mini-Games & You: Just the Basics
There are many aspects to the game of PonyIsland. This section is designed as a quick over view to guide you on the path to starting the game and understanding how things work on the site.
Contesting & You: At A Glance
As Contesting is a focal point for many users, there is much that needs to be discussed and explained to someone new starting out. For more information regarding Contesting, please view the Contesting tab
Questing & You
An Overview
Questing is a way to earn PG and BP and a way to give yourself a goal to strive for if you feel you don't have any personal goals to accomplish. You can have up to 3 breeding and 3 training quests going at a time.
If you start a quest but change your mind about completing it, you can cancel it after one week has passed either from the quests page or from the pony's profile page if it is a training quest. If you buy a pony on a quest, you can also cancel the quest on the pony's profile page after one week has passed.
All quests hand out a reward to the account they were started on upon completion. The rewards are the same for both types of quests, whether breeding or training. The reward you get depends on the difficulty of the quest selected. Currently the reward structure looks like this:
Newbie: 3000PG
Easy: 4000PG
Medium: 8000PG & 1BP
Hard: 15000PG & 3BP
Extremely hard: 30000PG & 6BP
Impossible: 70000PG & 10BP
Training Quests
Training quests will require your pony to gain a certain number of levels to complete. For the Newbie and Easy quests, these levels can be applied to any stat you wish, but for Medium and harder quests, you will need to apply the levels to a specific stat.
The number of levels that you need to complete a training quest are below:
Newbie: 1 level
Easy: 5-10 levels
Medium: 10-20 levels
Hard: 30-40 levels
Extremely hard: 70-80 levels
Impossible: 120-140 levels
To earn experience needed to gain levels, you will need to contest your ponies. You can also make clicky images of your ponies in the Toolbox to put in your forum signature that can help you earn a minimal amount of XP per unique click.
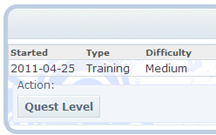 For the quests that require you to apply levels to a specific stat, you can level all ponies currently assigned to quests on an account at once by going to the Quests page and clicking the Quest Level button.
In addition, should the pony die, the training quest it is on will automatically cancel.
>Breeding Quests
Breeding quests will require you to breed a pony that meets a certain requirement--sometimes a certain color location will have to be within a range, sometimes several locations must be within a range, and sometimes you'll have to get exact colors in a certain location. The baby must be born in the nursery of the account where the quest is located. Unlike training quests, a breeding quest is tied to the account, not the pony.
Newbie: Breed a pony, any pony
Easy: The system will give you a color range for one location.
Medium: The system will give you a color range for two locations.
Hard: The system will give you a color range for two locations, but the gap in the range is smaller than a Medium quest.
Extremely hard: The system will generate an exact color to match in one location.
Impossible: The system will generate an exact color to match for two locations.
To breed the pony necessary to complete the quest, you will need to find ponies that will give you a baby pony with the desired outcome in the correct location. For more information on how color breeding works, check the Breeding section of the manual here. For how to use the Search to find the right ponies, check the section on the Search here.
Finances & You
The Basics
At the top of every user page is a navigation bar which can lead you to 7 heavily visited areas of the site. The second to last image - a gold coin - represents your finances. By clicking on this link, you will be taken to your finance page. You can also get there by going My Account > Finances.
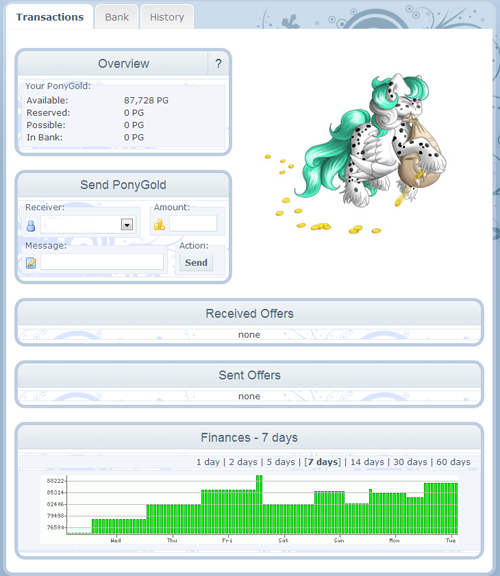
Inside your main finance area you will see an overview box with four lines of information: Available, Reserved, Possible and In Bank. They are briefly defined as follows;
Available: This shows you how much PG you currently have available.
Reserved: This shows you how much PG you have recently placed on ponies up for bid.
Possible: This shows you how much PG you have waiting for you to accept.
In Bank: This show you how much PG is currently sitting in your bank.
At the top of the page you will see the tabs for Transactions, Bank & History.
Transactions: As this is the main page of your finances, you will be brought here every time you visit the Finances page. Here you can review the above information as well as see who is sending you PG, or who you are sending PG to. You can also view the graph to track how much PG you have over time (anywhere from 1 day to 60 days).
Bank: The bank allows you to lock in any amount from 1 PG to 10,000 PG for 1 - 4 weeks at a time. By locking in PG amounts, you earn interest over the course of time the PG is locked in place. The longer you lock your PG in, the more interest you will earn. You can only create 5 transactions at a time, and may not remove the locked PG until the time you have selected is over.
History: The history sections allows you to see, in detail, every thing you have done up to 100 pages worth of transactions. The top section lists the transactions where you received PG. The bottom section lists the transactions where you sent PG. If you send or receive BP it will also be tracked here, as well as when you sign up for contests, vet or feed your ponies, receive your salary, sell ponies to others, or purchase ponies.
Sending PG to Others
As you have noticed on the main over view of the Finances screen, there is a section dedicated to sending PG to other users, and/or your sub-accounts.
The first drop down box is listed under Receiver, this is the person you are intending to send the PG to. The receiver can be any of your sub-accounts or any user that is currently on your Contacts list. Please note, the drop down box will not allow you to send to just any one; you must have the username listed as a contact in order to send them PG. The Amount field should be filled in with the amount of PG you are sending. Lastly, there is a Message field which allows you to send a 30 character message to the person receiving the PG.
Once you have filled out all the necessary information, you can hit the Submit button. A pop up box will ask if you are sure you want to send the PG - once you click OK the PG has been sent.
Below this area in the Sent Offers box you will notice the username of the person you sent PG to, as well as the amount. Beside it on the right will be a red circle. If you wish to remove the sent PG you may do so by clicking this button. Likewise, if you see offers sent to you sitting in your Received Offers section, you can reject the offer by clicking the red circle, or accept the offer by clicking the green circle.
Please be advised that offers should only be sent or accepted when you are certain of the decision you are making. Once an offer is accepted, it is very hard to unaccept the offer as this is seen as a conscious decision by both parties involved.
Understanding Bonus Points (BP)
As you know BP is used to generate starters. BP, unlike PG, cannot be sent to more than one person at any given time. BP is a one time, send only currency that can be found and sent by visiting your main profile area: My Account > Profile
In the middle of the page you will notice something that says BP Pool. This is where you can find all the undeployed BP on your account. The left drop down box will include Your Account as well as your sub-accounts and every username that is on your contact list. The drop down box on the right will show you how much BP you have undeployed on your account.
If you wish to deploy BP to an account, simply select the username from the drop down box on the left, and an amount from the drop down box on the right. Once you hit submit, you will be asked if the action is correct. Selecting OK will deploy the BP to the account you have chosen.
~*~
As stated above, BP cannot be moved to more than one account once it has been deployed. Instead, BP increases on your account. The more starters you generate, the more options you unlock in your starter generator.
As a new user, you will notice that you only have a few breeds of ponies available to you and also no special genes for your ponies to have. As you generate ponies, and as your BP increases, you will begin to unlock new breeds and new genes.
Selling & You
How to Put a Pony up for Sale
Selling ponies is one way of many to make PG on PonyIsland and you will find that many users on the site participate in this feature.
In order to put a pony on sale, you must enter it's pony profile. To do this, click on the pony's name. Once you are inside the profile, you can hit edit to change the profile information.
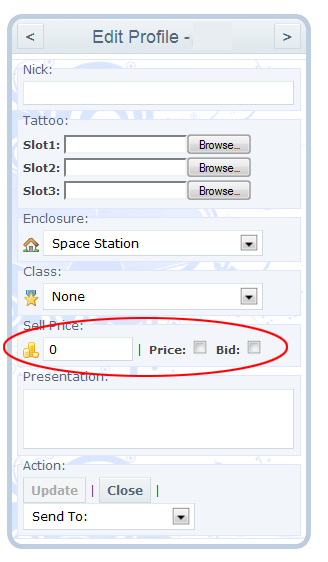 You will see just above the presentation box there is an area called Sell Price - this is where you set the price for your pony.
The box on the left is where you can input the price of the pony. To the right, there are two boxes that can be checked off: Sell and Bid. Below is an explanation of what each means and does:
Sell: Checking the sell box will place the pony up for sale with the price you chose on the left. This means people can buy your pony without you needing to accept their payment. Only one person can purchase the pony.
Bid: Checking the bid box will place the pony up for bid. This means multiple people can make you an offer on the pony, and you will need to choose which one to accept. When people have placed a bid, you will be able to see their offer by viewing your Finances page in the Offers Received section. Even though multiple people can offer, you can only select one to accept. Once an offer is selected, the remaining offers will be automatically rejected.
Ponies can also be placed on both, sale and bid, at the same time. This means that a user can either purchase the pony for the price you are listing, or can bid with a lower (or higher) offer for you to look at.
Once you have selected a price for your pony, and whether the pony is up for Sale, Bid or both, you can hit save. Once you have saved the information, you have successfully placed your pony for sale!
Where Can I Advertise?
Now that you have ponies up for sale, it is time to advertise them to the public of PonyIsland. Our forums can be found by either clicking the Chat Bubbles on the top of the main navigation, or by going Community > Forums.
Looking at the overview of the forums, you will notice that there are main category headings, as well as what can be found under each one. The third category is called Advertise. Here is where users on PonyIsland can advertise their ponies, items, artwork, etc for sale.
You can also click here :: Sell Forum :: for a quick link to the Sell forum.
Please be advised that are are specific rules for every forum, and the Sell forum is no different. Before you create your own thread advertising your ponies, it is best to look over the rules which can be found here :: Sell Forum RULES ::
Buying & You
How to Purchase Ponies & Where to Find Them
Now that you have learned how to place a pony up for sale, it is time to review how to go about buying ponies.
The Advertising forums also have a forum called Buy: this is where you can go to create a thread specifically about ponies you are looking to purchase. A quick link to this forum can be found here :: Buy Forum ::
Ponies that are for sale will be listed in someone's stable or nursery with a [S] on them, which was covered in our Tutorial section of the Manual.
Once you have found a pony that you are interested in purchasing, you can click on their name to enter their profile. Once inside, you will notice a box that says Buy or Bid. Here you can buy the pony (if the pony has a set price) or bid on the pony for a price you feel it is worth. Either way you go, a pop up box will appear. If you are buying a pony, it will ask you if you are sure you want to spend the PG - all you need to do is click OK and you have successfully purchased the pony. If you are bidding on the pony, a pop up box will appear asking you what you would like to spend on the pony. Once you have entered an amount, you can click OK.
Please keep in mind that a bid offer is not a guarantee that the person selling the pony will accept it.
For bid offers: you can check on your Finance screen to see how many offers you have out on other ponies. These offers will show under the Sent Offers section.
You can also search for ponies on sale by using the Search feature, however that will be explained more on the Search Tab.
Tattooing Your Ponies
A Basic Guide to Tattooing Your Pony
Below is a basic guide to tattooing your ponies. Tattoos are a great way to customize your pony and make them even more unique. Tattoos can be sold in the Artwork Trade forums, and many users show off their tattoo work in the Artwork forum. Whatever you decide to do, tattoos are fun and easy way to show off your creativity through your ponies.
- Uploading and Removing Tattoos
- What You Will Need to Start Tattooing
- Step-by-Step to Tattooing Your Pony
I. Uploading and Removing Tattoos
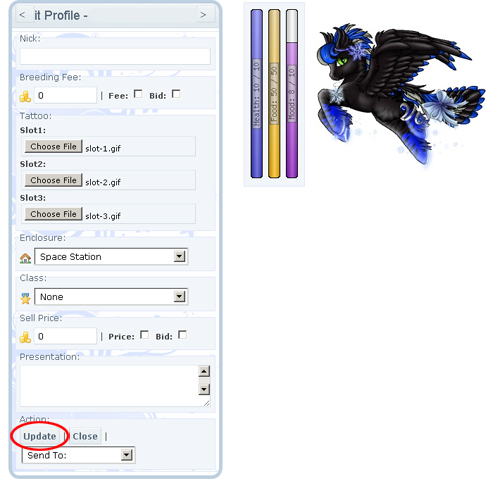
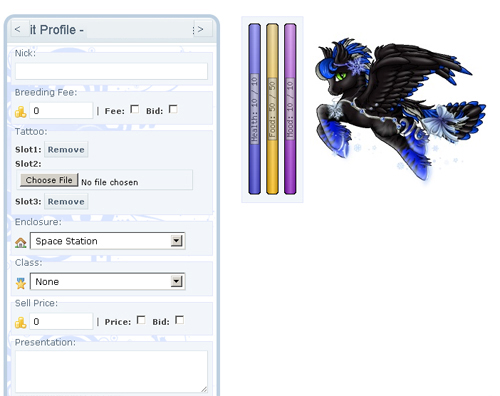
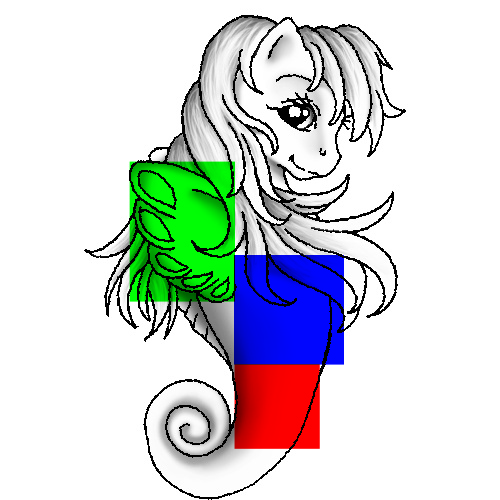
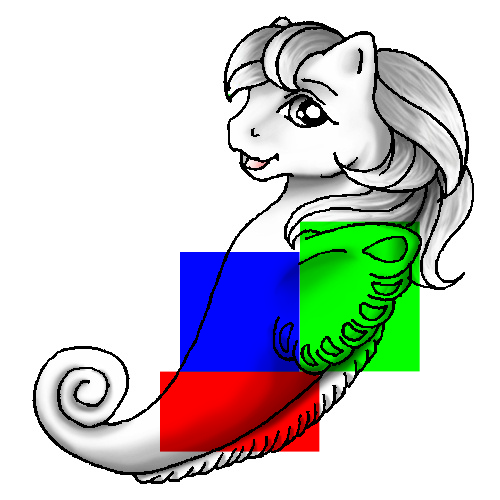
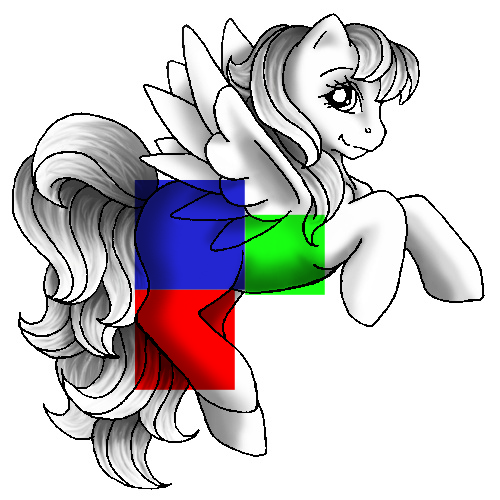
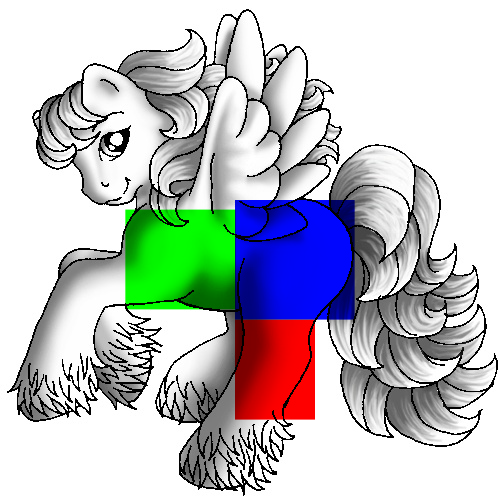
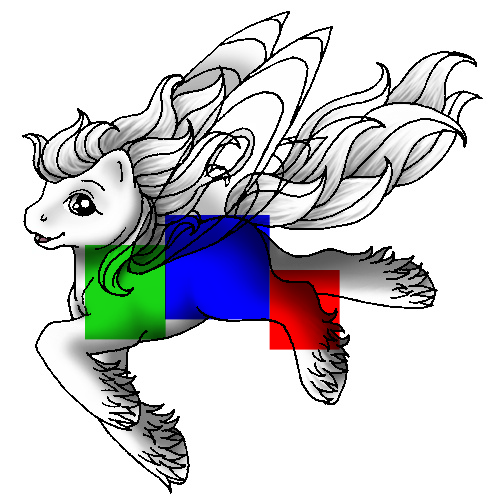
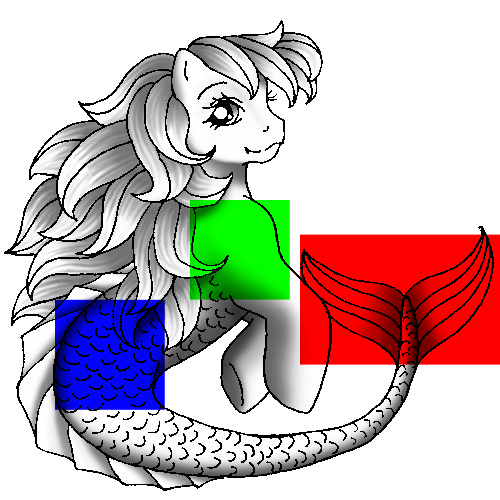
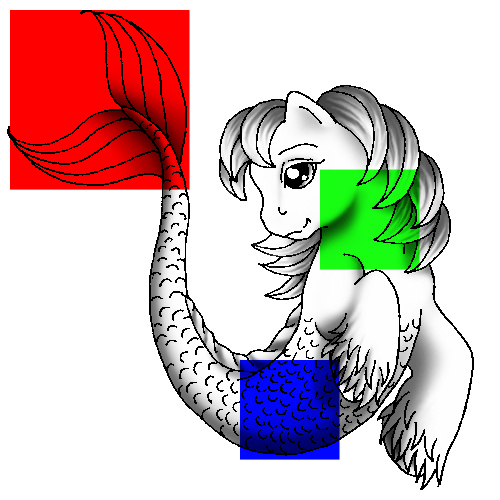
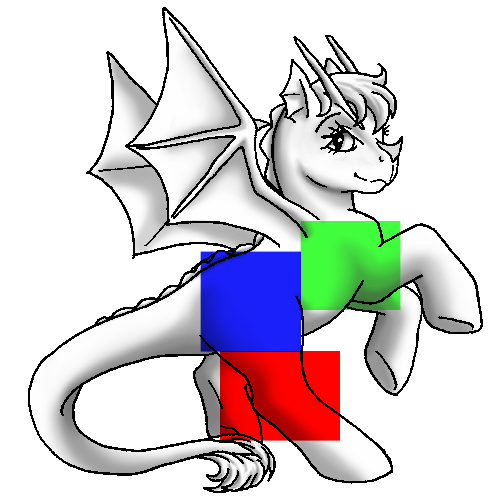
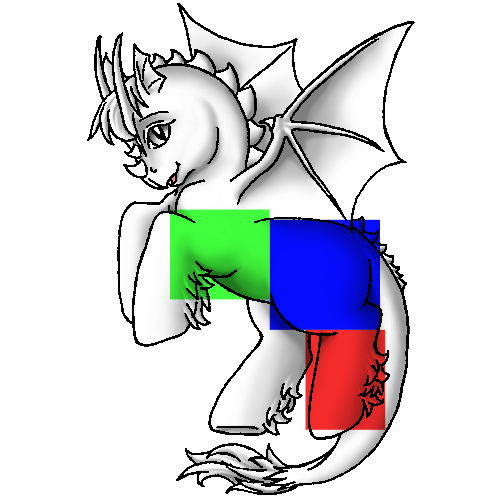
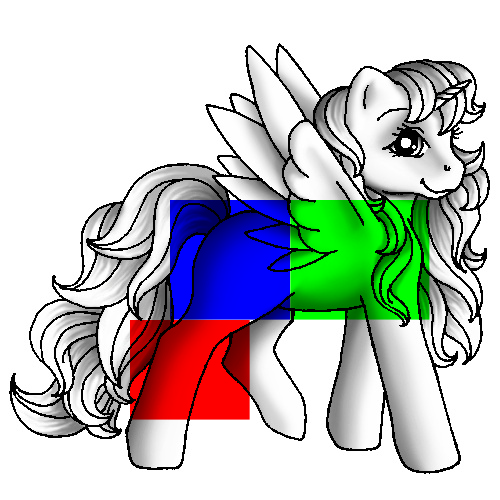
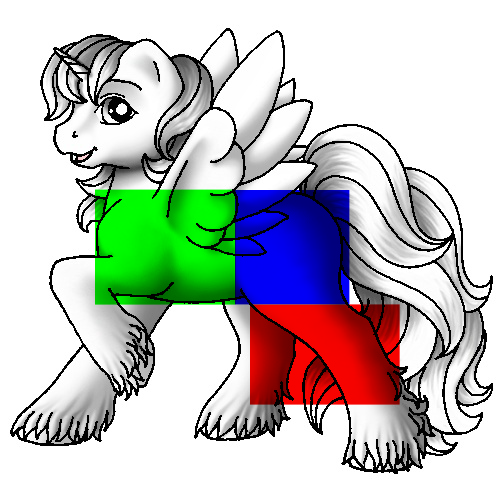
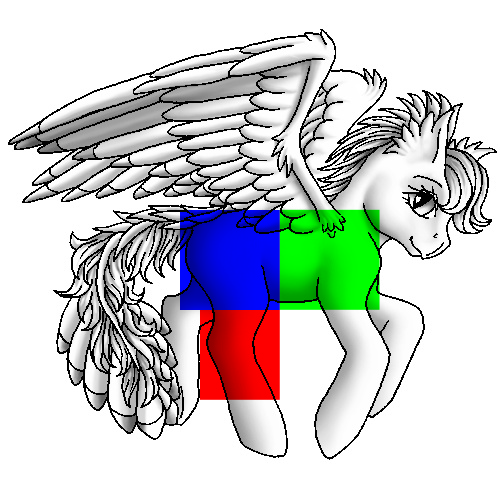
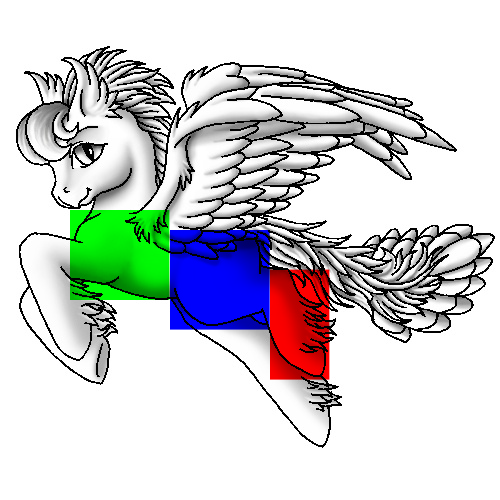
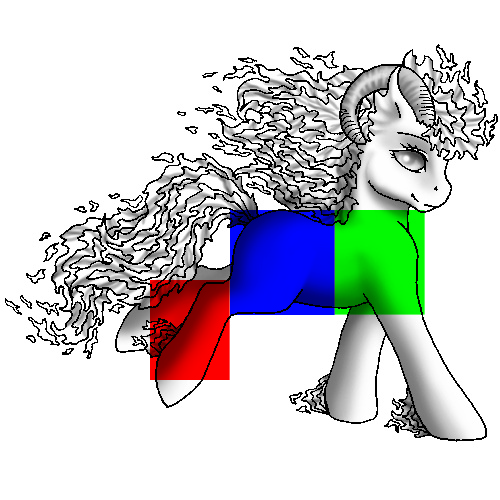
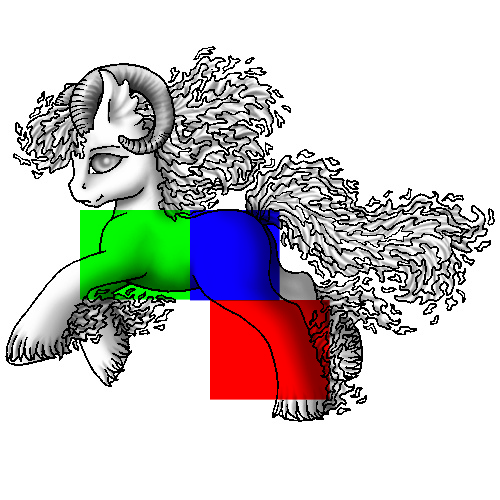
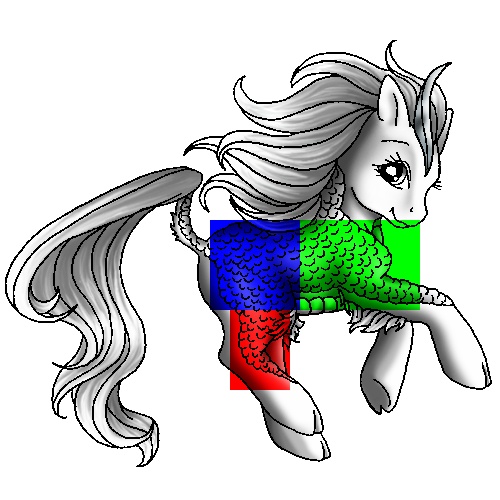
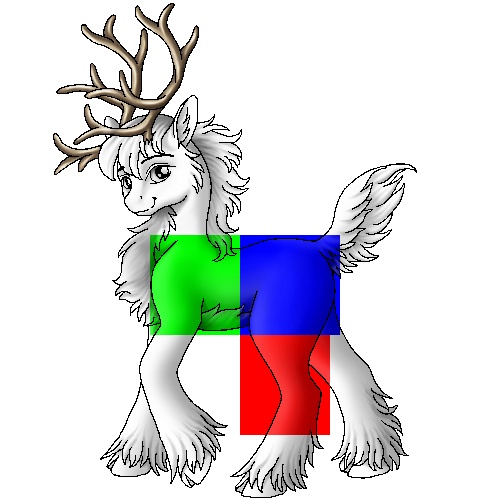
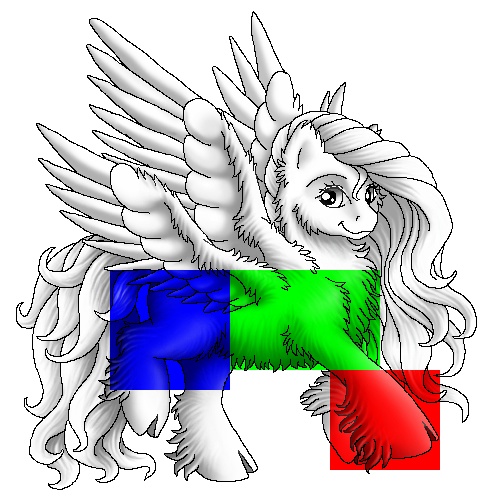
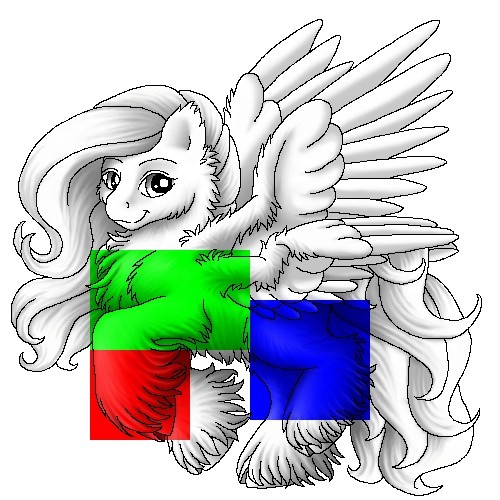
Under your pony's profile click "Edit" and you will be brought to a screen where you can update their presentation, put them for sale or breed, and tattoo them. Tattoos go into three slots shown below,
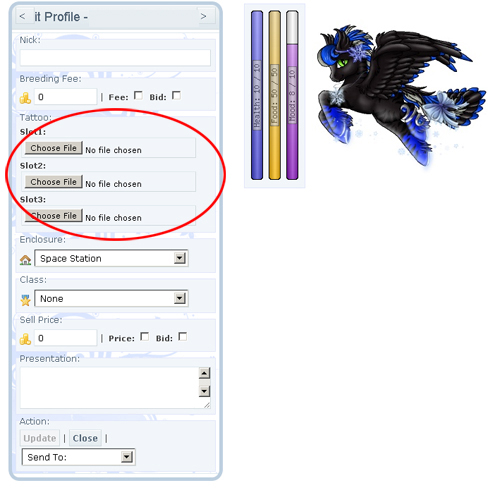
Once you've selected your tattoo pieces in the correct slots hit "Update" and the tattoo will appear on your pony.
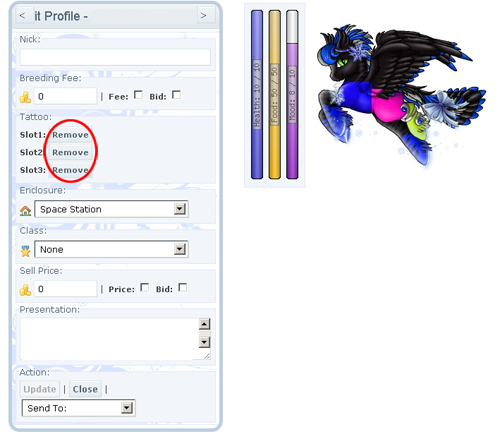
If you don't like the tattoo your pony has, you can remove it by hitting the "Remove" buttons for each slot under its profile.
II. What You Will Need to Start Tattooing
a. A program that supports layers -- if you don't already have a program that does this, you can download Gimp for free (Click Here) : It functions similarly to Photoshop and supports layers and saving, PSDs, GIFs, etc.
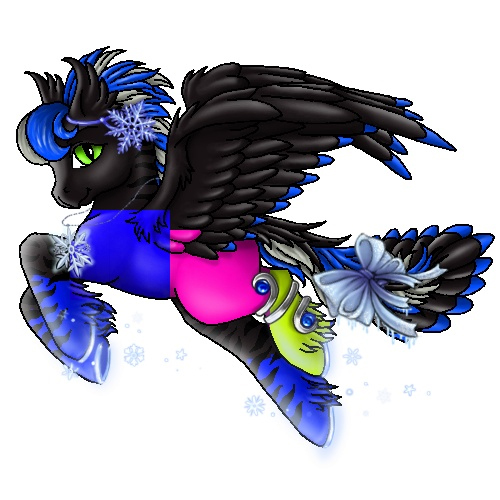
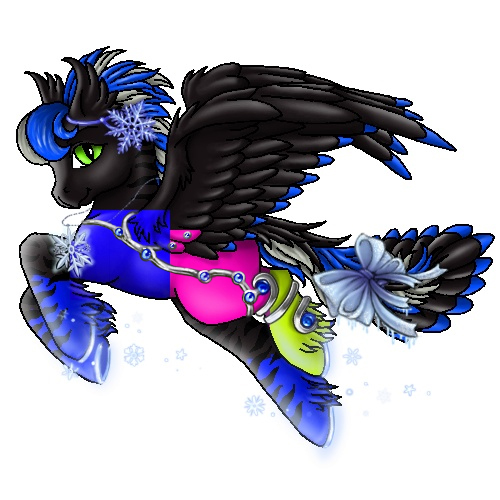
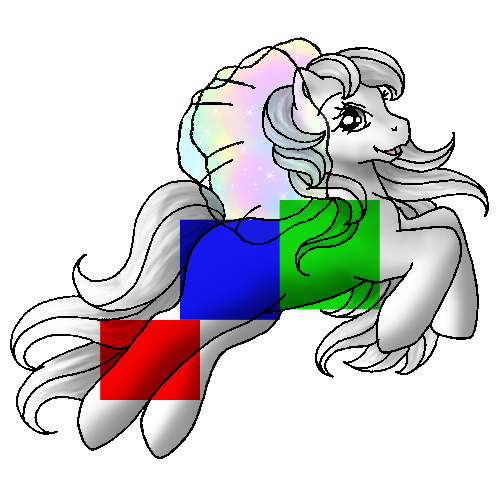
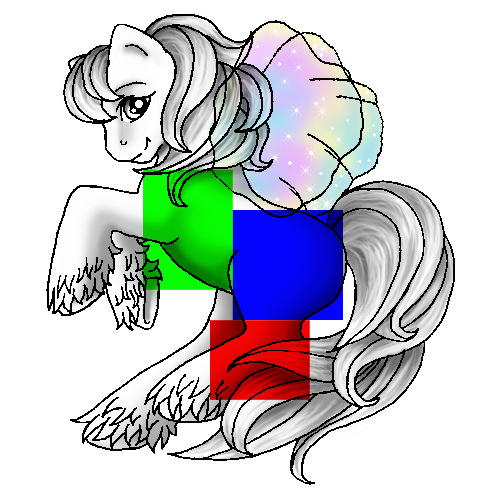
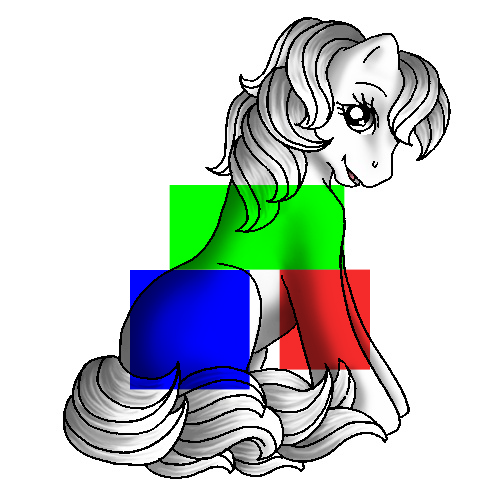
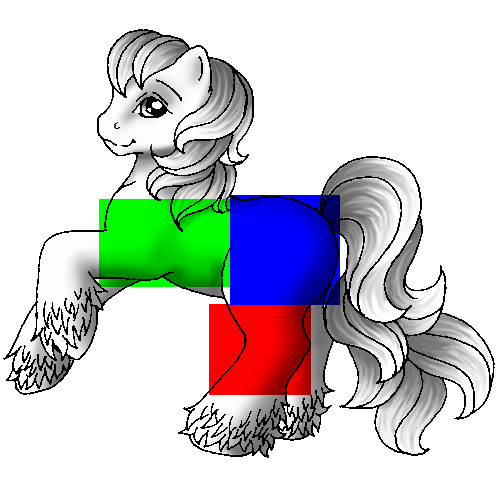
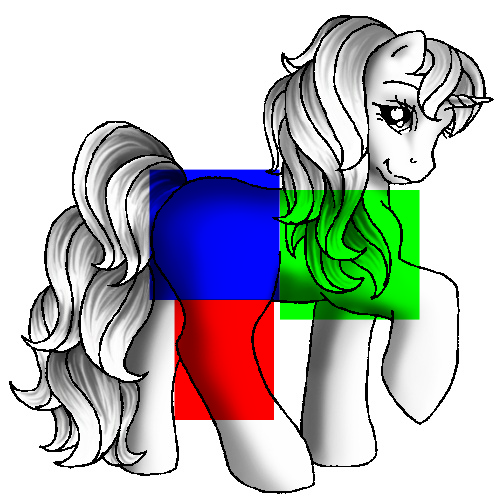
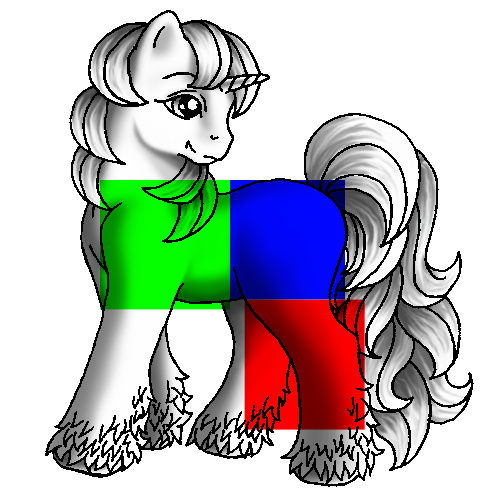
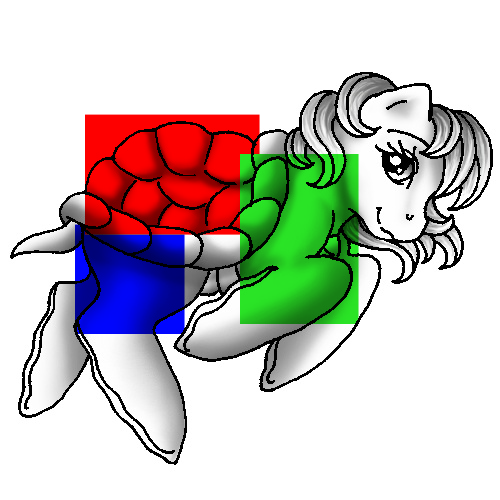
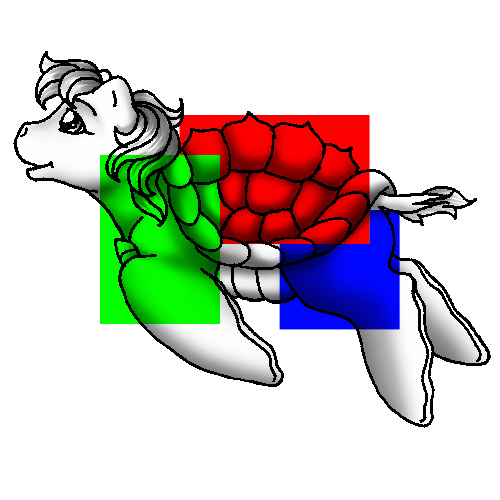
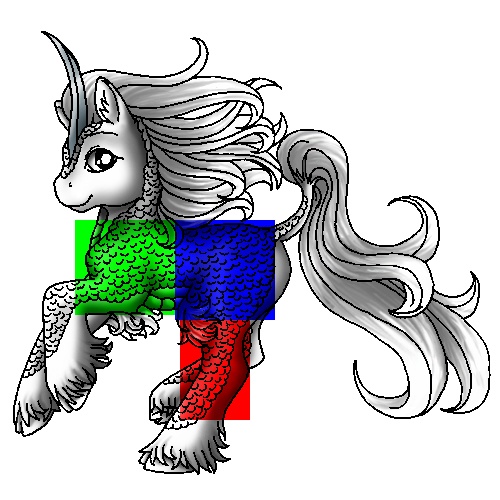
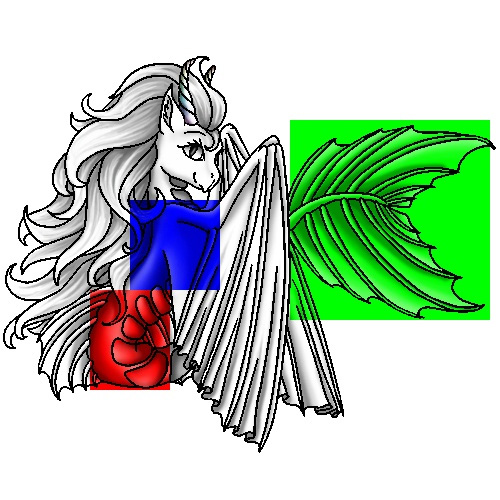
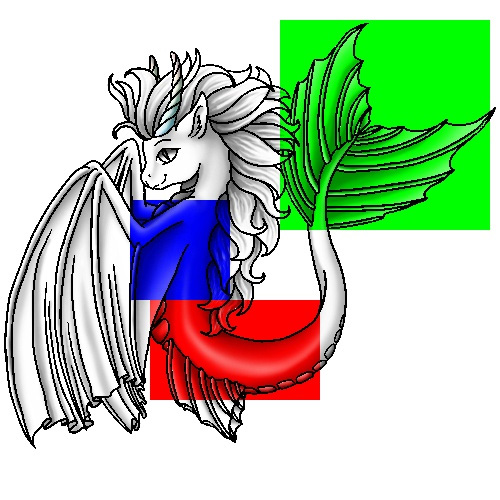
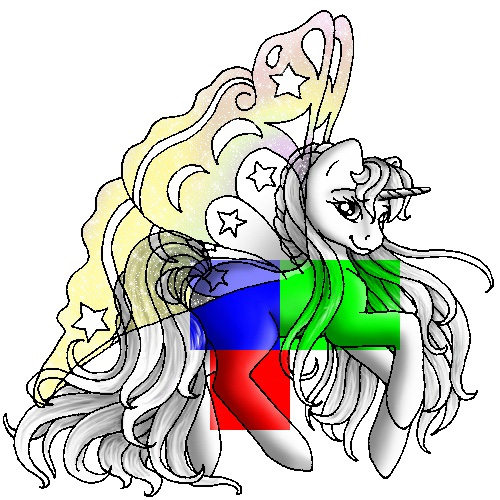
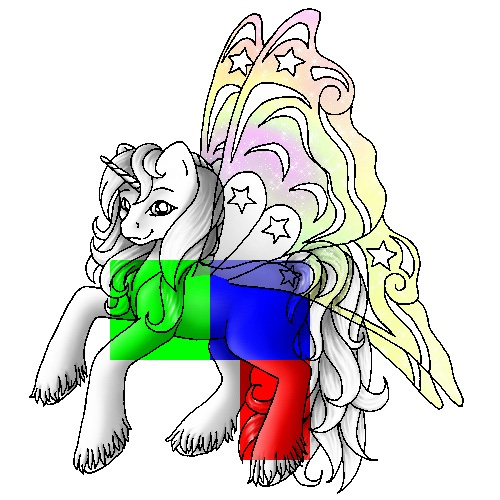
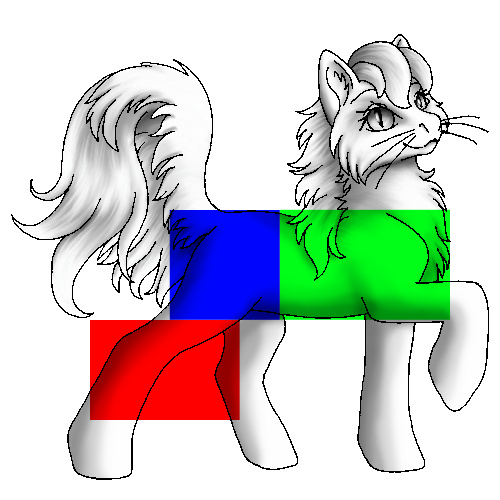
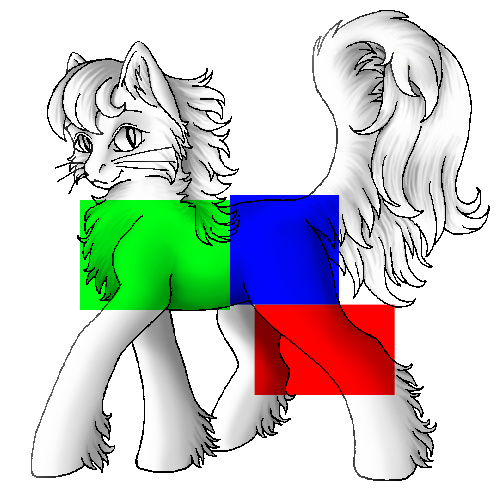
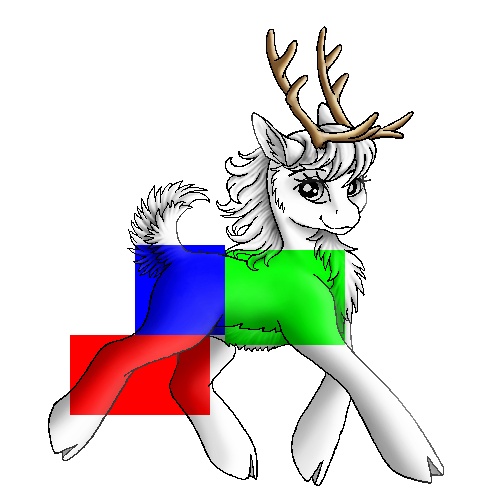
b. A template for where the pony tattoo slots go, also known as a tattoo location guide -- there is a location guide website (Click Here) but you can also upload solid color GIFs into your pony's tattoo slots to see where they go, and how they cover the pony. Use different colors to easily discern which slot is which. Example:
Once you have these things, you'll be ready to start tattooing.
III. Step-by-Step to Tattooing Your Pony
Photoshop is being used as an example, but Gimp and other layer supporting art programs will function similarly.
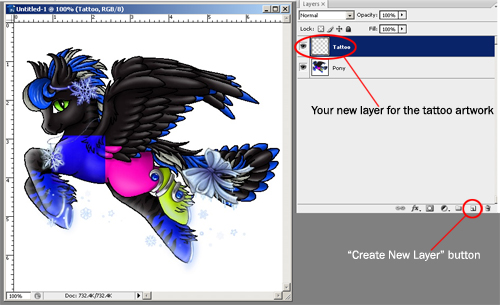
1. Open your location guide in the art application of your choosing. (This is the location templates either found on the site link provided, or the one you created yourself, for simplicity we'll be using the one that we created.)
2. Create a new layer on top of the layer with your pony's image in it. This is where your tattoo artwork will go. Make sure to keep your artwork within the area outlined by the location guide, or else it won't show up on your pony!
3. In your new layer that you've made, draw/paint/create your pony's new tattoo!
4. Once you're done, you will need to marquee the separate slots of your tattoo (indicated by the different colored squares we created).
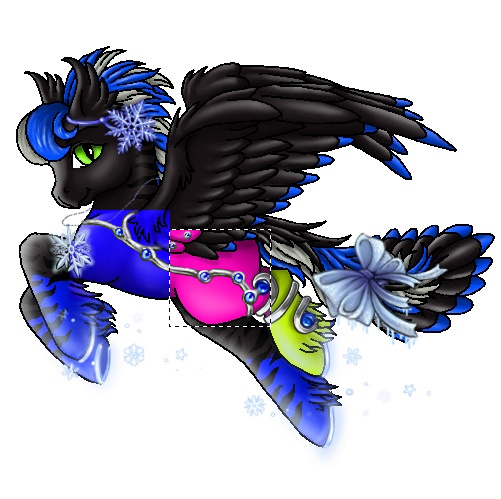
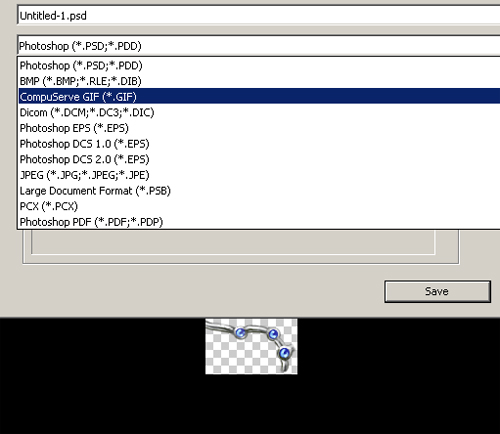
Copy them, and then paste them into their own document (File -> New -> Paste) and then save them out as GIFs - the tattoo will not work if it is not a GIF!
5. Now that you have your completed tattoo slots, upload them to your pony (as shown above) and enjoy!
Keep in mind that practice makes perfect, and don't be afraid to ask for help from more experienced tattoo artists in the Artwork forum!
Tattoo Locations
  |
  |
  |
  |
  |
  |
  |
  |
  |
  |
  |
  |
  |
  |
  |
  |
  |
  |
Items & You: Your Inventory
Understanding Your Inventory
Aside from ponies, many users like to collect, buy, trade and sell items on the site as well. You can find your own inventory by going My Island > Inventory. Items can be obtained one of two different ways: By purchasing the item, or by receiving the item.
Purchasing items means that you pay PG for it just as you would a pony. Also much like a pony, items being sold by other users can be placed up for buy or bid. You can purchase items from either the site Store, or from other users.
Receiving items means that someone has sent it to your inventory. Usually items that are sent to your inventory are items you won through a site-wide event, were given to you by another player, or were given out at a major site-wide holiday or event.
Navigating Your Inventory
Once you are inside your inventory, you will notice on the left that there is an information box. On the right side will be a large section of all the items you own, as well as different ways to view them.
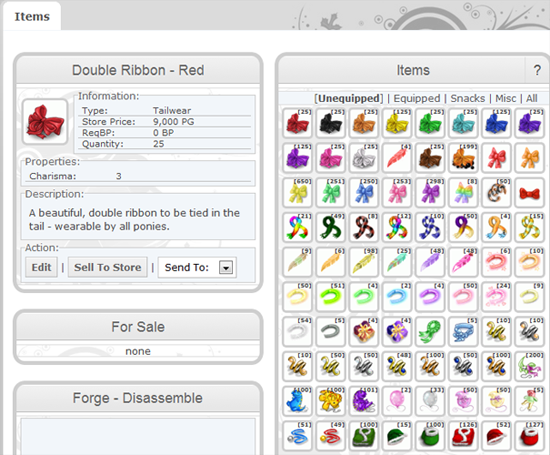
The Information Box will tell you the specifics of the particular item you are looking at. There are three sections to each box: Information, Properties & Description. In order to pull up the specifics of a particular item, all you need to do is double click on it. They are broken down briefly with the following descriptions:
Information - This section will tell you four specifics of the item;
Type: This tells you if an item is a snack or an item that your pony can wear.
Store Price: This tells you how much the item is in the store. If the item is not available in the store, this section will list the word 'none.'
ReqBP: This is short for required BP. If a certain level of deployed BP is required in order to purchase this item, this section will tell you how much.
Quantity: This tells you how many of that particular item you have.
Properties - This section tells you which skill(s) the item you are looking at affect.
Description - This section will give you a basic description of the item. Sometimes this area tells you when an item was released.
The right side of your inventory shows the actual items that you own. You will also see five [5] links in which you can select which type of items you'd like to view. They are broken down with the following brief descriptions:
Unequipped: This will show you all the items that you can place on your pony, but have not yet.
Equipped: This will show you all of the items that have been placed on your ponies.
Snacks: This will show you all food items that you can feed your pony.
Misc.: This will show you items that are neither food or wearable.
All: This will show you every item you have regardless of what it is.
Moving Items
Moving items in your inventory works the same way as moving your ponies around your stable. All you need to do is click and drag the item to move it to where you wish to place it.
Selling Items
Much like ponies, items can also be placed up for sale or bid (or both). In order to sell an item, you must first have the over view of the item you wish to sell up in the Information Box.
Clicking on Edit will allow you to place the item up for sale. Below is a break down of what you will find once you click edit:
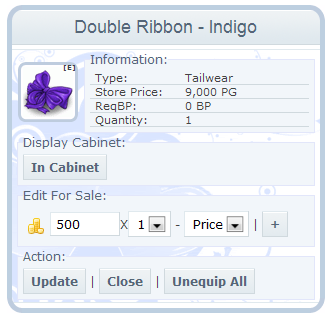 Bid Box: The bid box works similar to how the pony bid box works. This is where you input the amount you are selling the item for.
*Quantity: This drop down will allow you to place any where from 1 to as many as you have of that particular item up for sale.
Price: This drop down allows you to select if you are selling the item(s) for a flat rate (Price), if the item(s) is up for bid or both.
[+]: This add button allows you to place more than one of the same item up for sale. This is useful because it clones the last amount placed up for sale for that particular item.
*Note: The price you place in the bid box will always be priced for a single (1) item even if you place up a lot of 5 at a time. When the person selects this lot, they will be paying the selected price x the quantity you placed up for sale. Example: If you are selling a lot of 5 items for 1,000 PG each, the buyer will be paying 5,000 PG for that lot. 1,000 PG for each item listed.
Once you have filled out all the necessary information, you can click on 'Update.' This will save the work you have completed, and place whichever items you selected on sale for you.
To take an item off of sale, simply go back into the Edit area, change the price to "0" and click "Update".
Item Display Case
The Items Display Case is a feature that allows users to display their items, as opposed to keeping them in their inventory.
To add items to your display cabinet, click on the Edit option when you have selected the item. Under the picture, and main information area, you will find a section called Display Cabinet and a link entitled In Cabinet. Simply click the link; a pop up box will appear asking how many items you would like to display - place the number you wish in here (only as high as your quantity, and no higher) and click ok.
Once this is finished you will notice your items on display above your inventory. You can also move items around just as you can do in your inventory, as well.
Items & You: The Store
Understanding the Store
Purchasing items from the Store is another way that you can add to your growing collection! To find the Store go to Classifieds > Store. First glance at the store can be a bit intimidating due to the tabs, links and boxes to look at. Once you learn your way around the different areas, it will be as easy as navigating your stables. Below is a brief over view of the three main tabs you will find when you enter the Store:
Merchandise: This is the main area, and where you first arrive, at the store. It contains different categories of item types as well as the images and information box for the items.
Shopping Cart: This is where you can review the items in your cart and increase or decrease the amount of items in your cart.
Check Out: This is where you purchase your items.
Merchandise
The first tab of the three is Merchandise. This is where you will find all the available items to purchase.

The first box on the left will list for you all of the item types in alphabetical order. Below is a brief description of each type:
Breed Specific: This is where you can find all the items that can only be worn by specific breeds.
Facewear: This is where you can find all items to go on your pony's face.
Finwear: This is where you can find items to go on your pony's fins. Only water ponies can wear these.
Headwear: This contains all items that get worn on your pony's head.
Hoovewear: This contains all items that go on your pony's feet. In here you will find horseshoes.
Legwear: This contains all items to go on your pony's legs.
Manewear: This contains all items that go in your pony's mane. In here you can find feathers and ribbons.
Misc: This contains all kinds of goodies that can be used in the forge.
Neckwear: This contains all items that can be worn around your pony's neck.
Snacks: This contains food that can be purchased through the store.
Specials: This contains limited edition items that are only available for a short period of time.
Suits: This contains items that cover more than just one area of the pony. During Halloween season you can find the costumes in here!
Tailwear: This contains all items that can be worn on your pony's tail. Ribbons can be found in here.
Upgrades: This contains items that allow you to apply specific upgrades to a stable that contains upgrade slots.
The box on the right is the information box for the item you have selected. The very top of the box in bolded font will be the name of the item you are looking at. Here you will also see a picture of the item, as well as three main information sections; Information, Properties, Description. Much like the information box that you find in your inventory, this box will tell you all about the item you are looking at. The last section in the information box is the Shopping Cart option. By clicking add to shopping cart you will add the item you are looking at to your cart for purchase.
Below all of this is a section that hosts all of the items for that category. Here you can view their image, see which stats they affect under properties, view their price and how much BP you must have deployed to use, and of course have the option to add the item to your shopping cart.
Shopping Cart
The shopping cart is a unique thing to use if you are purchasing more than a few of the same item. In this section of the store, users can purchase any where from 1 - 999 of the same item without having to manually click add to cart each time.
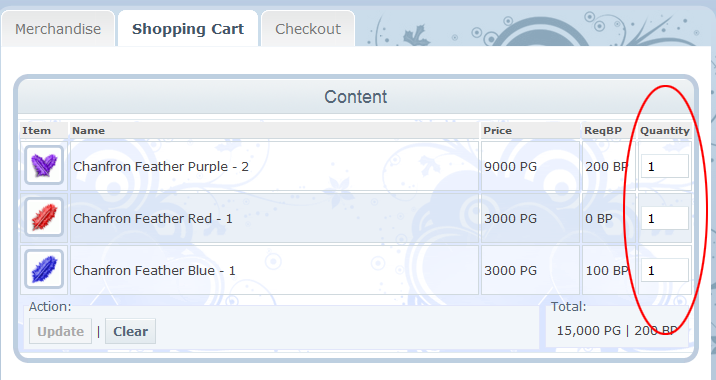
The Shopping Cart will list each item you have, its price, and the quantity in a box that can be edited. If you wish to remove an item, you can simply change the quantity to 0. If you wish to purchase more, you can change the quantity to anything up to 999. When you are finished and satisfied, click Update at the bottom left corner.
Clicking update will not only update the quantity of items you are purchasing, but will also update the total PG it will cost you to purchase the items in your cart.
If you are satisfied and ready to move on, select the Check Out tab at the top to finish up!
Check Out
This page will be the last one you visit when you visit the store, and is really very easy to navigate.
On the Check Out page you will see, once again, an over view of the items you are purchasing as well as the total the items will cost, and how much BP (if any!) you need to have deployed to use such items.
If everything is correct, you can click the 'Check Out' button in the information box on the left. A pop-up box will appear asking if you are certain, as long as you are, press OK.
Congratulations! You have just purchased items from the Store!
Mini-Games & You: Just the Basics
Aside from doing all the wonderful above mentioned things on PonyIsland, the website also offers users a small selection of Mini-Games that they can play as a single player, or with friends.
To access the Mini-Games section of the site, please find the Purple Puzzle Piece located in the top navigation bar. Users should note that this is the only way to enter this area.
Once on this page, you will notice that you have three games to choose from: PonyCards, Memory and PonySpy. Please note, currently PonyCards is the only game that users can play with more than one person.
Game play instructions can be found by selecting your game of choice under New Game.