What follows on this page are the run instructions for the simulator.
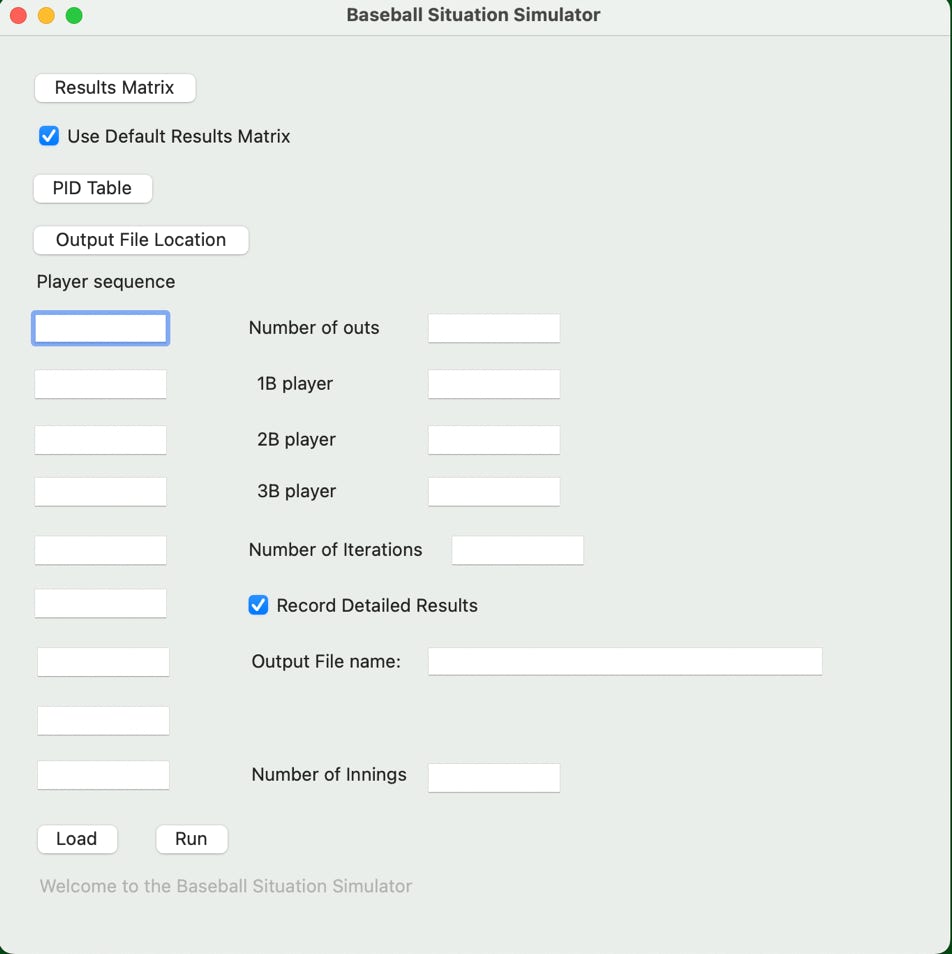
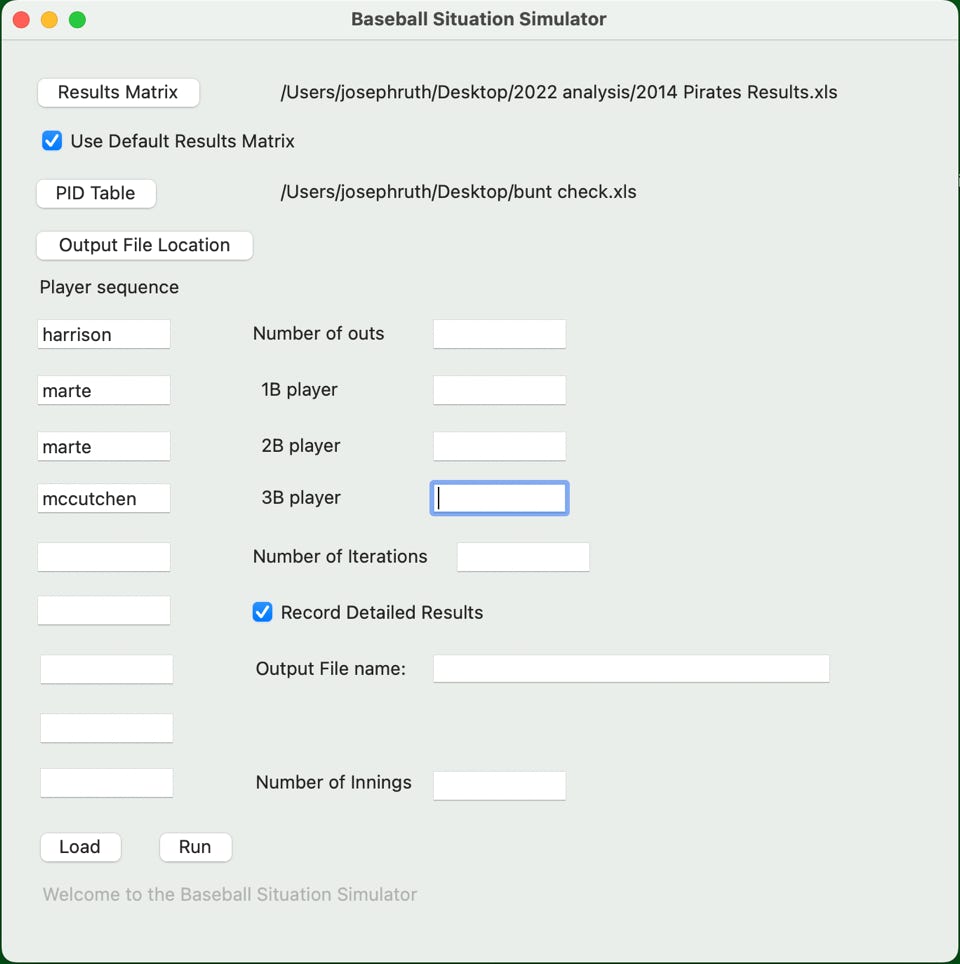
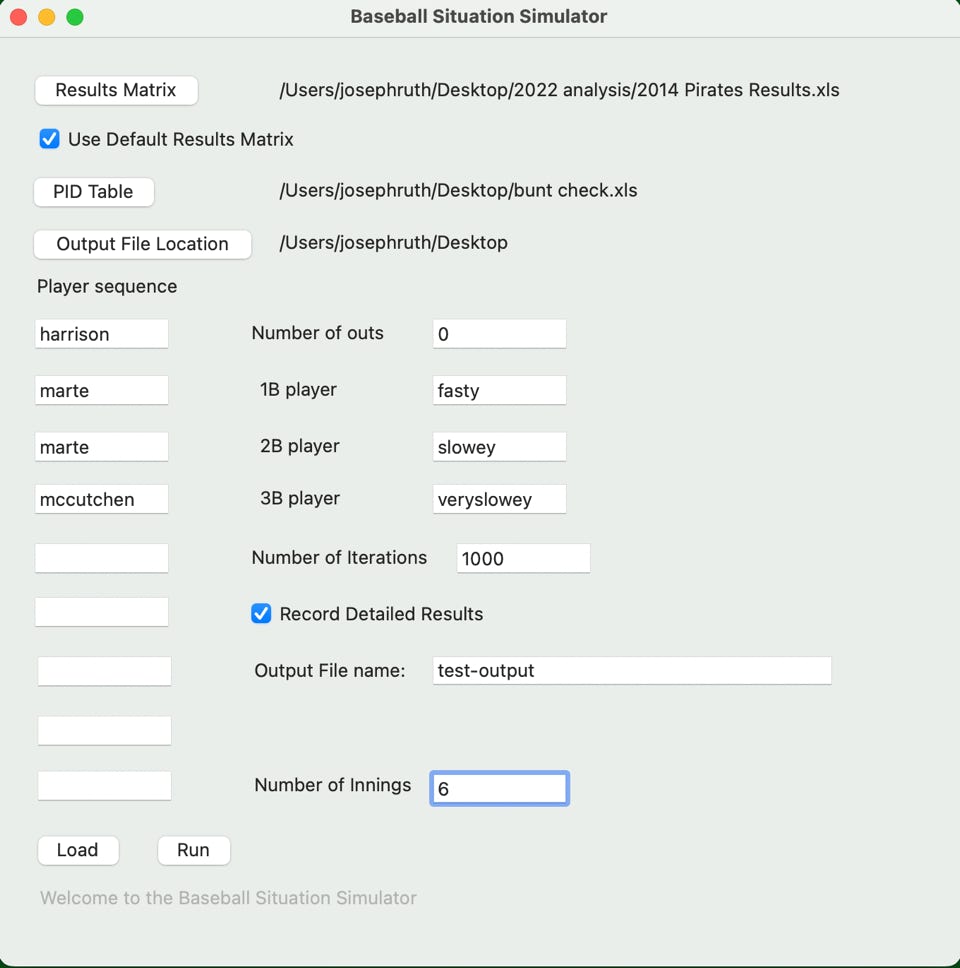
When you start the simulator, you see the following screen:
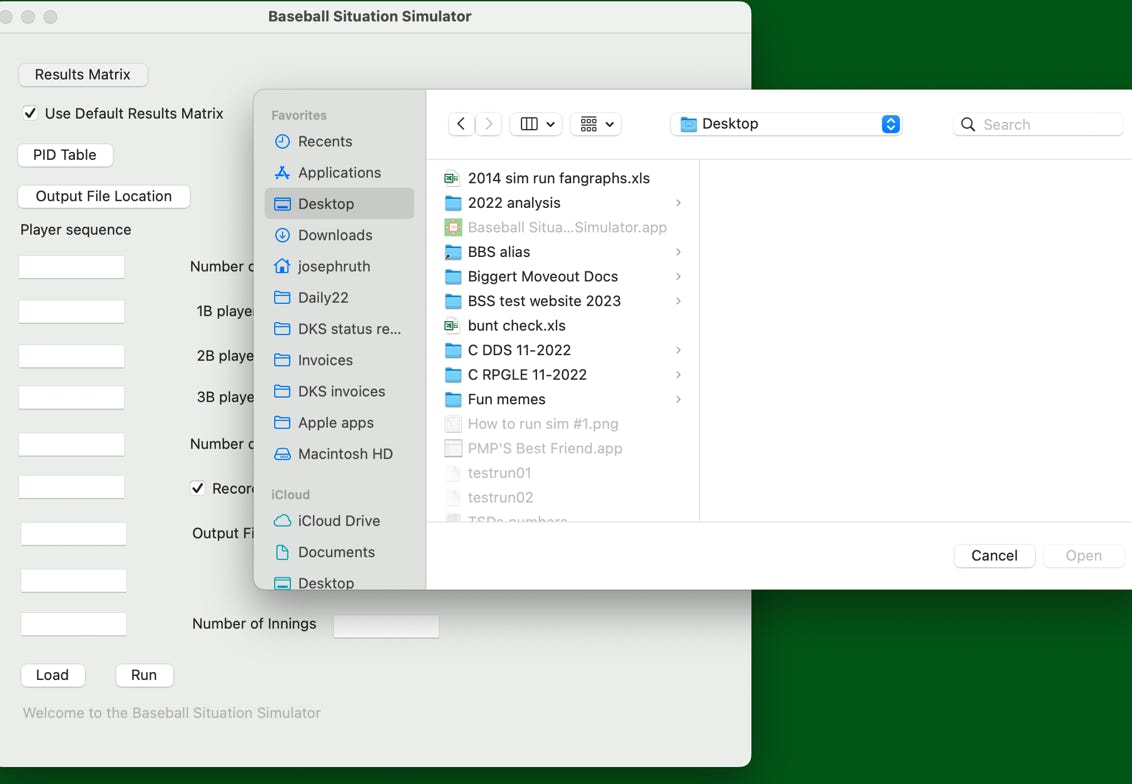
First step is to identify the ‘Results’ and ‘PID Results’ spreadsheet to the simulator. To identify the ‘Results’ spreadsheet, click on the button labelled ‘Results Matrix’. A standard Mac file pick window will appear:
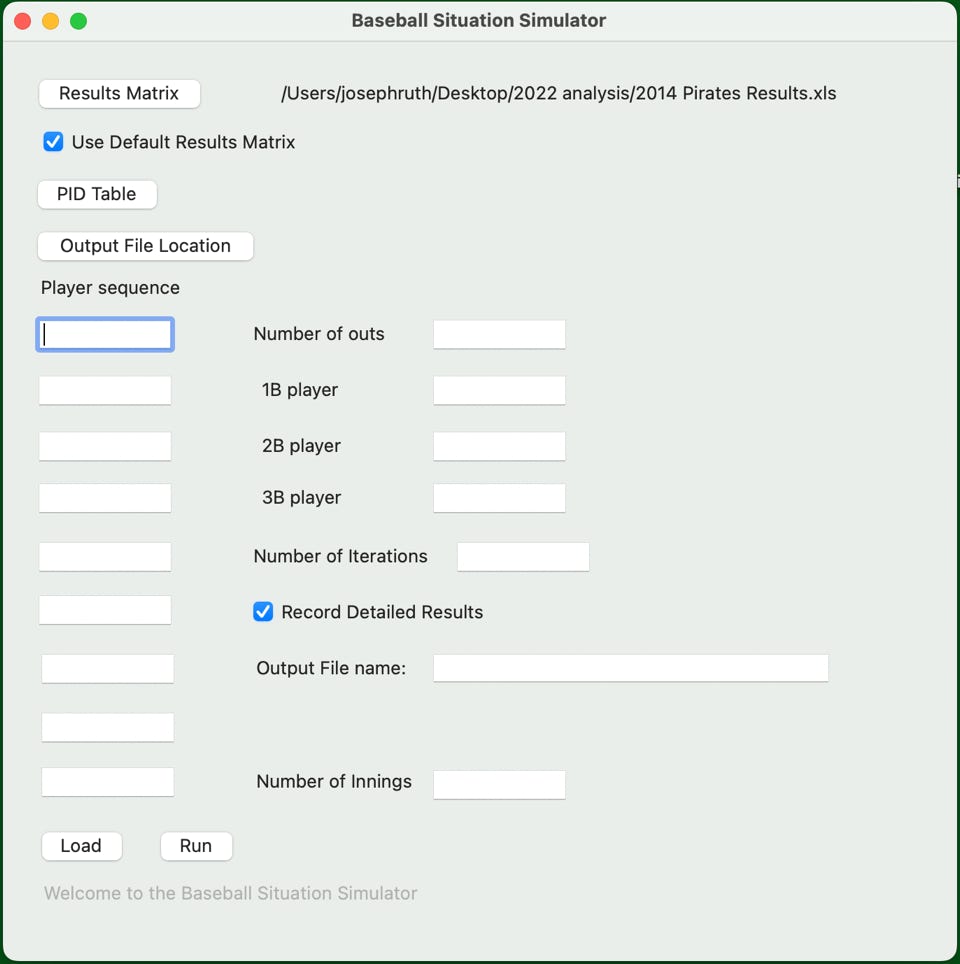
Navigate to the spreadsheet which contains the ‘Results’ data and click the ‘Open’ button. The pick window will disappear and the file name will be displayed on the simulator screen:
Of course, you can put the file on any drive on the computer and as long as you can get to it, you can pick it for the program.
Additionally, you can forgo using the Results Matrix spreadsheet directly as long as your PID file entries match up with the default. Clicking the ‘Use Default Results Matrix’ will automatically use a result matrix that lines up with Quick Profile Generator PID entries.
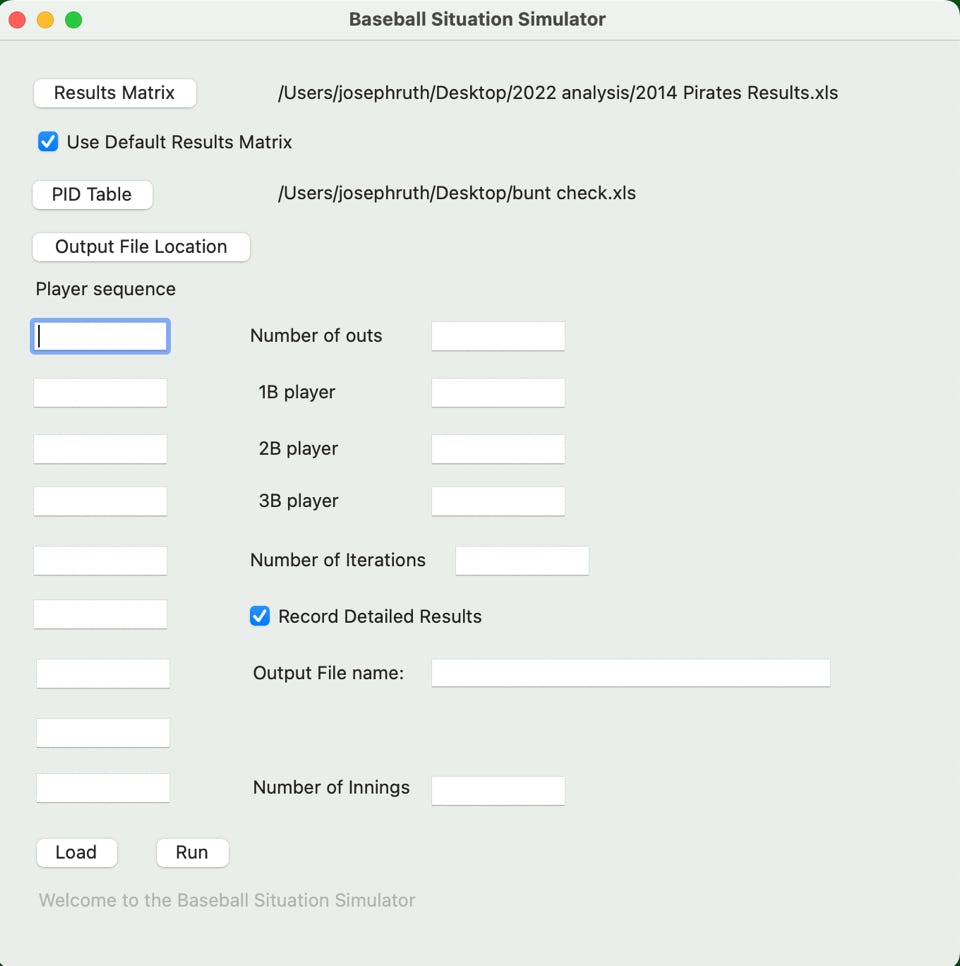
Follow the same procedure for the ‘Pid Results Spreadsheet’ by clicking on the ‘PID Table’ button and following along. You should see this afterwards...
The next step is to set your lineup. Type the names of your hitters in order in the test boxes under the ‘Player sequence’ label. The names you type need to be in the PID Results spreadsheet. The program will not check your entered names right away but when you run the simulator, it will display an error message.
The simulator doesn’t really care about the formal rules of baseball. You can have any number of players (up to 9) in the Player sequence. If you only use three players (for example) the simulator will simply repeat those three players over and over again. If the name you’re typing overflow the box, don’t worry. The program may only show you part of the name but you can see it in the box if you mouse into it and the full name will be used.
These names, of course, don’t need to be real names. They only need to be strings that exist in column A of the ‘PID Results’ spreadsheet. It allows the user, for example, to put together maybe a small number of generic profiles which can be used to explore the results of different batting orders or situation setups.
In this example, I set up a Player sequence which matches my simple ‘Results’ spreadsheet but sure doesn’t conform to the rules of baseball....
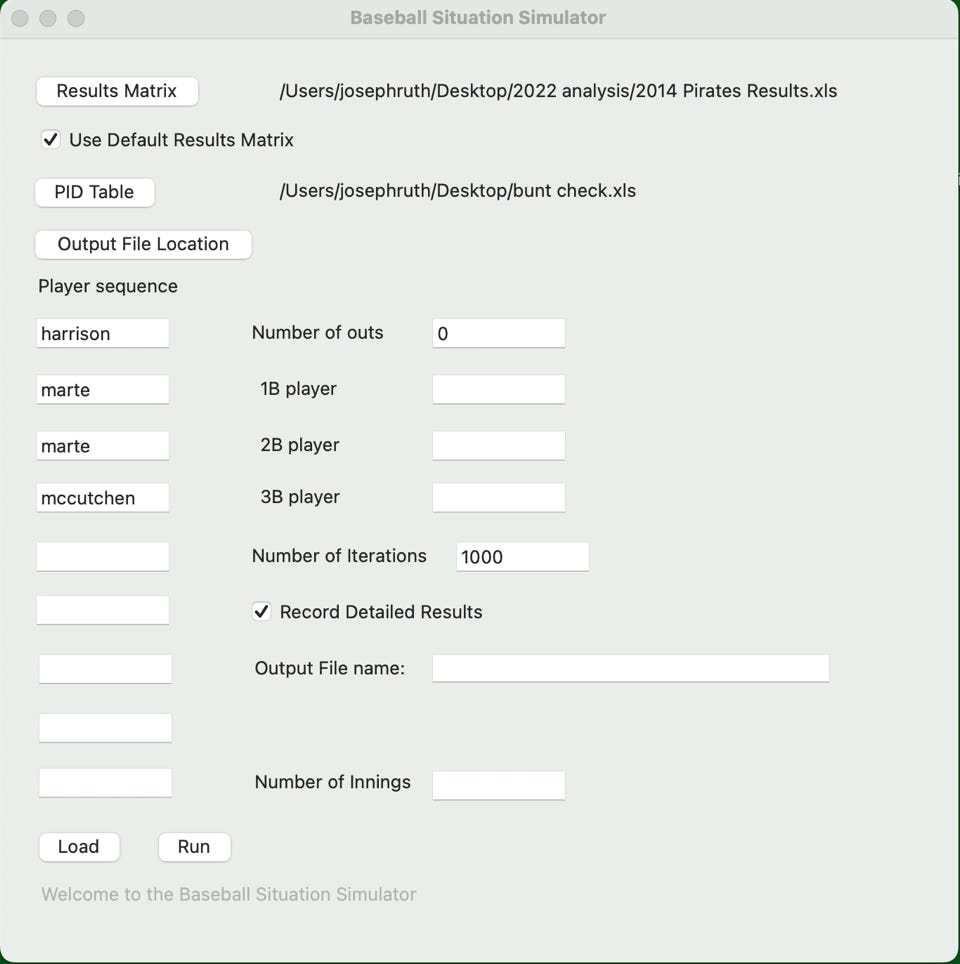
Next step is to enter the number of outs currently and the number of iterations that the simulator is ro run. Basically, 1000 iterations of teh simulator should take only several seconds to run. Go higher if you like. There are several progress bars that will help you keep track of how your sim run is going.
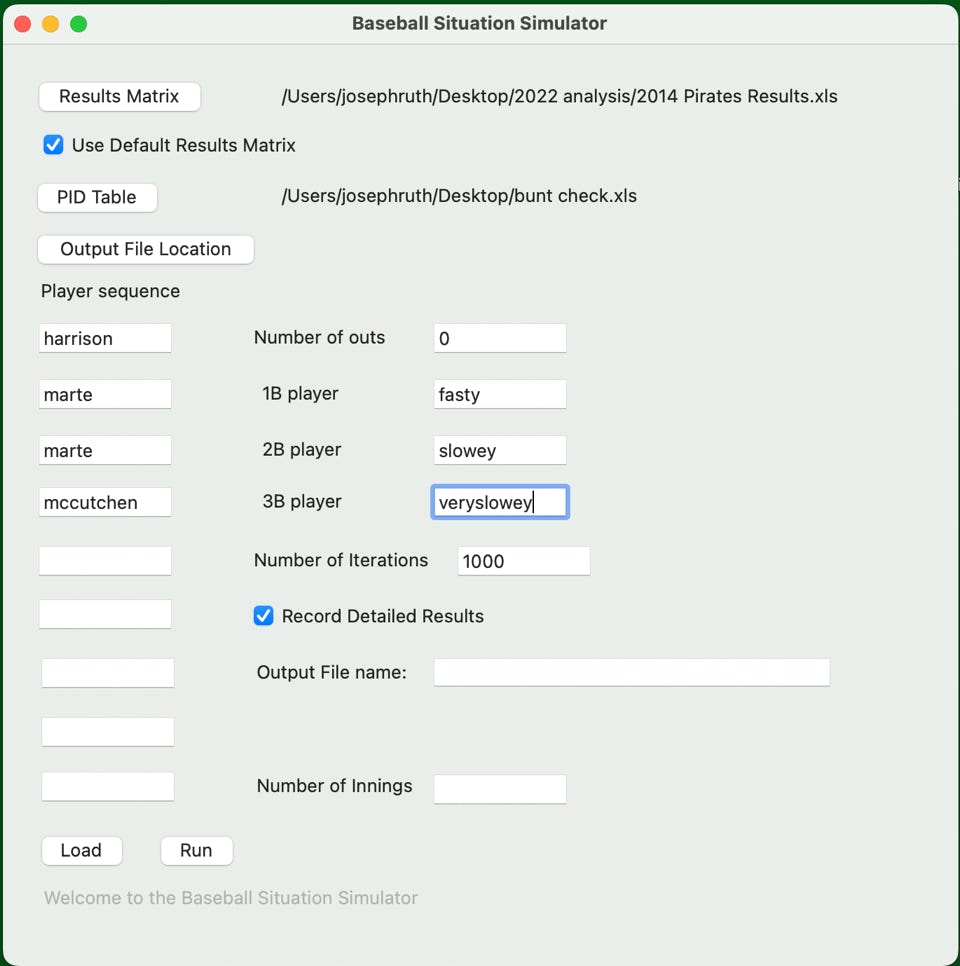
Next step is to add the number, position, and names of teh base runners currently on base at the start of the simulation. In the current version of this, the simulator doesn’t care about the names entered, only the fact a name was entered and which base the name was entered into. For our sample run, let’s assume the bases are loaded...
Again, the names don’t matter. Just the fact that something is entered into 1st base, 2nd base, and 3rd base position will do.
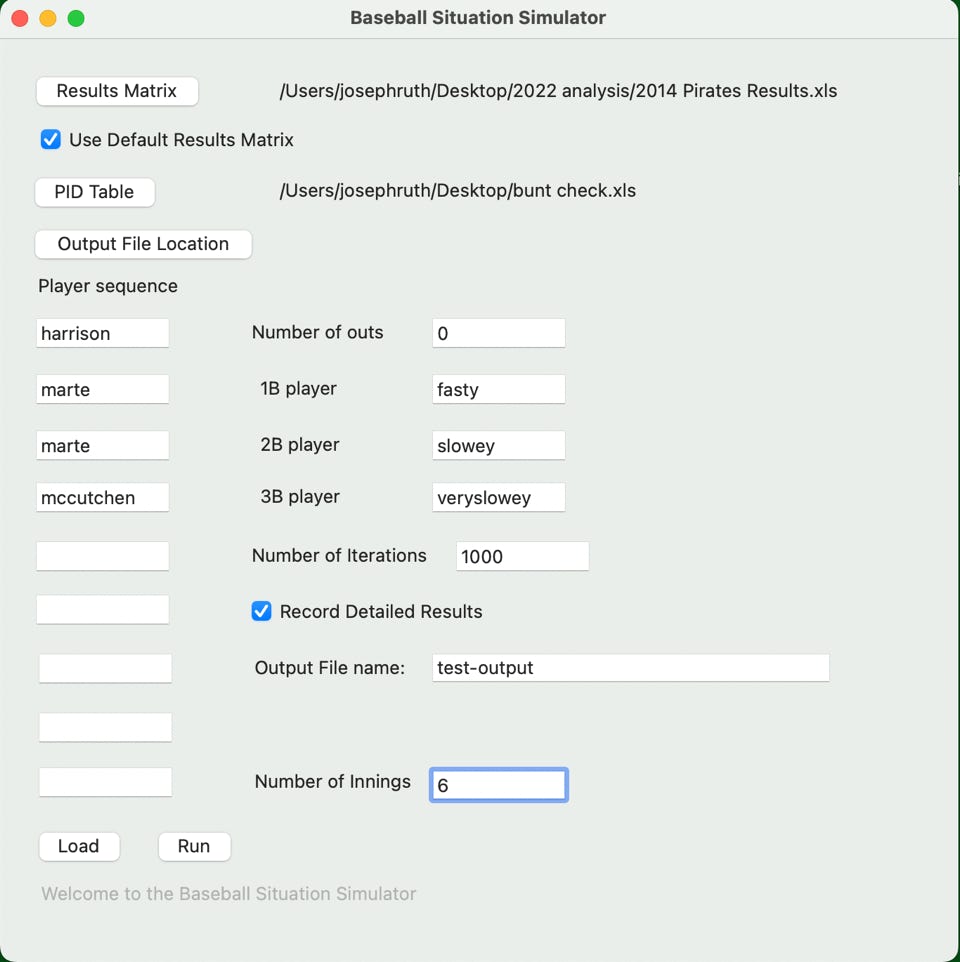
The last step is optional and is concerned with whether or not you wish to save the detailed results of each AB run by the simulation into a file.
Click the ‘Output File Location’ button and use the resulting pick window to select an output directory. When you select ‘Open’, the directory name will be copied and shown on the run screen. Make sure the ‘Record Detailed Results’ checkbox is clicked on and also put a file name into the Output File Name box.
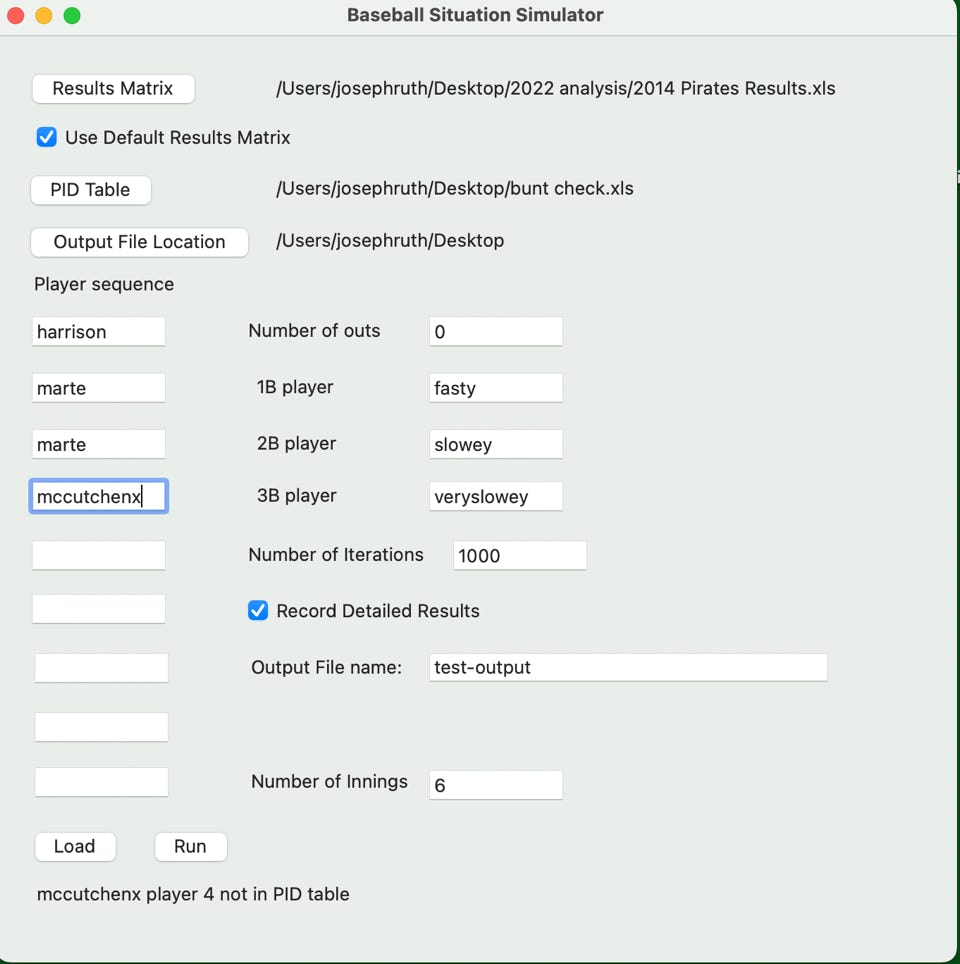
Now you’re ready to run the simulation. Click the ‘load’ button to load the spreadsheet and your screen data into the simulator. Just as an examplke, I misspeeled the name of the fourth batter and added an x on the end. The simulator caught that and shows the following error display...
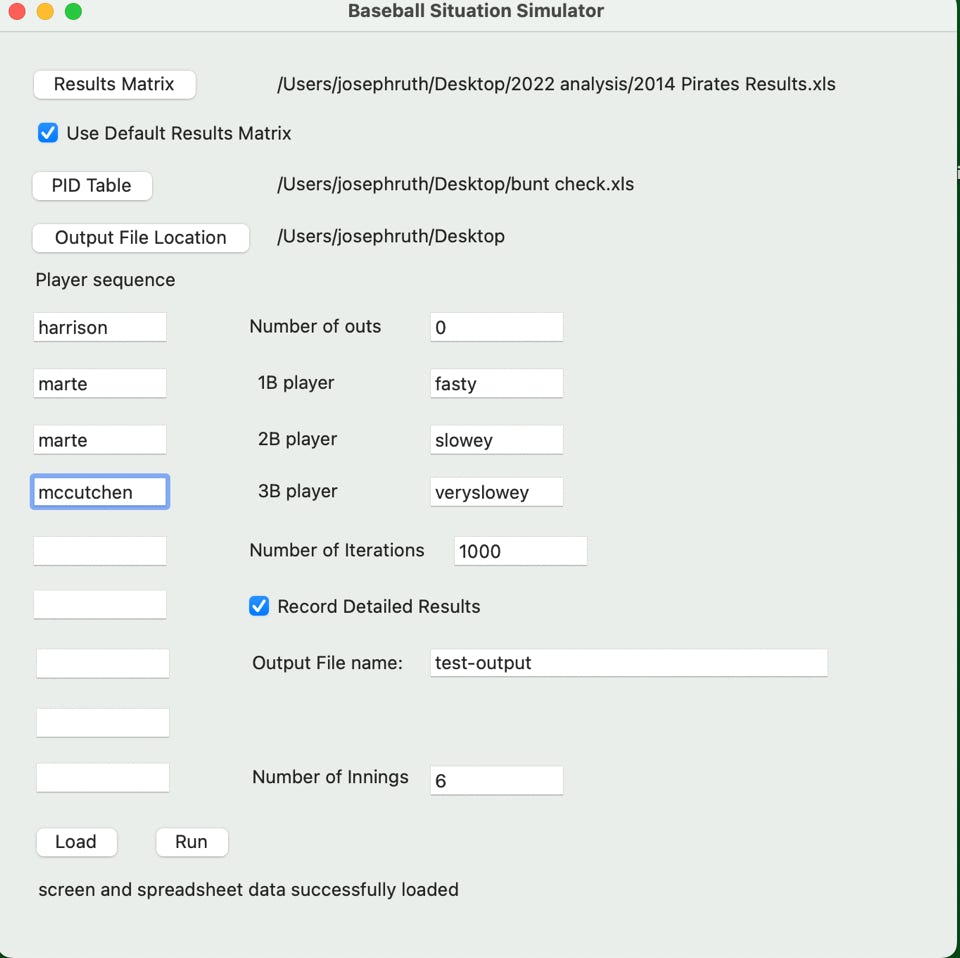
Fix the spelling of the name and re-click the ‘load’ button and you see this...
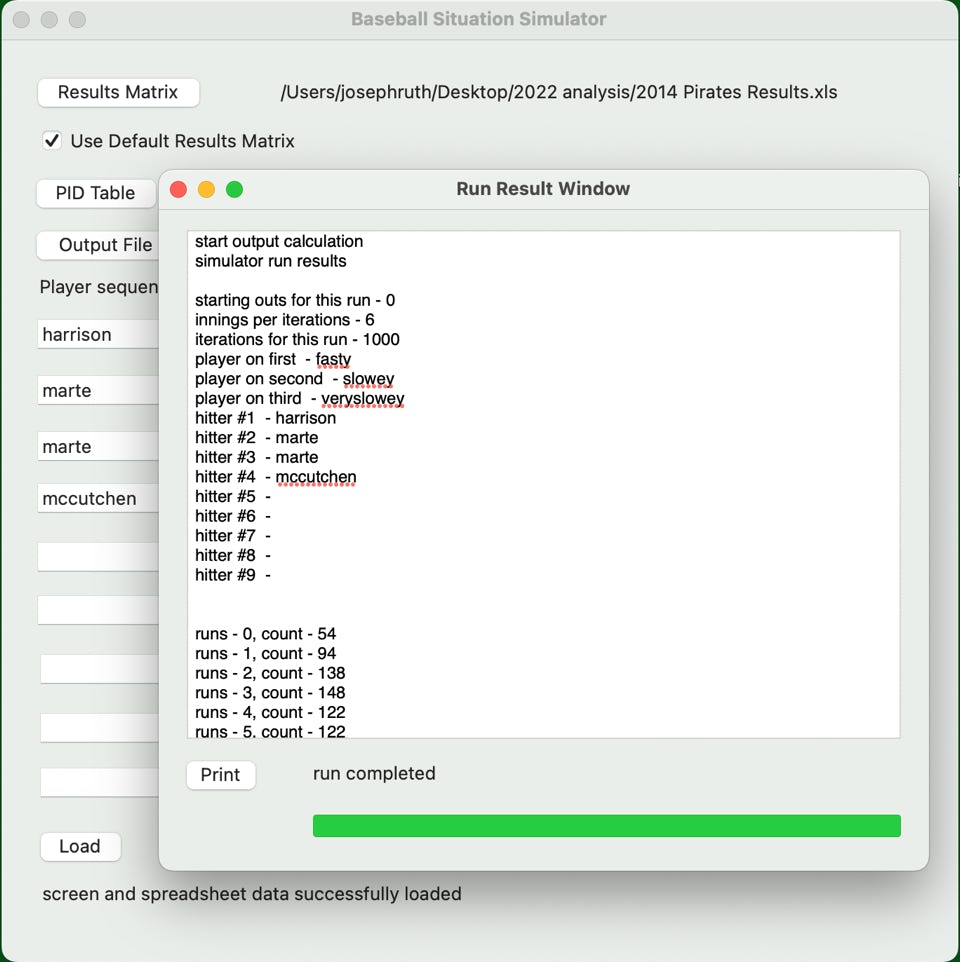
After you see this screen, you can then press the ‘Run’ button and run the simulation. A series of progress screens will appear and eventually you see something that should look like this:
If you see this screen, the simulation has run successfully. Next section, we will review the output data and see what it is telling us.