
Quick Start Overview
As mentioned in the introduction, there are two ways to use the simulator to help you create PID data for each player. This start up guide outlines the overall flow of using the Quick Profile Generator and how to put together a basic simulator run. This is just a very basic startup guide to give you an idea of what’s needed to make the simulator work.
Here is a quick list of the steps required:
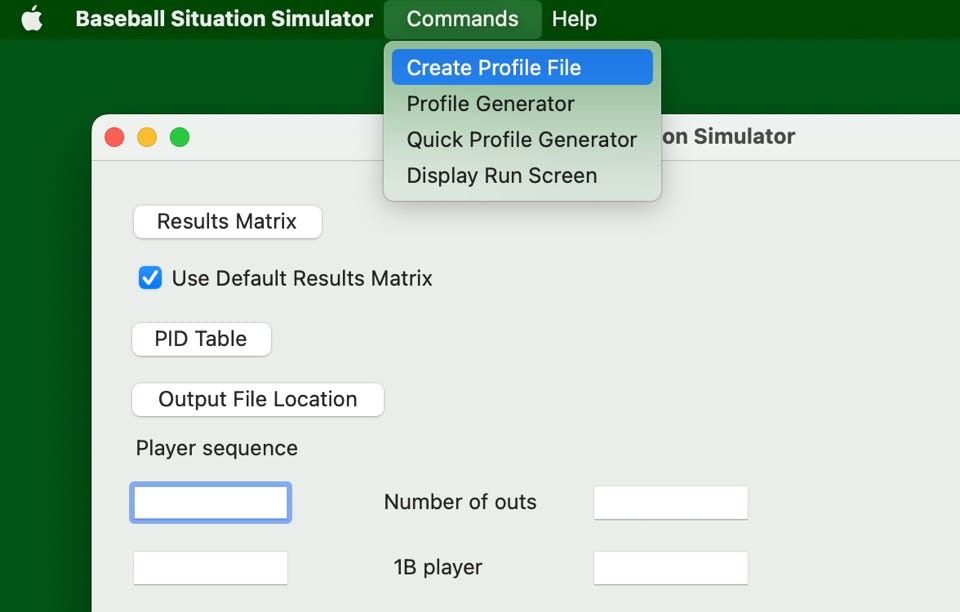
1: Create an empty PID data file spreadsheet using the simulator
See ‘Generate an empty profile file’ under Detail Guides menu for more details.
Click here to be taken to that page directly
2: Go to Fangraphs and collect the information for all of your players
Fangraphs.com is a baseball stat internet site which allows you to enter a date range for a player and pull up some aggregate stats for that time period. You’ll need about 10 numbers from that aggregate data for each player. Make a list of your players and the time period you want to use for them then follow the guide under ‘How to Use the Quick Profile Generator’ under the Detail Guides menu.
Click here to be taken to that page directly
PS.. give them a donation while yer at it. It’s an excellent service and they run fantastic articles.
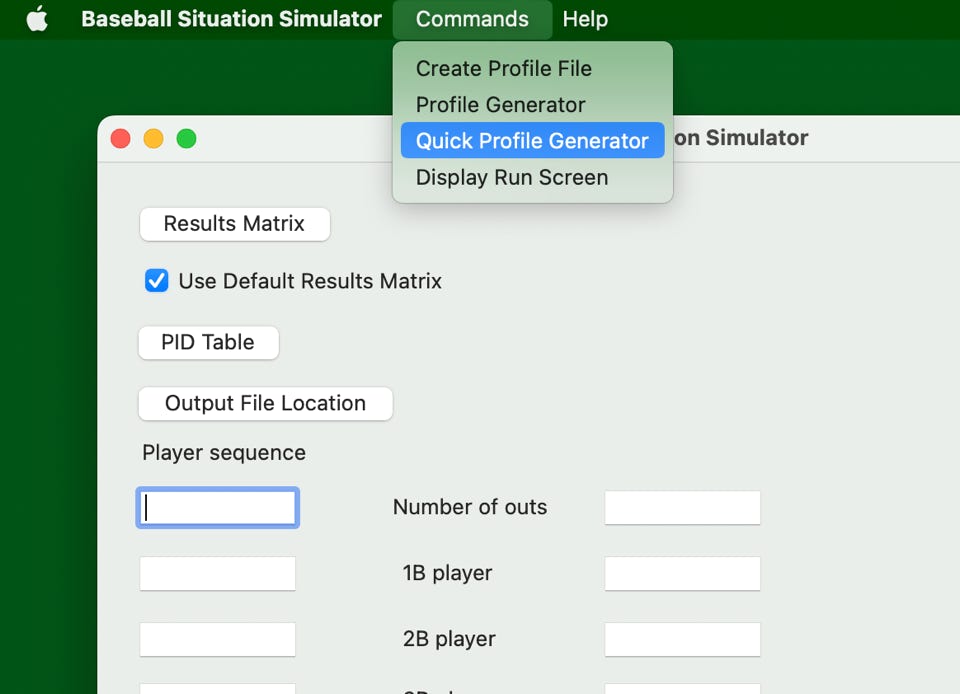
3: Once you have your spreadsheet, generate a profile for each player
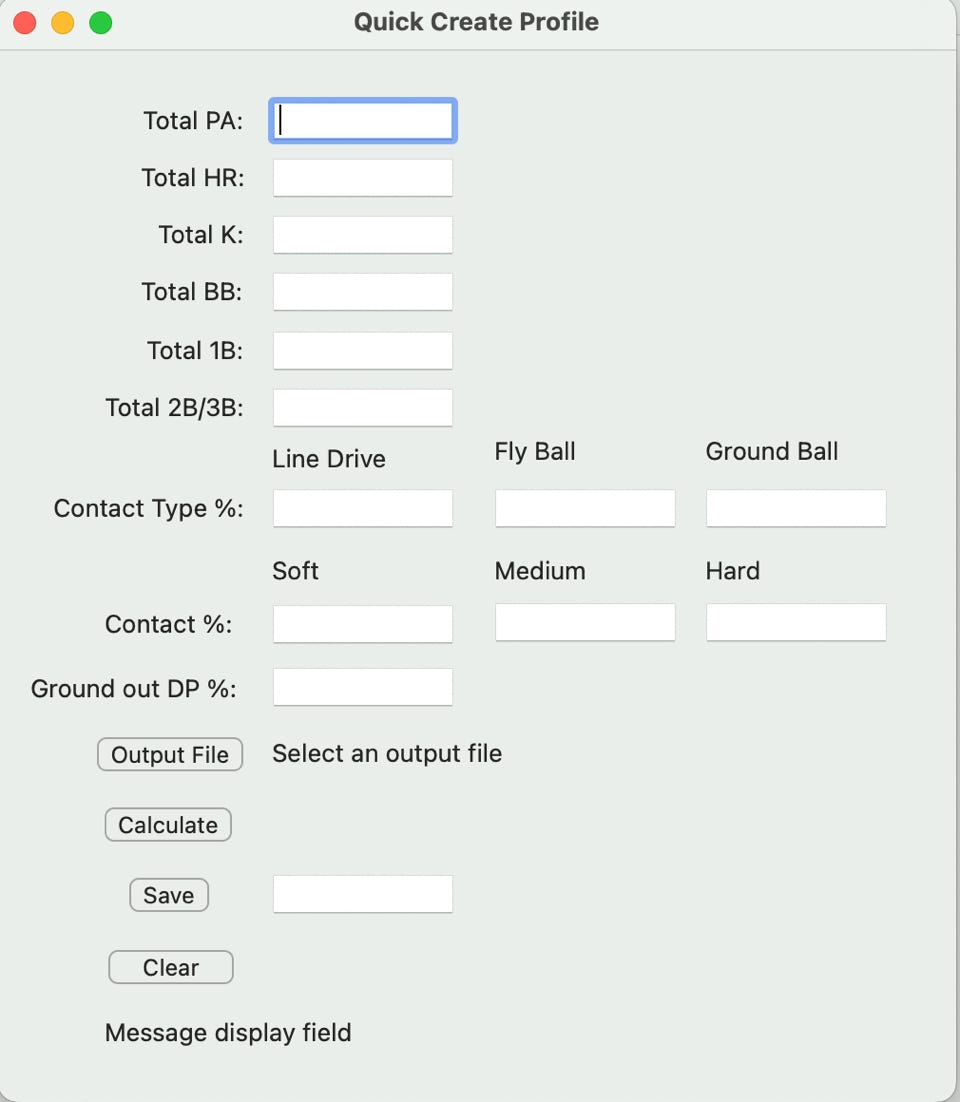
Now you have your spreadsheet full of player data, bring up the Quick Profile Generator page and start generating player profiles.
Fill out the screen from your spreadsheet, pick the appropriate PID file to add the profile to, do a quick check calculation, and if it’s all good, save the profile to the PID file with an assigned name.
This is just an overview. For a more in depth look at this screen, check ‘How to Use the Quick Profile Generator’ under the Detail Guides menu. Click here for that.
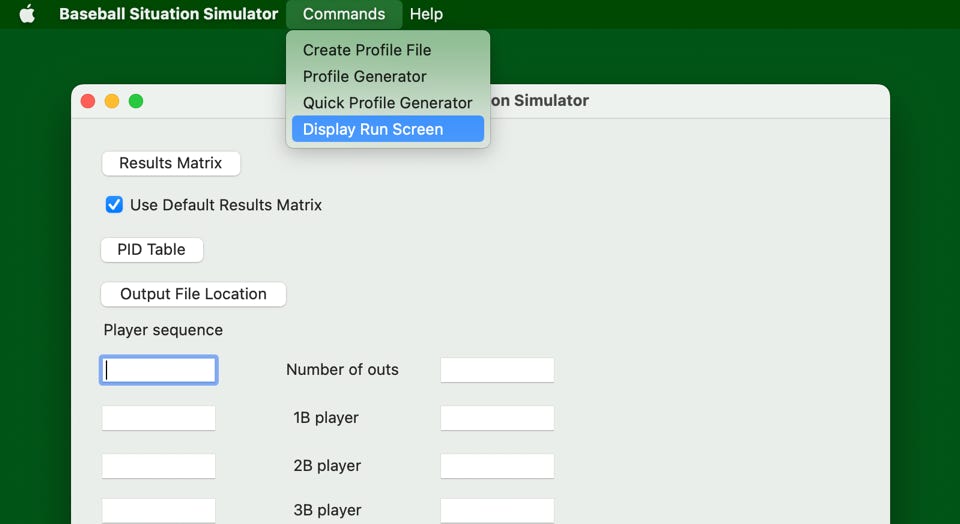
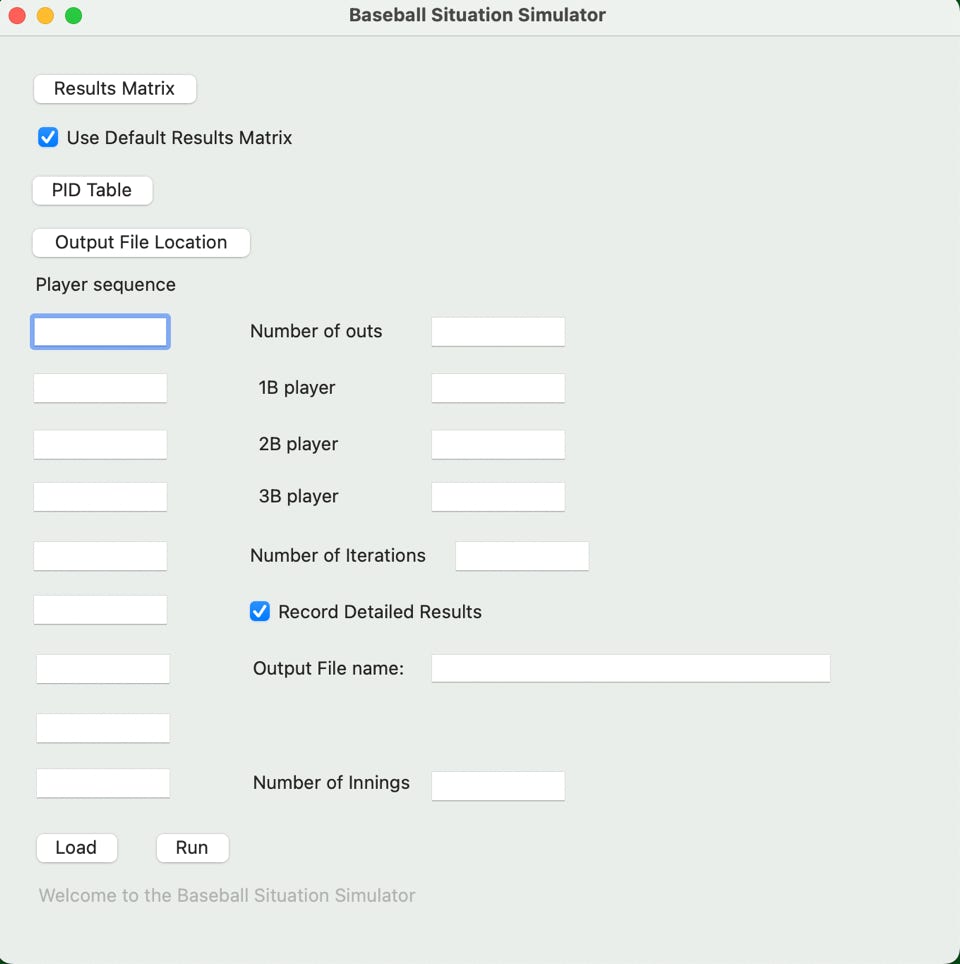
4: Set up and run your simulation
Once you have worked through your player spreadsheet and created a PID file with all of your player profiles in it, you can now actually run the simulator.
Pick your PID file, where you want the output to be placed, enter your lineup and other parameters of the simulation, Load and then press the run button. The simulator will process and you will see your results.
For a more in depth look at this screen and how the run process works, check ‘How to Run the Simulator ’ under the Detail Guides menu. Click here to be taken to that page.