Figure 10.49: Two jobs in the print queue

Sometimes it may be convenient to merge multiple print jobs – that is, to have the printer work on printing multiple objects simultanously. Especially for small objects, printing multiple objects at once (thus with built-in cooling time) may even yield better results. And for printers accessed by multiple Polar Cloud members, printing multiple objects at the same time may lessen wait time and contention for the printer.
Note that if you planned ahead, you might have already put several objects onto the build plate to print at once; see Section 10.2.5. However, merging separately submitted print jobs allows additional flexibility; printer managers may even merge print jobs submitted by different Polar Cloud members!
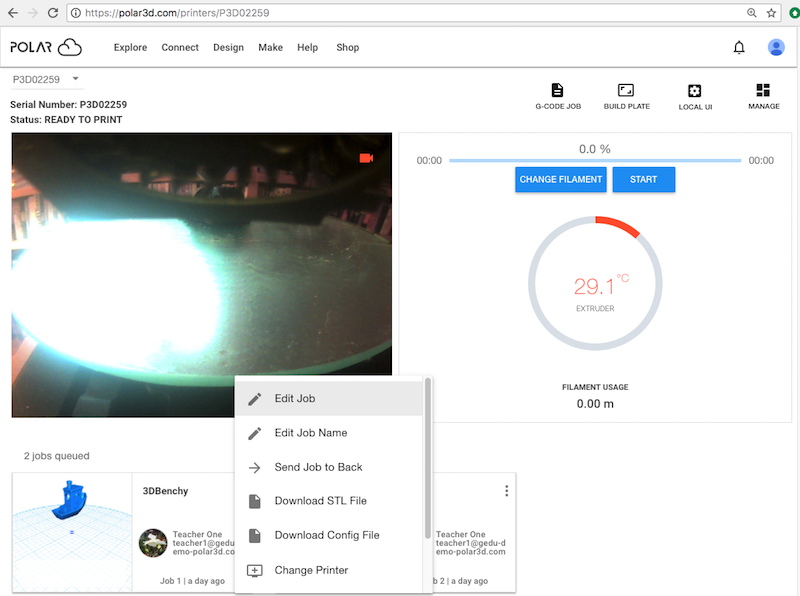
Suppose the print queue has multiple jobs queued; see Figure 10.49. (Note that throughout this example, a printer manager is merging print jobs submitted by another user of the printer; also, note that a prior print job object is visible on the build plate. Finally, note that while this example shows performing a print job merge starting from the printer dashboard, merging print jobs may also be performed starting from the printer “QUEUED” screen, or if merging your own print jobs, from your account “QUEUED” screen.)
Click on the three dots at the upper right of a print job (in this example, the first print job), and select “Edit Job”; see Figure 10.50.
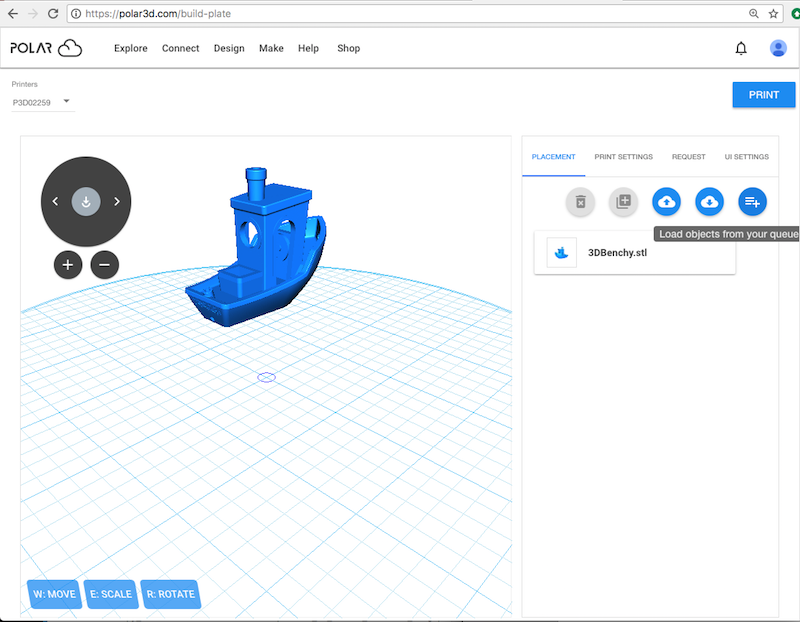
Editting a queued print job will take you to a build plate screen for that object; click the icon to the far right, “Load objects from your queue” (underneath “PLACEMENT”); see Figure 10.51.
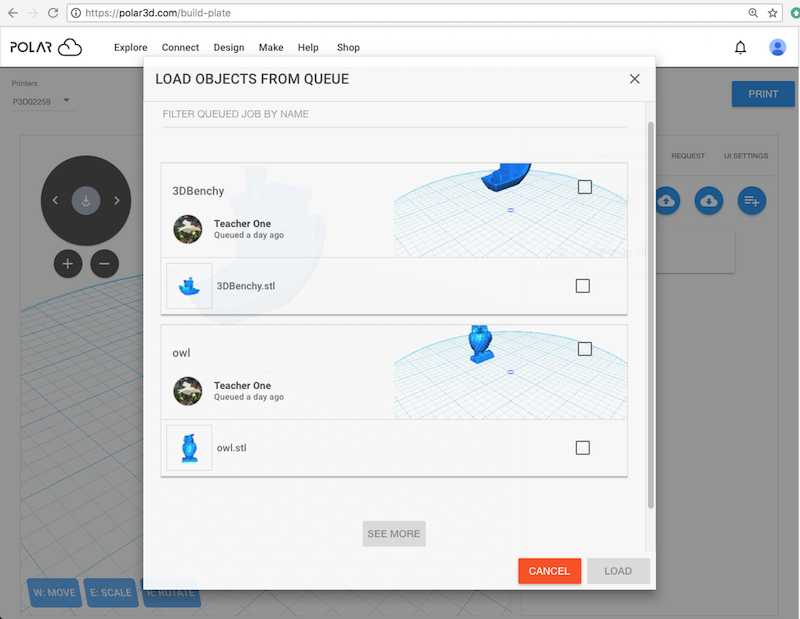
Clicking the “Load objects from your queue” icon will bring up a “LOAD OBJECTS FROM QUEUE” screen; see Figure 10.52. Note that the list of print job choices will include the print job you are editting – after all, you might want to make another copy of (duplicate) your object(s)! (Though note that to simply duplicate an object on the build plate, the “Duplicate selected object” icon button may be more convenient.)
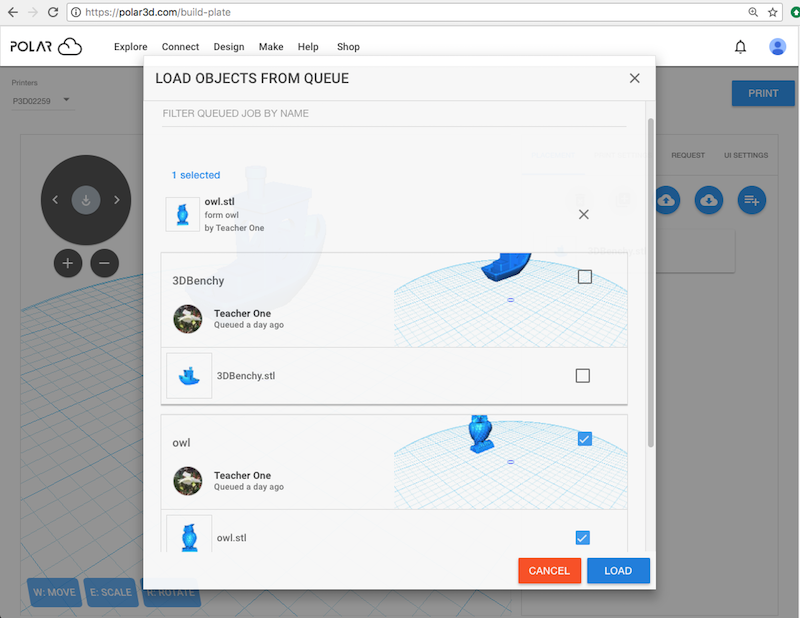
Check the box(es) for the jobs you wish to merge into the job you’re editting, and then click the blue “LOAD” button (towards the lower right); see Figure 10.53.
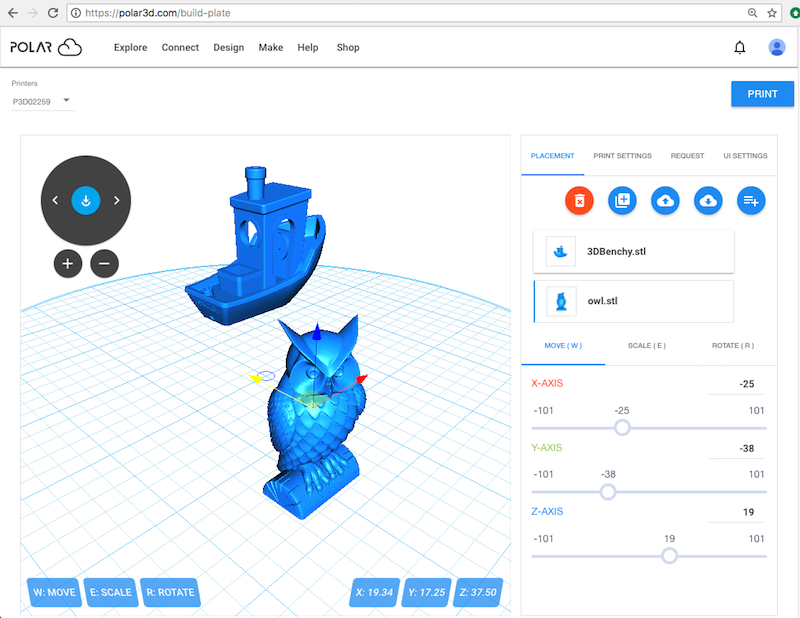
The additional object(s) will then be loaded to the build plate; see Figure 10.54.
If the objects are excessively close to each other, or even superimposed,10 click on the boxed name of an object (in the right-hand pane, or lower pane on smaller displays, under “PLACEMENT”), make sure “MOVE” is highlighted, and then select an axis and “drag” the object to a better placement on the build plate; see Figure 10.55.
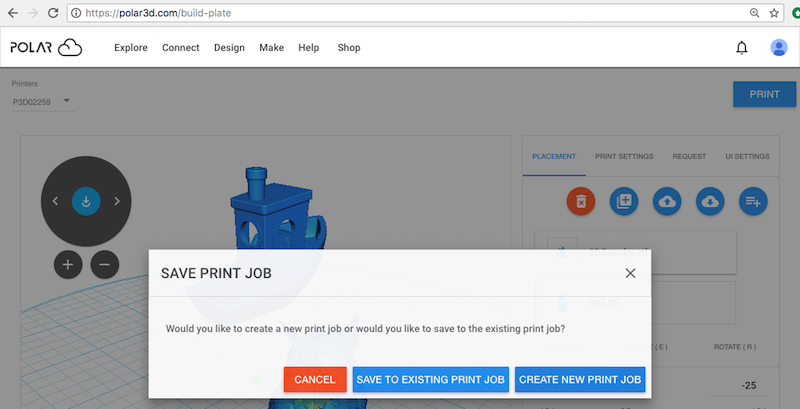
Click the “PRINT” button (towards the upper right) when you are ready to submit this merged job to the printer; a pop-up “SAVE PRINT JOB” screen will ask whether you wish to “SAVE TO EXISTING PRINT JOB” (replacing the print job you originally chose to edit) or “CREATE NEW PRINT JOB” (submit a newly created print job in addition to the original print jobs); see Figure 10.56.
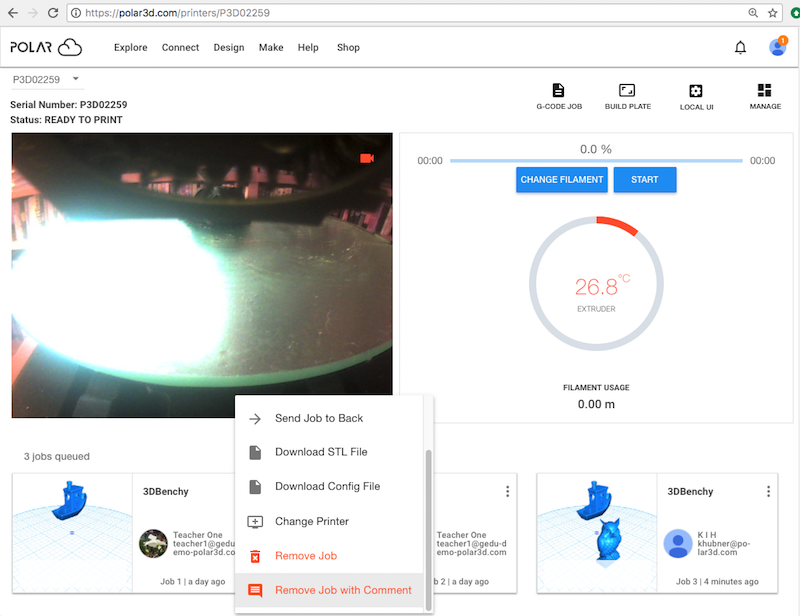
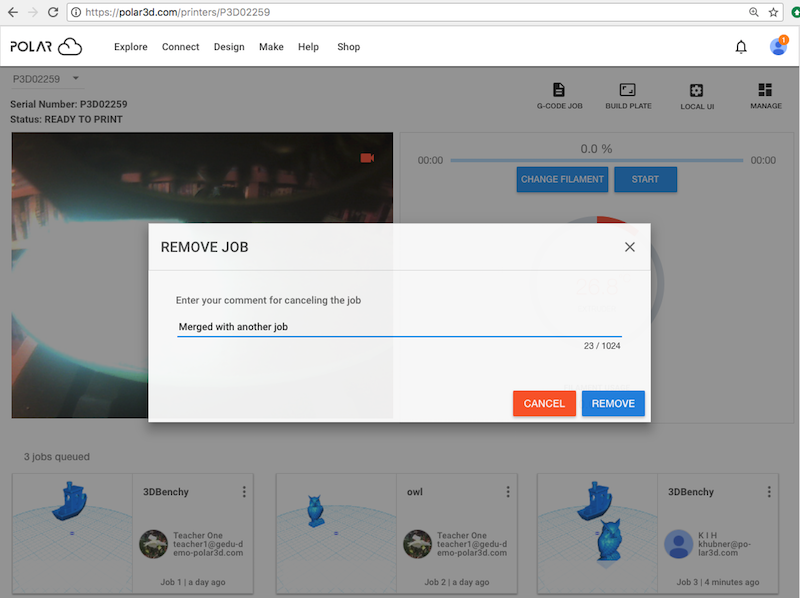
If you click “CREATE NEW PRINT JOB”, then at the printer dashboard you will now see three queued jobs, the two original jobs plus a third job which has both objects; see Figure 10.57. (Note that when a printer manager is merging jobs of printer users, “SAVE TO EXISTING PRINT JOB” leaves the modified print job owned by the original owner of the print job, whereas a newly created merged job resulting from “CREATE NEW PRINT JOB” is always owned by the printer manager.) If you wish, you may now remove either or both of the original two print jobs: click on their three dots and select “Remove Job” or, if you wish to add a comment regarding why you are removing the job, “Remove Job with Comment”; see Figure 10.58 and Figure 10.59.
10Note that the build plate “UI SETTINGS” control “Always show selected object’s bounding box” may be of assistance in detecting whether objects are superimposed.