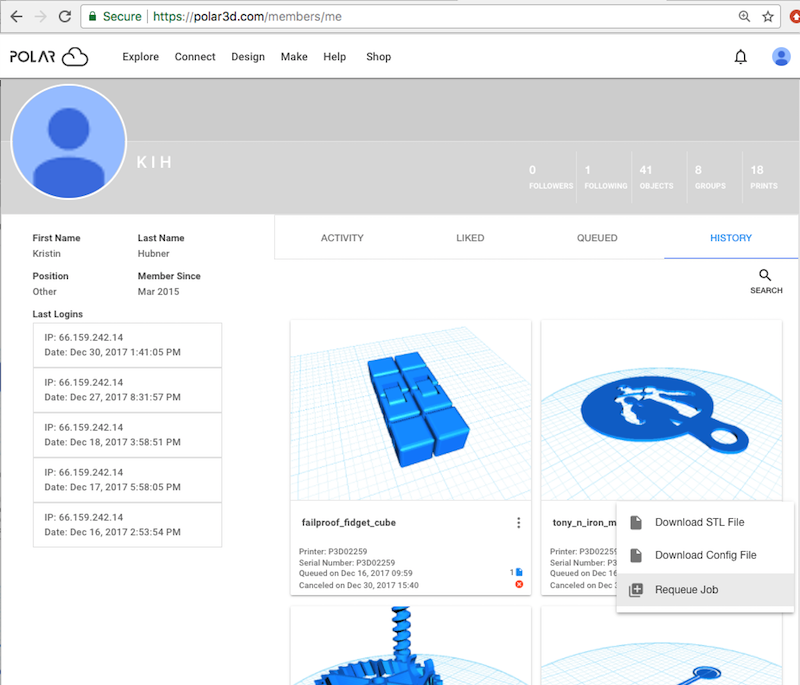
Figure 3.20: Polar Cloud account QUEUED screen: Change Printer

The “QUEUED” screen (Figure 3.20) lists all your print jobs currently queued to any printer; the “HISTORY” screen (Figure 3.21) lists all your print jobs completed (objects printed, as well as stopped print jobs). (Note the difference between your account “QUEUED” and “HISTORY” screens, which show all of your print jobs, current or historical respectively, regardless of which printer, vs. printer “QUEUED” and “HISTORY” screens, which show the print jobs, current or historical respectively, on that particular printer.)
Or, rather than listing all your own jobs, via the “SEARCH” button on your account “QUEUED” and “HISTORY” screens (towards the upper right, under the “HISTORY” tab), you may list only your own print jobs matching some criteria, such as Job Name or printer Serial Number.
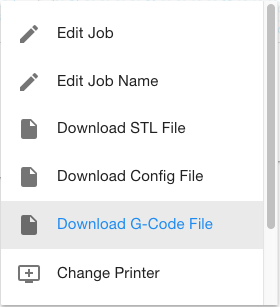
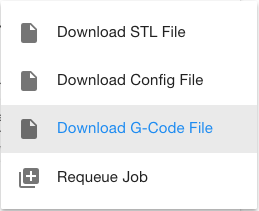
Clicking on the three vertical dots in the upper right of a print job tile on either screen will open up print job choices, such as to download the object’s .stl file or slicing profile, or to change to a different printer (on the “QUEUED” screen, see Figure 3.20) or requeue the print job (on the “HISTORY” screen, see Figure 3.21). Note that when an object was sliced in the Polar Cloud (as in the case of an object printed on a FlashForge printer), then the job menu will include an additional option of “Download G-Code File”, to download the actual generated G-code; see Figure 3.22. In contrast, the job menu for print jobs created by a printer manager directly from G-code using the “G-CODE JOB” button, while including the “Download G-Code File” option, will not include the “Download STL File” and “Download Config File” options.
Clicking on the print job tile itself on the “QUEUED” screen will take you to the dashboard of the printer on which the job is queued.
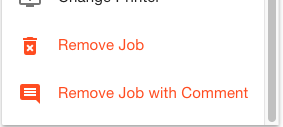
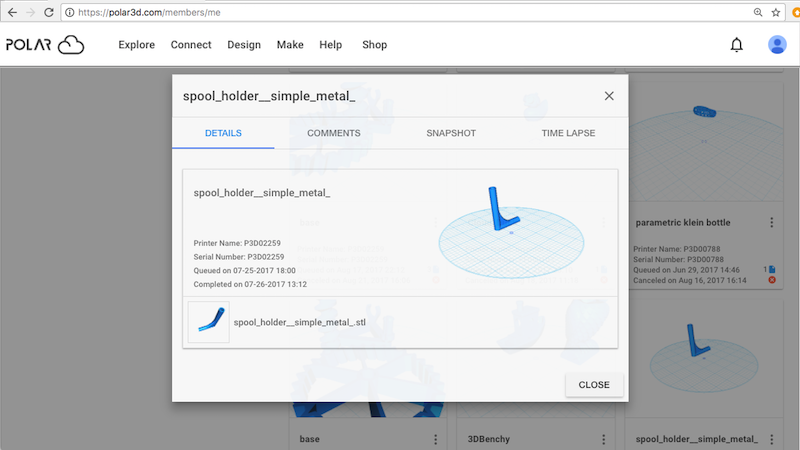
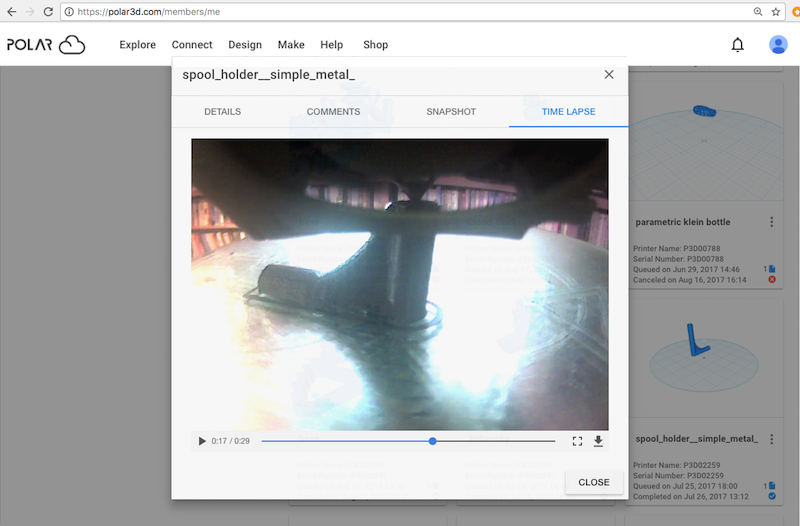
Clicking on the print job tile itself on the “HISTORY” screen will bring up the print job history page, at which you may view “DETAILS” of the print job (Figure 3.23), any “COMMENTS” regarding the print job (such as comments entered if a “Remove Job with Comment” was performed) (Figure 3.24), a “SNAPSHOT” of the completed job/object (Figure 3.25), and (with printers that support keeping a time-lapse video, such as Polar3D printers and OctoPrint controlled printers) a “TIME LAPSE” video of the completed print job (Figure 3.26).
Note that at the “COMMENTS” screen (see Figure 3.24) you may edit or remove your own comments, or add additional comments. (Note also that the print job tile on the “HISTORY” screen will include a blue “speech balloon” icon when any comments have been made.)
IFTTT applets are available to automatically post a completed print job’s SNAPSHOT photo or TIME LAPSE video to Facebook.