Figure 10.25: Polar Cloud build plate screen: progress loading job to printer
From the build plate screen, clicking the blue “PRINT” button (at the upper right of the screen; see for instance Figure 10.20, or for additional discussion of build plate screen features, refer to Figure 10.5 in Section 10.2) submits your print job to the currently selected printer (as shown in the upper left of the build plate screen).
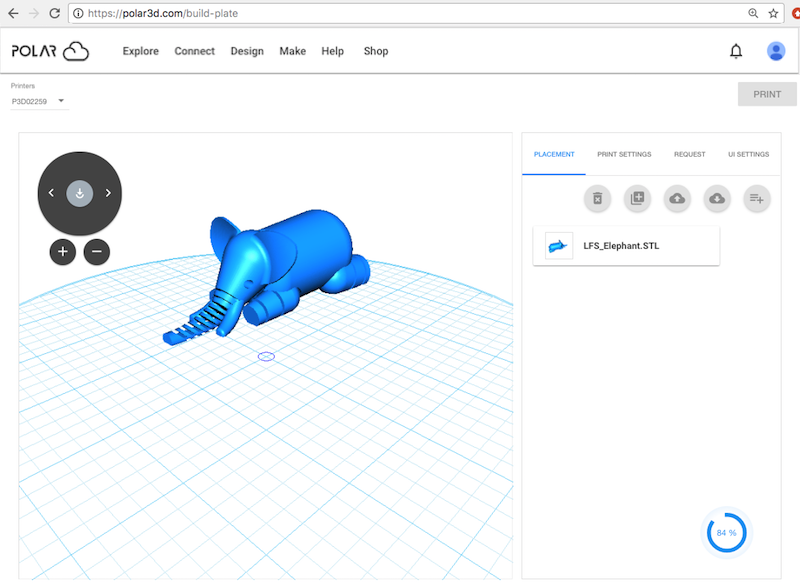
Especially if your object(s) have large .stl files or OBJ files, you may see a swirling blue icon (with a numeric progress value) towards the lower right of the build plate screen after clicking “PRINT”, as the job is submitted to the printer; the numeric value and inner blue arc indicate how far the load has progressed; see Figure 10.25.
Once your job is completely submitted, you will automatically be taken to the printer dashboard screen, where you will now see your job (as well as possibly other, previously submitted, jobs) in the print queue; refer to Figure 10.38.
To actually begin the print of your object, or whichever object is first in the queue, the printer owner or a printer manager (or a member of a group with control access to the printer) must click the “START” button on the printer dashboard screen (a blue button, towards the upper right, present when the printer “Status” is “READY TO PRINT”); Section 10.4.2 will further discuss the printer dashboard control buttons such as “START” and “STOP”. Of course, first you may want or need to perform some preparation tasks such as: remove any previously printed completed object off the build plate, touch-up the hair spray on the build plate, load or change filament, etc.
Before your print job begins printing, you may also choose to modify it. And if you are a printer manager or have control access to the printer, you may modify the queued jobs of other members, perhaps shuffling the order of jobs, or merging jobs; Section 10.5 will further discuss such print queue management operations.