


 500 / 601

M11
Molding
Note
: Heavy, dark lines indicate finished surfaces.
Decorative Enhancements
Molding
Construction Options and
Modifications
v
Included as standard
l
Available with an upcharge
I
Available with exceptions
(Blank)
Not
available
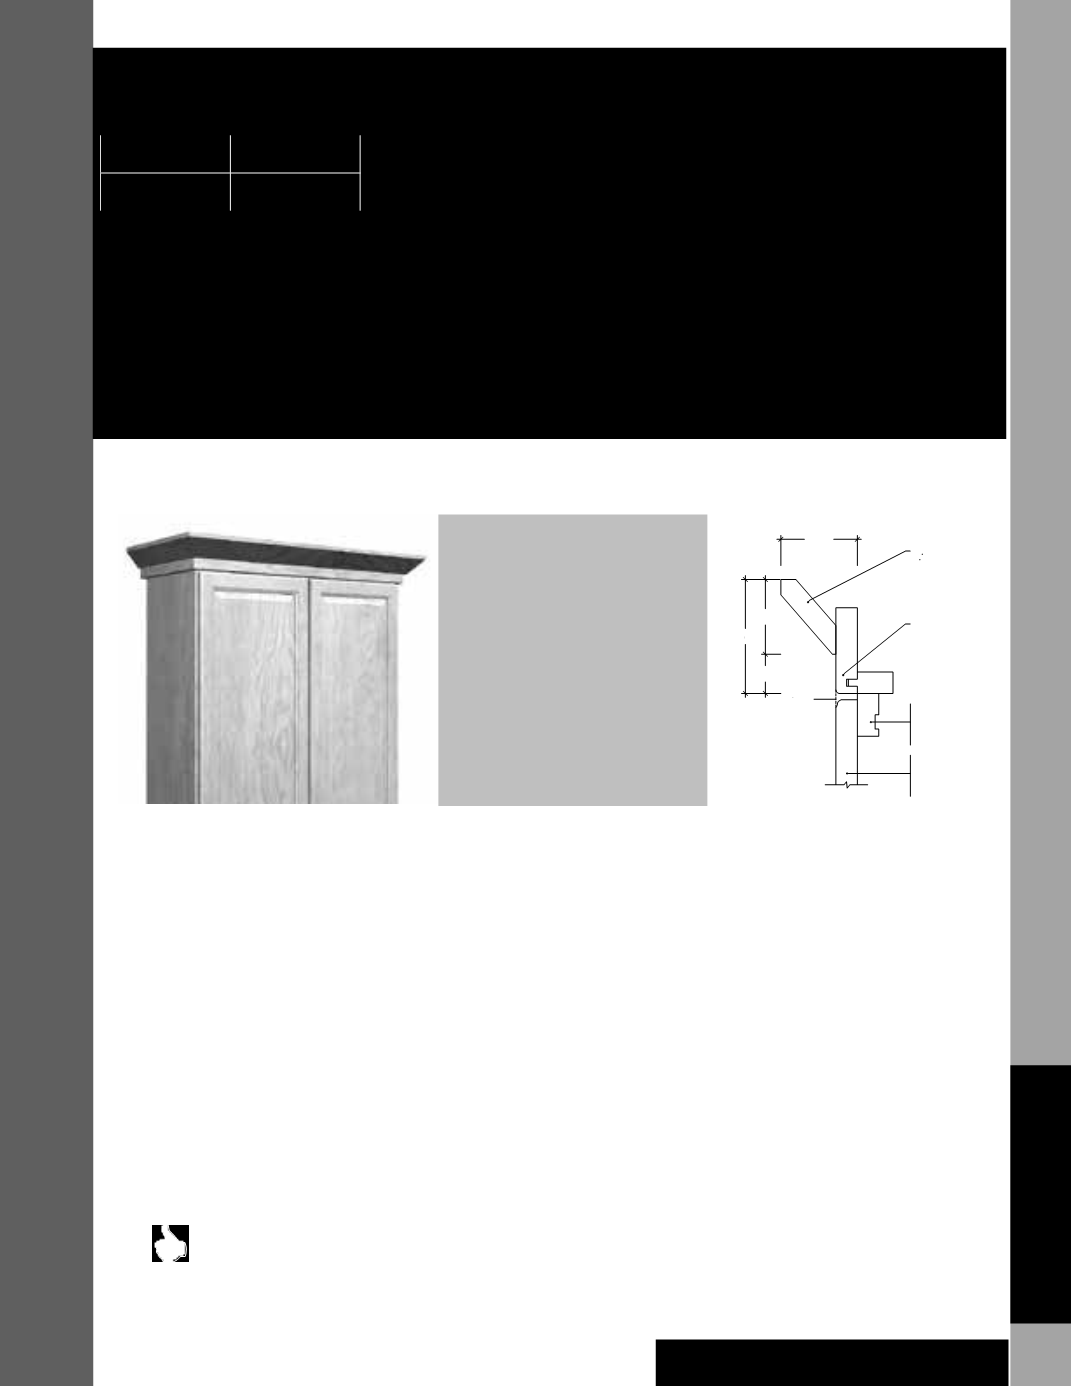
We offer numerous moldings for decorative and finished applications. Moldings are
available in some or all wood species. See chart for coding.
Material dimensions listed may vary slightly from actual dimensions of the product.
All molding ordered in quartersawn door styles will be supplied standard oak unless otherwise noted.
Moldings are
not
supplied in high gloss laminate and will be supplied with a matte sheen.
Specifications subject to change without notice.
ACM 8
code
length
2 / ˝
2 / ˝
1 / ˝
4˝
ACM8.FM
MSTR8
ALIGN W/
DOOR FACE
CABINET
FRAME
CABINET
DOOR
Molding Stack Information
To add Molding Stacks in your 2020 Design, locate them in the Drag ‘N Drop list under:
Moldings>Top Moldings>Pre-Stacked Moldings. To view the PDFs, right-click on a specific stack and go to specs.
Installation Tips:
• Cover countertops and work area to ensure a clean, free from damage work situation.
• Use a nail gun with a 23 gauge pin for trim. Standard is typically 18 gauge, however the 23 gauge micro pin makes smallest holes to minimize fill
work.
• Expect to lose up to 4”- 7” per cut when planning molding requirements.
• Apply finish material to the cut edges using a Touch Up Pen prior to joining the pieces together. is step will help conceal raw edges if the joint is
slightly off.
• Start from either the right or left side when setting the top molding in place. Determine the desired overhang to wall cabinetry and door overlay
type. Molding is typically pulled so the bottom edge is flush with the door face, however, the final overhang can be set to the customer’s preference.
Use the same process for under cabinet molding installation.
• Using Starter Molding is recommended, although, scrap material may be used as mounting blocks as long as they are
not
exposed after installation is
complete. Use construction adhesive.
• Side return moldings: Cabinets with decorative end panels applied should have the same overhang as the face. For cabinets that have flush end
panels, an overhang of 1/4” is recommended.
• Brad nail and pin length will be determined by the molding thickness (1/2” to 2” should suffice). Starter Molding or mounting blocks can be screwed
into place instead of using nails or pins (
Note
: Drilling pilot holes is required when using screws. Be sure to use the proper screw length–based on
material thickness). Using wood glue at the joints is recommended.
• After installation is complete, use a fill stick and touch up pen to fill nail holes, fine-tune miter joints and repair other blemishes that may have
occurred during the installation process. Wipe clean using a soft cotton cloth.
Supplies for installation
• Miter saw and sharp blade
• Screw gun, drill and bits
• 23 and 18 gauge pins and pinners
• Air compressor and hoses
• Laser or level
• Touch up kit and materials
• White soft rag
• Wood glue
• Clamps
• Hammer, nail set or spring loaded nail set
• Tape measure
• 4 ft. and 6 ft. ladder
• #2 pencil, white pencil and sharpener
• Cover for work area
A Alder
B
Birch
C Cherry
E
EverCore™
H Hickory
L
Laminate
LHG Laminate–High-Gloss
LWG Laminate-Woodgrain
M Maple
O Oak
QS Quartersawn