Figure 1.1: Printer in shipping box
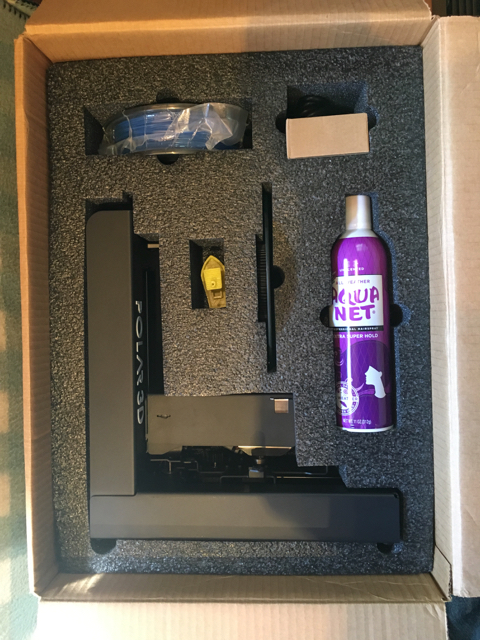
When you open up your Polar3D printer shipping box, you will see contents such as shown in Figure 1.1: the printer frame (with print head mounted), a spool of (blue) PLA filament, a power adapter and cord, a can of Aqua Net hair spray, a build plate, and a sample object test-printed on this printer at the factory (namely, a yellow boat).
There are two ways to setup your Polar3D printer to connect through a local network to the Polar Cloud:
Setting up your Polar3D printer as a network printer connected to the Polar Cloud is strongly recommended, as it permits full access to the power of the Polar Cloud interface and features; see the Polar Cloud Guide. However, for times when you don’t have an Internet connection (or even access to a local network), the Polar3D printer can instead be controlled directly from your device for printing: see Appendix C.