Figure 7.4: Polar Cloud CREATE A GROUP screen
To create your own group (whether that be a class group, a club group, or simply a group of like-minded makers), click the “CREATE” button towards the upper right of the “GROUPS” screen, as shown in Figure 7.3.
If you logged in the Polar Cloud using Google credentials corresponding to a Google account for which you use Google Classroom, then when you click “CREATE” you will next be asked if you want to use any of your Google Classroom classes to create corresponding Polar Cloud groups; see Section 7.1.1.
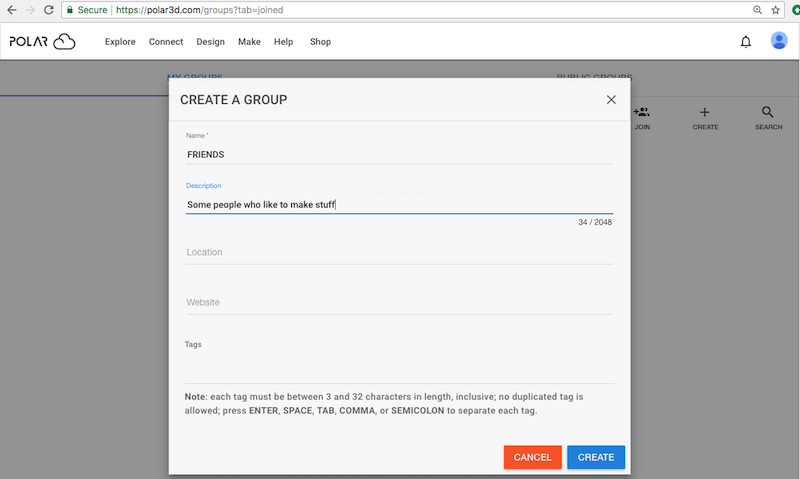
If you are not a Google Classroom teacher, then when you click “CREATE” you will see a “CREATE A GROUP” screen with fields to fill in describing the group; see Figure 7.4.
On the “CREATE A GROUP” screen, note that the “Name” field is mandatory (while “Description” is recommended but, unlike in earlier Polar Cloud versions, no longer mandatory for all groups – though you must have a “Description” set in order to mark a group as “PUBLIC” or “MODERATED”). Click the “CREATE” button (towards the lower right of the “CREATE A GROUP” pop-up screen – see Figure 7.5) once you have filled in the fields.
Note that you may later change the values in group fields via the group’s “SETTINGS” screen.
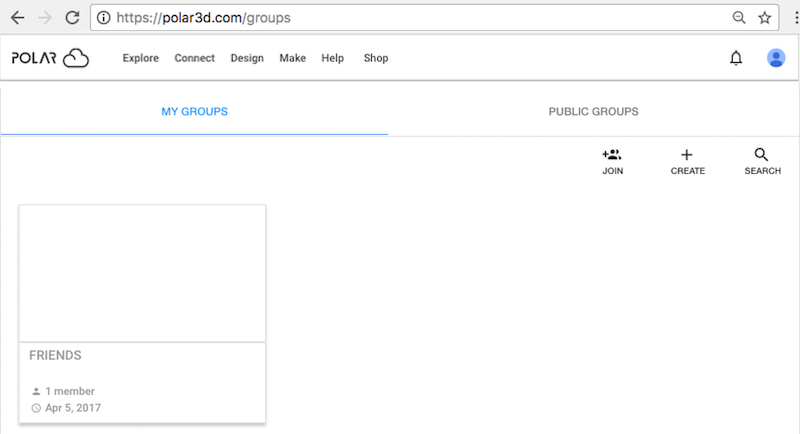
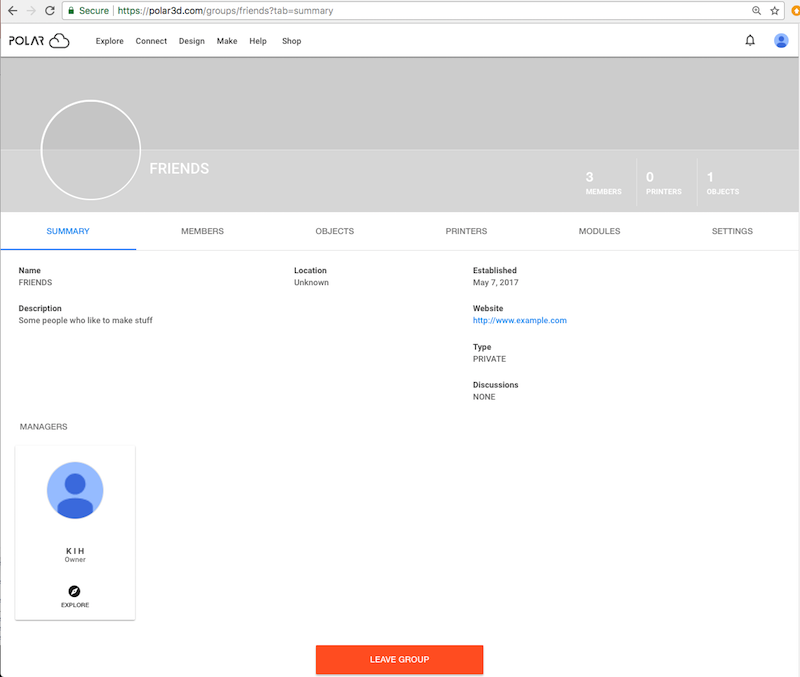
Once you have created a group, it will show up under the “MY GROUPS” list; for example, Figure 7.6 shows a group “FRIENDS”. Clicking on the tile image of a group will take you to the group’s “SUMMARY” screen; for instance, the “SUMMARY” screen for the group “FRIENDS” is shown in Figure 7.7.1
Note that group screens such as “SUMMARY” display a statistics line at the upper right, tallying the number of group members, (shared) printers, and (shared-to-the-group) objects.