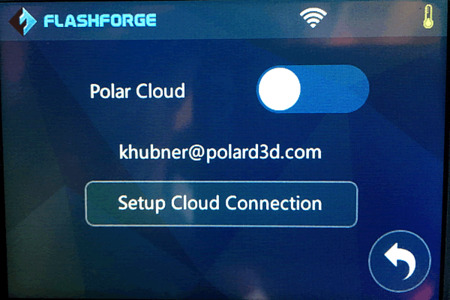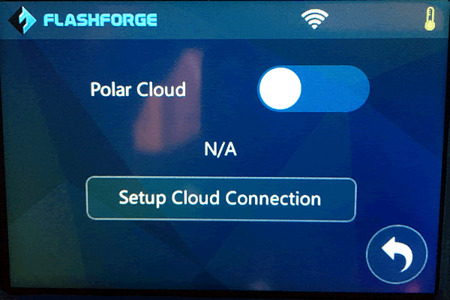
Figure 9: Polar Cloud controls
With your printer connected to your network, you are ready to connect it to the Polar Cloud. On the Settings screen, Figure 5, select the “Polar Cloud” item. This will produce the screen seen in Figure 9.
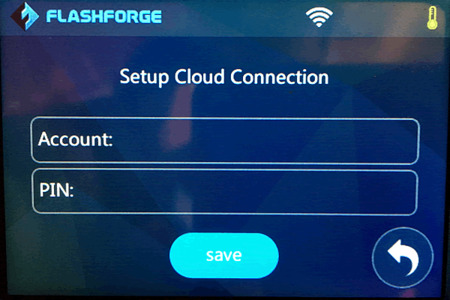
Begin by selecting “Setup Cloud Connection” which presents the screen of Figure 10.
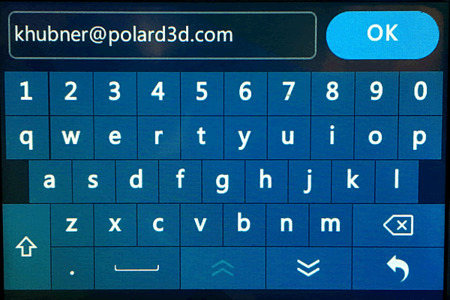
First select “Account” and input the e-mail address associated with your Polar Cloud account. The result of entering an e-mail address is shown in Figure 11.
The at-sign, @, is had by touching the key with the two chevrons on the keypad (bottom row, second from the left; next to the “go back” key).
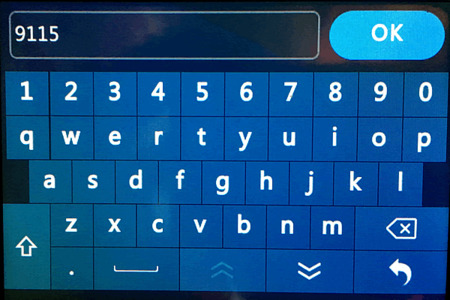
Once the e-mail address is entered, press the “OK” button and next enter the PIN number. An example of entering a PIN is shown in Figure 12.
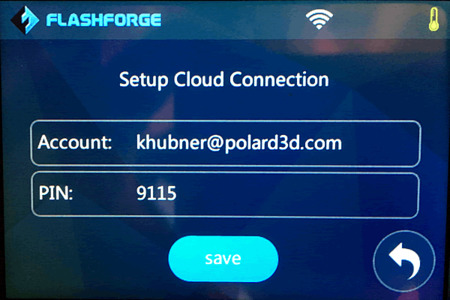
When both the e-mail address and PIN have been entered, press the “SAVE” button as seen in Figure 13.
Finally, slide the white circle of Figure 14 to the left to enable the Polar Cloud connection.
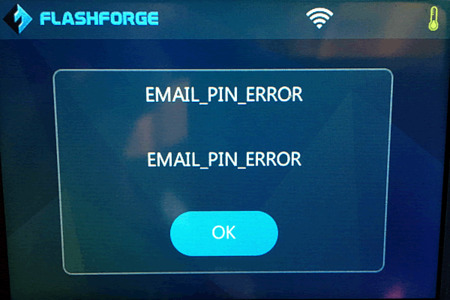
If you have mistyped your e-mail address or PIN number, the printer will be unable to connect to the cloud. Figure 15 shows the resulting error screen.
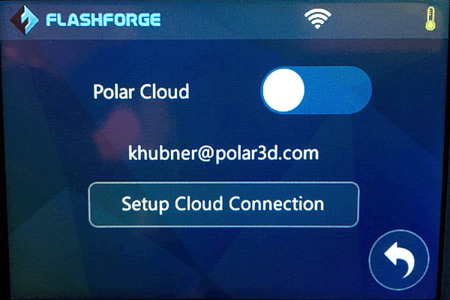
If you encounter such an error, just click the “OK” button and go back and check the e-mail address and PIN number, correcting any mistakes. Once any mistakes are corrected, as in Figure 16, again try enabling the connection by sliding the white circle to the left.
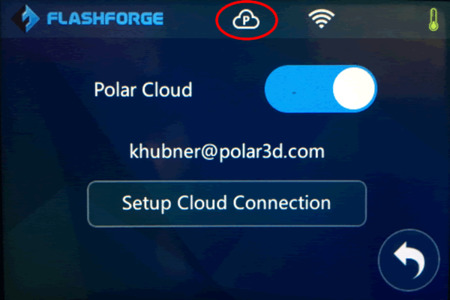
When a successful connection is made, a cloud icon as seen in Figures 17 and 18 will appear.
The printer will remember the connection settings and connect to the Polar Cloud each time you power it on