6.2.4 Manipulating Polar Cloud objects in the Makers Empire
3D design app
Importing Polar Cloud objects into the Makers Empire 3D design
app is performed just like importing any industry-standard .stl file
into Makers Empire 3D.
For your convenience, an example of Makers Empire object
import steps are outlined below, but refer to Makers Empire website,
videos, and documentation for authoritative, up-to-date Makers
Empire object import details!
-
1.
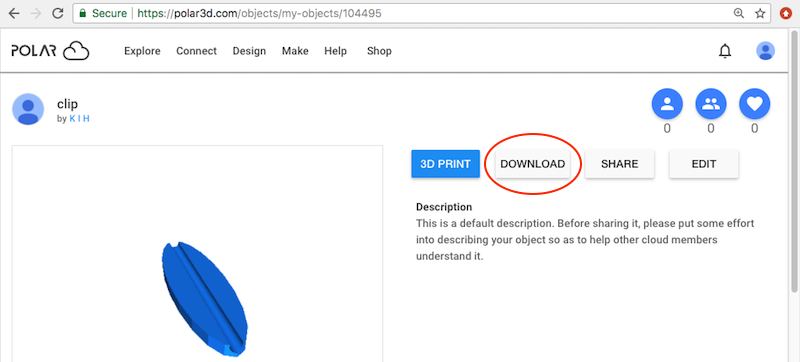
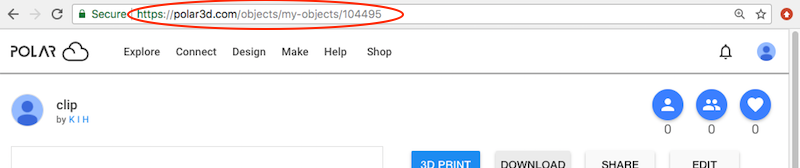
- Begin by downloading to your device the Polar Cloud object(s)
you wish to manipulate; see for example Figure 6.35, showing an
object detail screen with the “DOWNLOAD” button circled (or see
more general discussion of Polar Cloud object download in Section
5.5).
-
2.
- Start up Makers Empire on your device. (Note that your device
must be online, as offline Makers Empire operation can not
perform the “Open STL File” operation.)
-
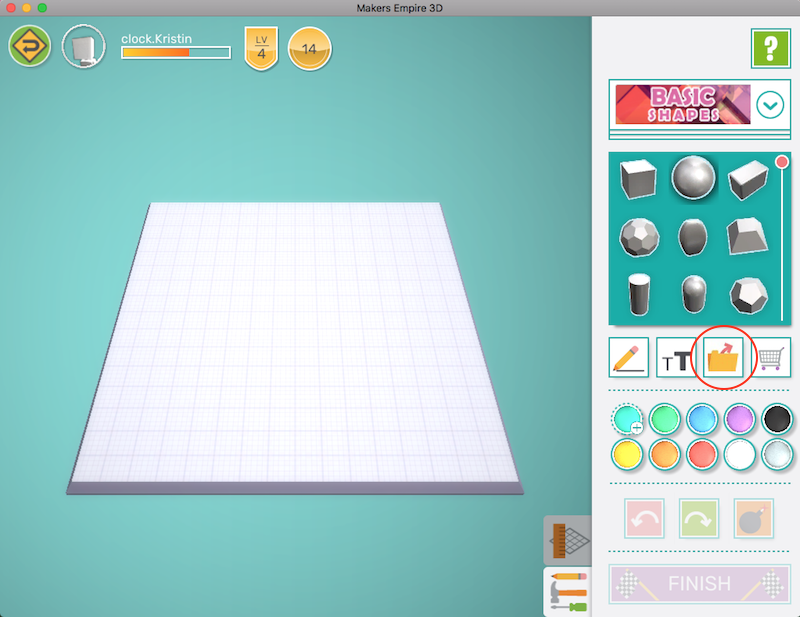
3.
- At the Makers Empire 3D SHAPER screen, click the “Open STL
File” icon; see Figure 6.36.
-
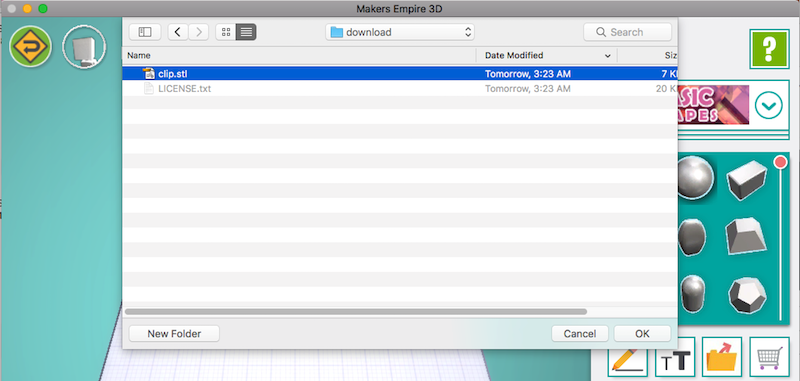
4.
- Select the Polar Cloud object file that you downloaded at step
1; see Figure 6.37.
-
5.
- You may then see some notices from Makers Empire pop-up at
the bottom left of the screen, such as shown in Figure 6.38,
Figure 6.39, and Figure 6.40...
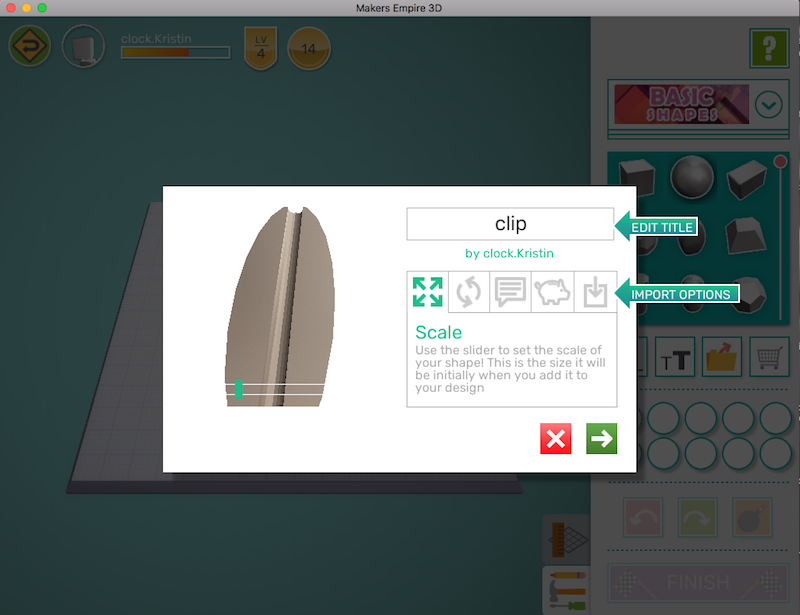
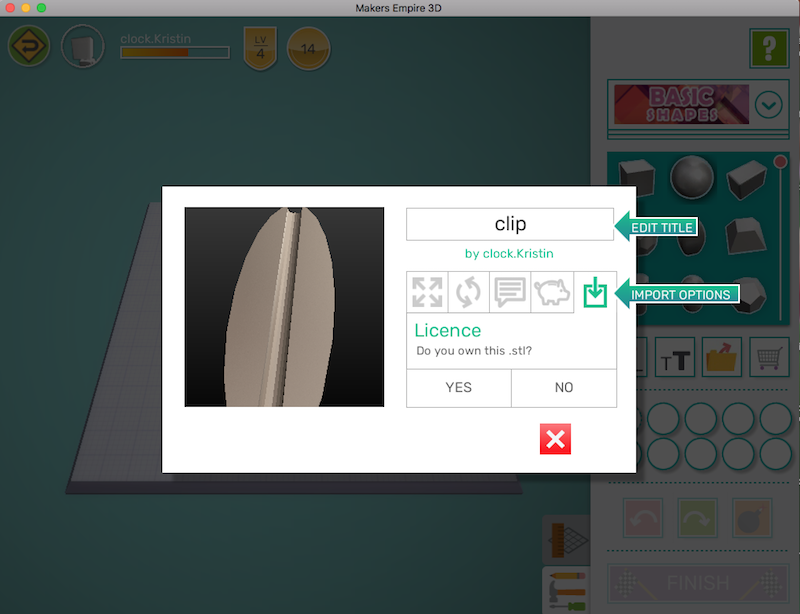
...then Makers Empire will pop-up its screen for setting your
imported object’s IMPORT OPTIONS; see Figure 6.41. When
importing an object, Makers Empire will take you step-by-step
through setting the object’s IMPORT OPTIONS, deciding on the
object’s initial Scale, rotation (Rotate), Description, Cost,
and License. (You can also change the object’s title in Makers
Empire at this screen.)
-
6.
- When you get to object License, see Figure 6.42, you will
have the choice of clicking YES (for an object that you own/you
created yourself, and that you’re willing to share in Makers
Empire under terms of Creative Commons - Attribution, i.e.,
CC-BY), or NO and then entering in the URL for where you
obtained the object. For instance, although in this example the
Polar Cloud object in question is a private object for which one
could choose to click YES, instead clicking NO and entering the
URL for the Polar Cloud object’s detail screen (see
Figure 6.43 demonstrating such a URL) would also be
possible. And if this were a Polar Cloud object owned and
shared by someone other than you, then you would click NO
and enter the URL for the Polar Cloud object’s detail
screen.
-
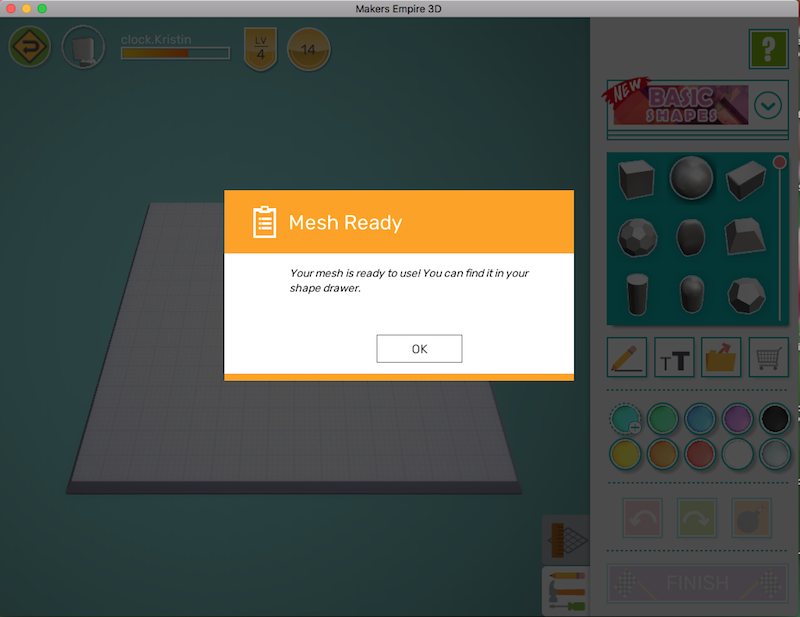
7.
- Once you’ve completed the Makers Empire process for
importing your object including its licensing (see step 6), you’ll
see a Mesh Ready screen as shown Figure 6.44; click OK and
your object is imported!
-
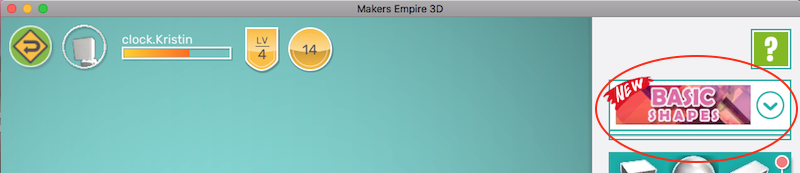
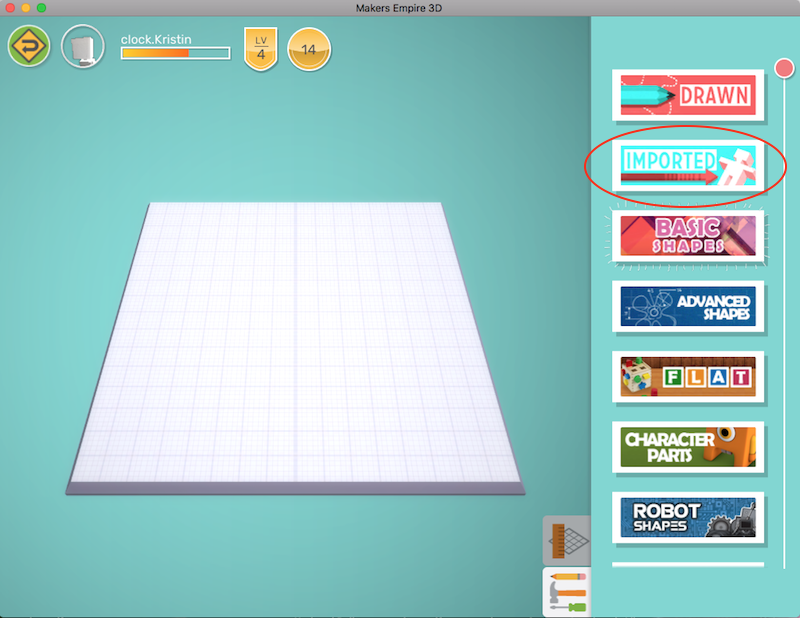
8.
- Now to find where Makers Empire has listed your imported
object, you’ll need to expand the shapes pack at the upper
right of the SHAPER screen, see Figure 6.45, and select IMPORTED
shapes, see Figure 6.46.
-
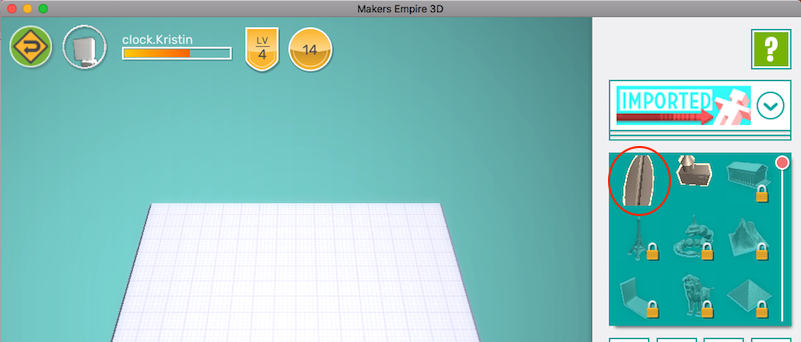
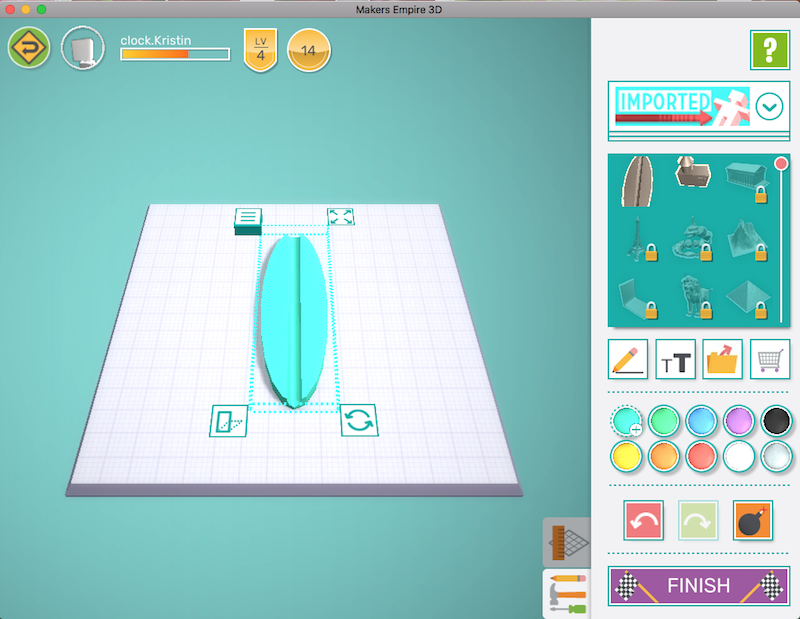
9.
- With IMPORTED shapes selected, your imported object is now
displayed in the shape menu, and you can click on it to select
it, as shown in Figure 6.47, which will load it to the design
platform, as shown in Figure 6.48.