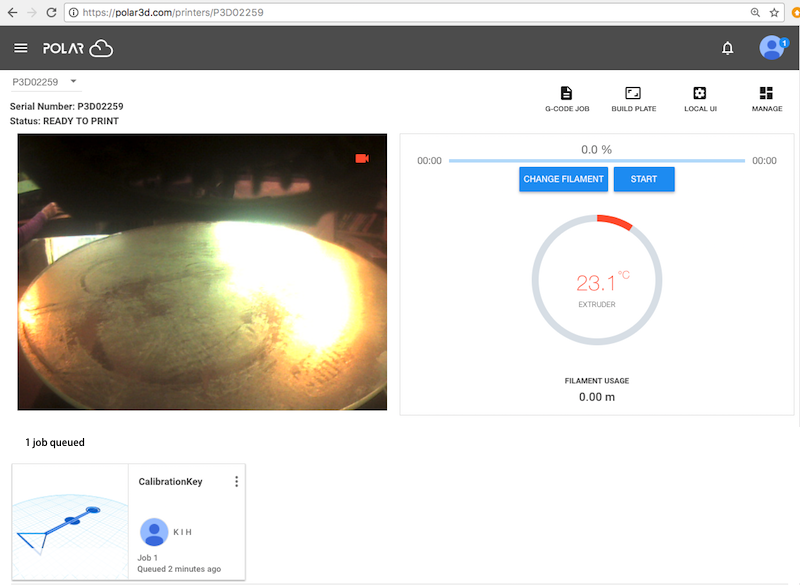
Figure 2.16: Printer dashboard: job submitted to the print queue
Are you ready to submit your object for printing? (Note that if you don’t like any adjustments you tried making in Section 2.2.2, you may go back to the list of objects, and simply select the object again to have it back in its original location, size, etc.: that is, return to Section 2.2.1 and repeat the initial steps of selecting an object.)
Once you are ready to submit a print job – that is, once you have completed any adjustments you wished to make at the build plate (“3D PRINT”) screen overviewed in Section 2.2.2 (and discussed in detail in Section 10.2: The build plate screen (3D PRINT), and adjusting your print of the Polar Cloud Guide), then clicking the “PRINT” button towards the upper right of the build plate screen will submit your job to your selected printer. (Note that, especially with complicated object models, the loading of the .stl file to the printer may take some time – it is normal for this stage to take a minute or two: a blue swirling loading icon will appear towards the lower right of the screen.) Once the submission has completed, you will be shown a printer dashboard screen such as in Figure 2.16.
Click the “START” button (towards the upper right of the printer dashboard screen) to begin the print.