Figure 2.17: Printer “homing” when the temperature reaches 175° C
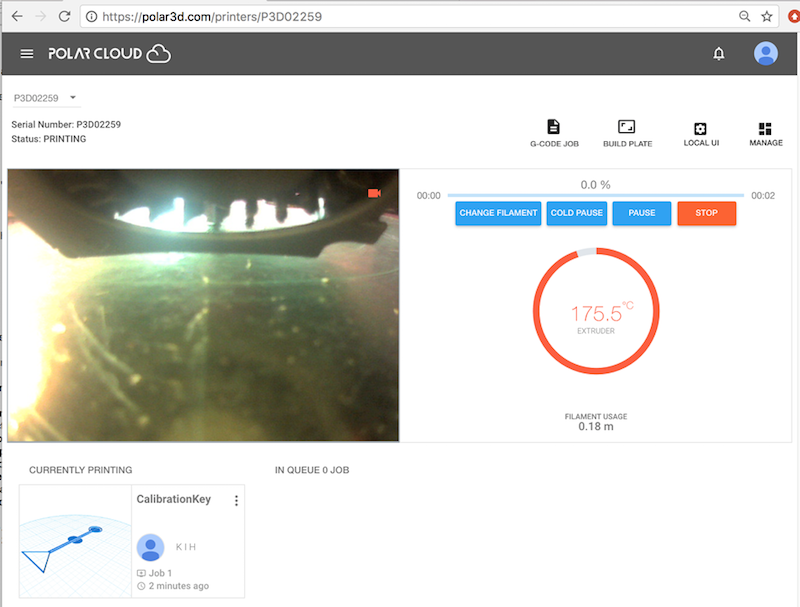
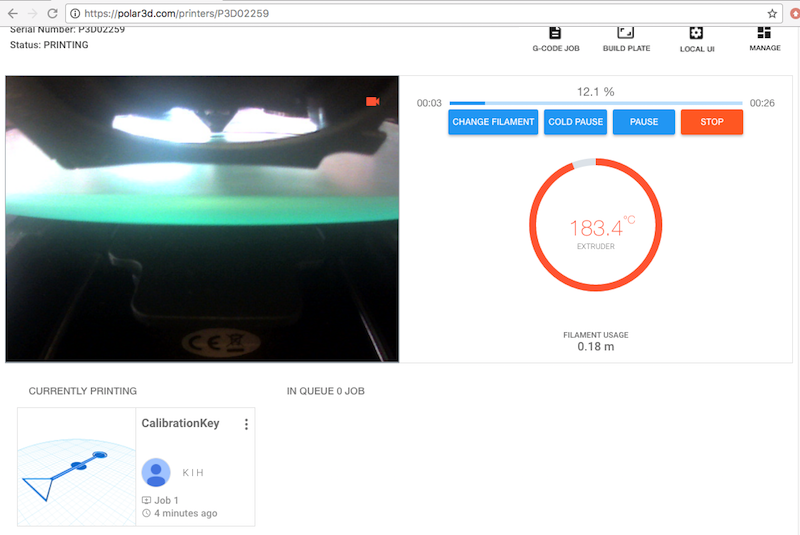
Having submitted your job and clicked “START” (see Section 2.3), the Polar Cloud printer dashboard screen (see Figure 2.16) will begin updating, showing you a camera view of the printer (on the left) and status data on the progress of the printer (on the right). (On mobile devices or other small displays, the printer dashboard “screen” is actually two screens, a “CAMERA” screen and a “STATS” screen; see Section 10.4.1: Printer dashboard screens on smartphones or other narrow display devices of the Polar Cloud Guide.)
If the Polar Cloud detects that you are connected to the Polar Cloud via the same local network over which the printer is connected to the Polar Cloud, then the Polar Cloud will update the printer dashboard with a live video feed from the printer camera (indicated by a small red printer icon within the printer image – see Figures 2.17–2.21). If instead you appear to be connected to the Polar Cloud remotely from your printer, over a different network, then the Polar Cloud will instead update the printer dashboard every few seconds with successive snapshots from the printer camera (giving a “time-lapse” sort of effect).
Note that after you have clicked “START”, the status line underneath the printer name (towards the top left of the printer dashboard screen) will cycle (fairly rapidly) through: WAITING FOR RESPONSE, PREPARING PRINT, and then PRINTING. At Status: PRINTING, control buttons (“CHANGE FILAMENT”, “COLD PAUSE”, “PAUSE”, and “STOP”) will show up as active on the printer dashboard.
At 175°C, the printer will home (i.e., move the build plate and print head into proper position for the beginning of the print); see Figure 2.17. Then the printer will continue to heat up to 185°C (the proper temperature for extruding Polar 3D PLA filament). At 185°C, the printer will begin extruding melted filament and your print is in progress!
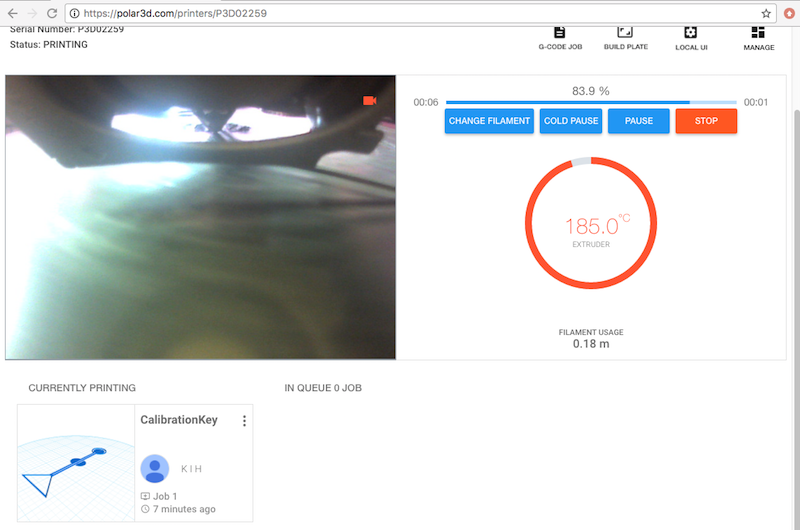
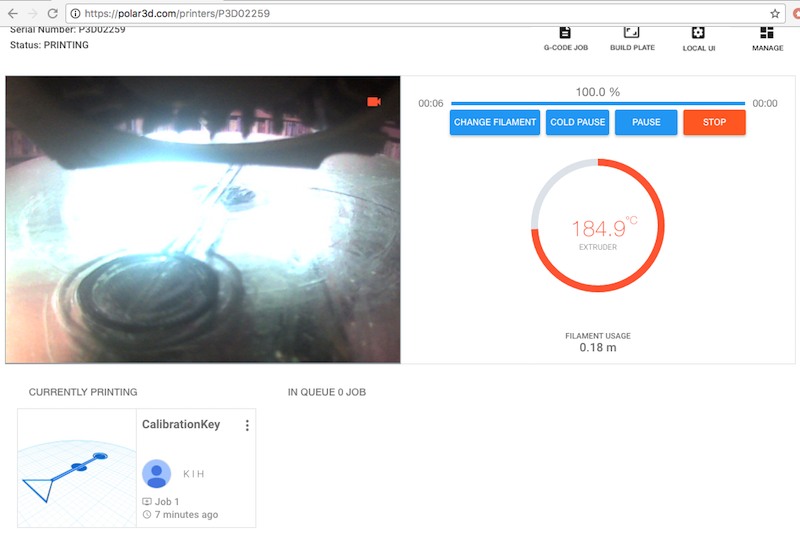
See Figure 2.18, Figure 2.19, and Figure 2.20 for examples of progress as a job prints.
Once the object has finished printing, the status line under the printer name (towards the top left of the screen) will cycle through: COMPLETING PRINTING, FINISHING PRINTING, and then READY TO PRINT (when it is ready for a new job); see Figure 2.21.
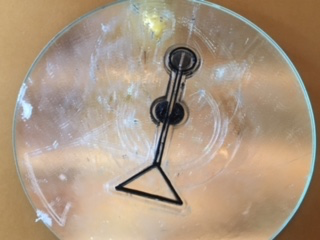
Let your object cool a bit on the build plate to firm up, and then remove it from the build plate! (Note that Section 4.2 has a few hints on removing objects from the build plate.)
On your build plate, as in Figure 2.22, you may notice a faint “outline” or partial outline of printing around your actual object: a single layer of printing 3 mm from the object itself. That is a skirt; the default slicing profiles for the Polar3D printer include a skirt (to help establish a smooth flow of melted filament before extruding the object itself). You may disable skirt generation, or modify skirt generation, via the Polar Cloud build plate “PRINT SETTINGS”, “BASIC”, “Support”, “Platform Adhesion Type: None (Skirt)”, “Skirt Settings”; see Section 10.2.2.2: The build plate screen: PRINT SETTINGS BASIC of the Polar Cloud Guide.