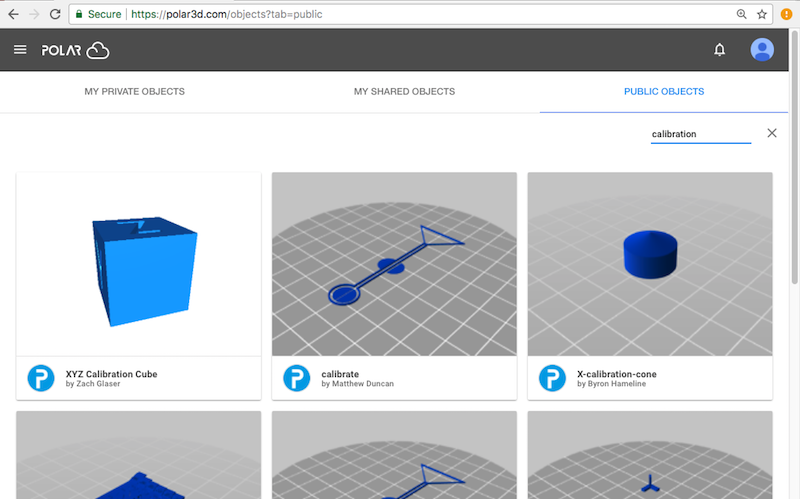
Figure 2.7: Polar Cloud PUBLIC OBJECTS screen
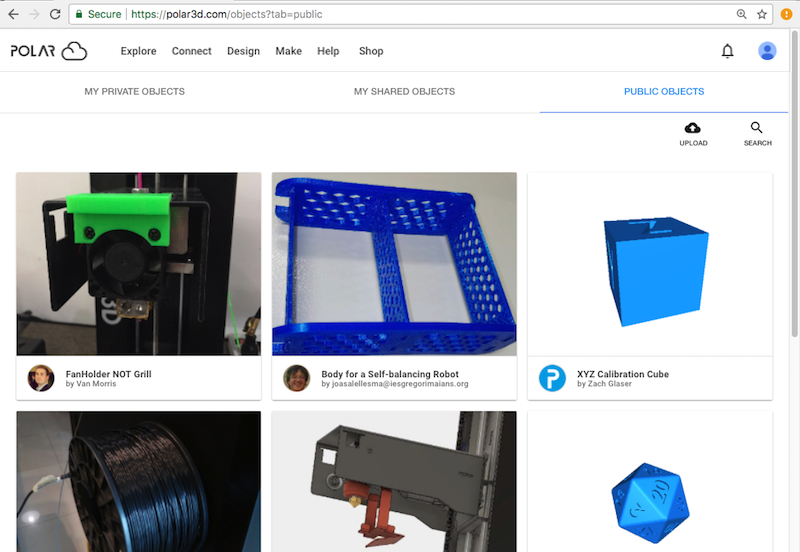
From the Polar Cloud main screen, expand the top left menu and click on “OBJECTS”; see Figure 2.6. Then click on “PUBLIC OBJECTS”; this will bring up a screen such as shown in Figure 2.7. Scrolling to the bottom of the screen and clicking “SEE MORE” will load additional objects. You may click on an object to select it.
Note that you may also search these objects by clicking on “SEARCH”. For instance, if you don’t see any object that particularly appeals to you as your first print, you might try searching for “calibration” (to find objects intended for checking calibration) and try one of those objects as your first print; see Figure 2.8.
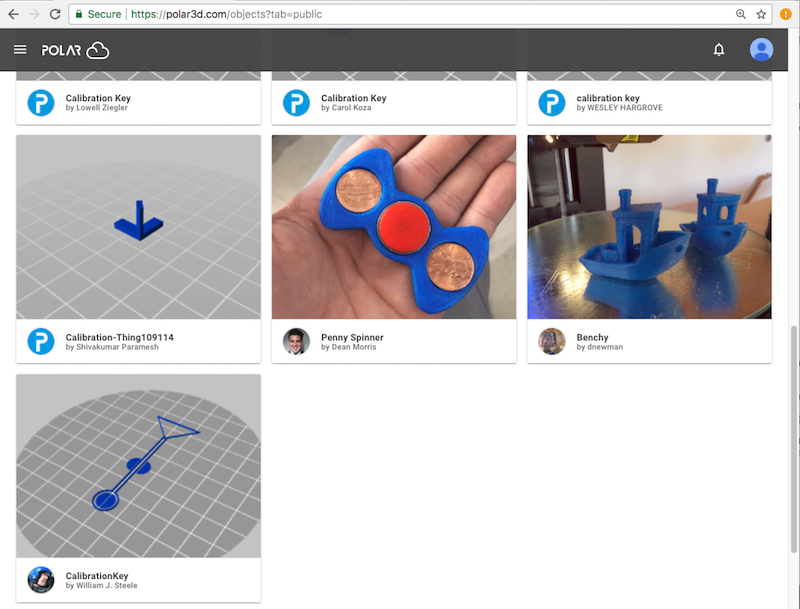
Let’s scroll down and find William Steel’s original calibration key, as shown in Figure 2.9.
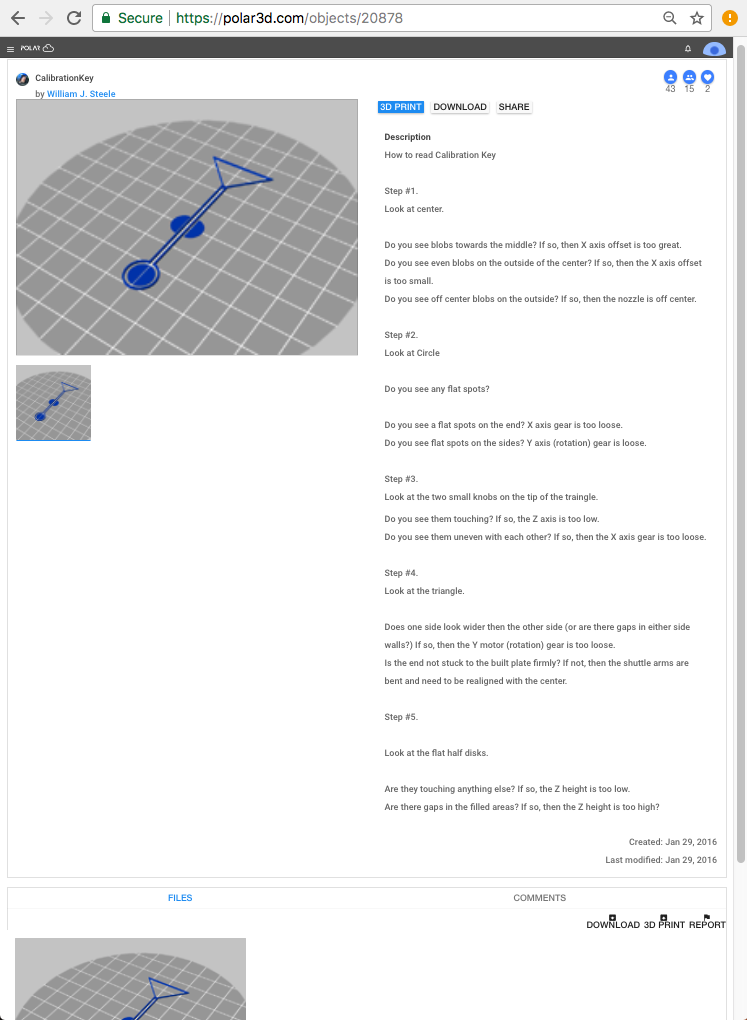
Clicking on that object’s tile image takes you to the object’s detail screen, as shown in Figure 2.10.
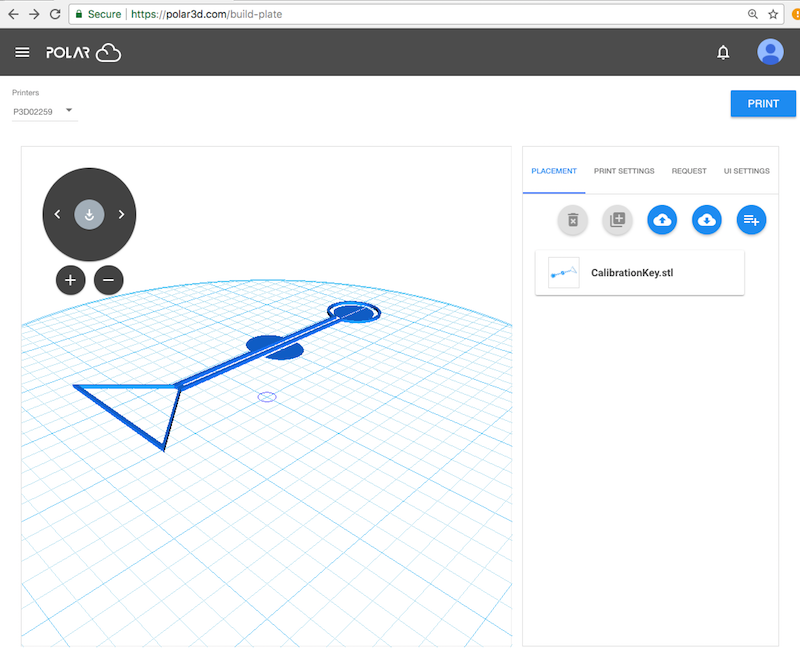
Then clicking on the “3D PRINT” button will take you to the build plate screen, as shown in Figure 2.11. (Note that for especially complex objects, objects with multiple or large .stl files, the process of loading the object’s image to the screen may take a minute or so; you will see a blue swirling loading icon towards the bottom right of the build plate screen as the object loads.)
At the build plate screen, you may optionally make numerous adjustments to the object; see Section 2.2.2.
Once you are content with the planned object, click the “PRINT” button (at the build plate screen’s upper right) to submit the print job to the printer; this will automatically take you (after possibly a minute or so with a blue swirling loading icon towards the lower right of the screen) to the printer dashboard screen; see Figure 2.16.