Products
H2O
The H2O section allows you to enable Enterprise Steam to work with H2O. From this section, you can also add new H2O engines and specify launch parameters to be used when starting H2O.

Configuration
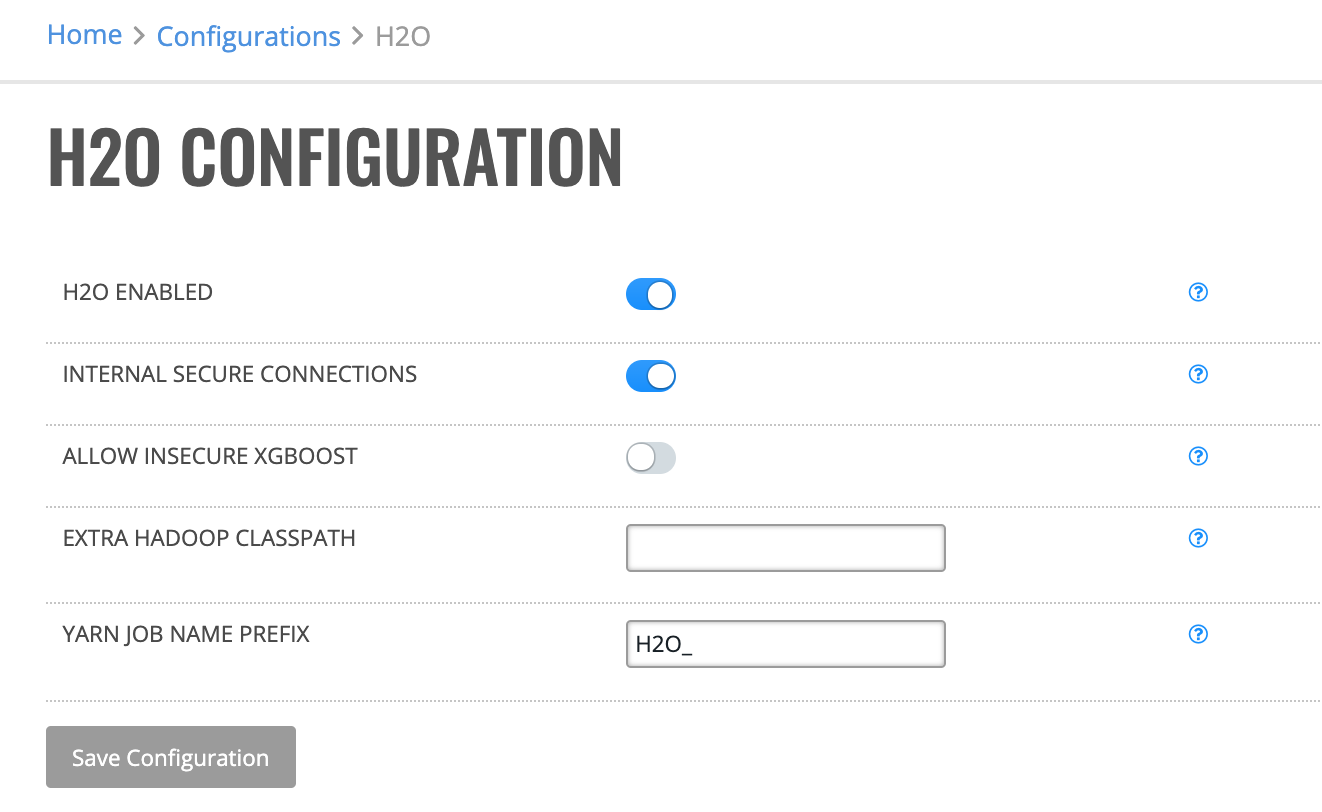
H2O Configuration allows you to enable Enterprise Steam to work with H2O. When enabled, the default-h2o profiles will be available. (See the Profiles section for more information.)
Click the Configuration option under the H2O section.
Enable H2O.
(Optional) Turn on Internal Secure Connections. This enables SSL internal security.
(Optional) Allow insecure XGBoost on clusters with Internal Secure Connections enabled.
(Optional) Specify any additional Hadoop CLASSPATH options. These will be added to HADOOP_CLASSPATH when launching H2O clusters.
(Optional) Specify a custom prefix that will appear in front of the jobname in YARN resource manager.
Click Save Configuration when you are done.
Engines
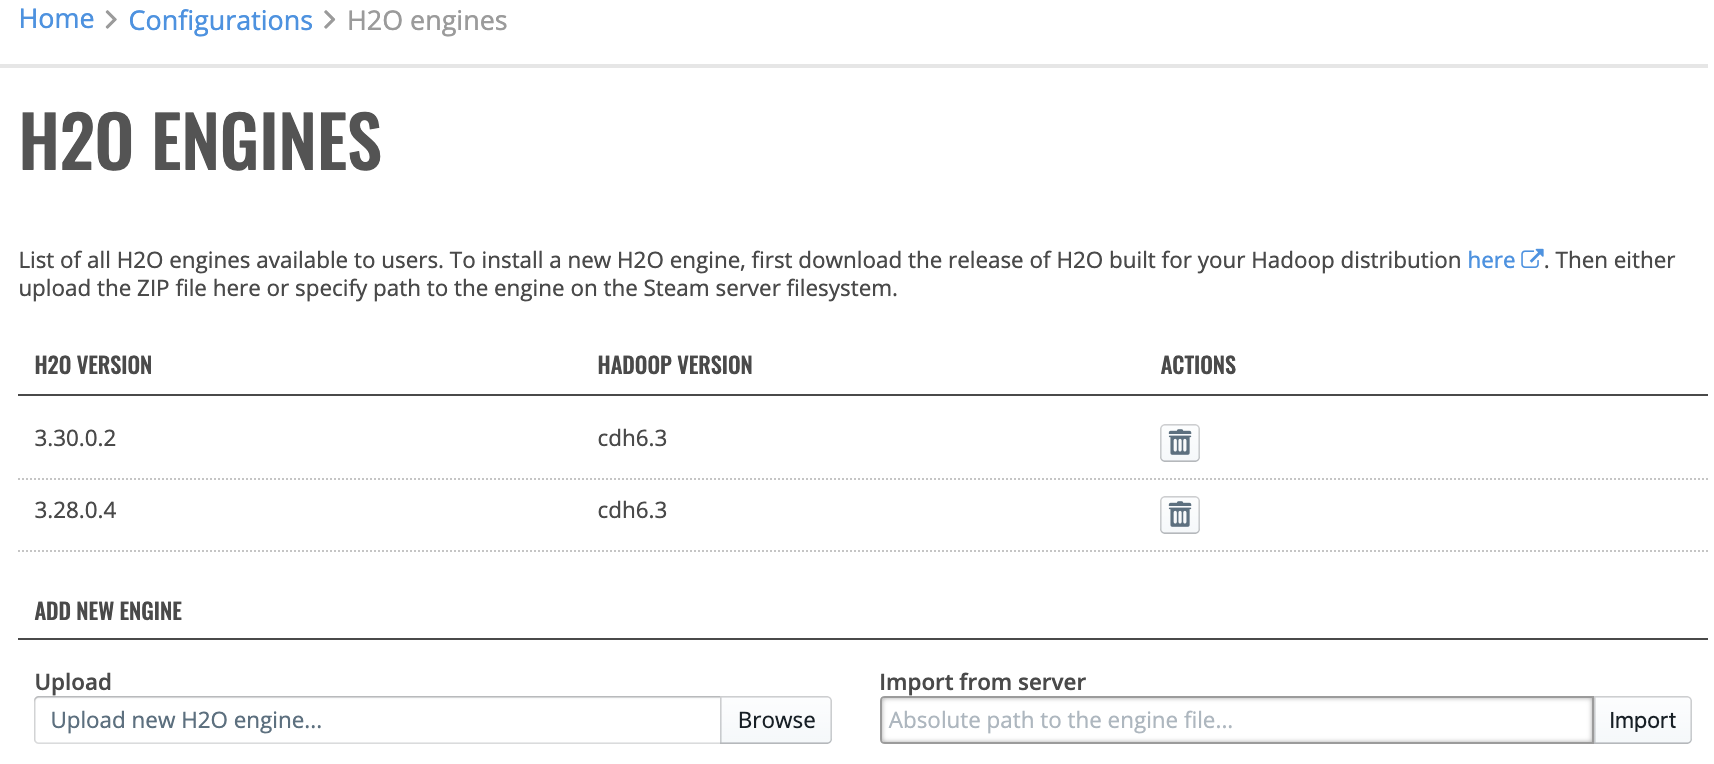
Click the Engines option in the H2O section to view a list of available H2O engines. To install a new H2O engine, download the engine that matches your desired H2O version and Hadoop distribution. Files can be uploaded by clicking the Browse button or imported from the server by providing the absolute path to the engine file and clicking the Import button. You can also delete engines that are no longer needed by clicking on the Remove engine icon next to the engine you want to delete.
Startup Parameters
The Startup Parameters option in the H2O section allows you to specify startup parameters to be used when starting H2O. A list of parameters that can be specified is available in the H2O-3 User Guide.
Click Add Parameter to add a new startup parameter.
Enter the name of the paramter.
Specify a value for the parameter.
Specify if this paramter is the default or an override.
Specify if this is a Hadoop or H2O Driver parameter.
Click Create when you are done.

Sparkling Water
The Sparkling Water section allows you to enable Enterprise Steam integration with Sparkling Water. From this section, you can also upload new Sparkling Water engines and new Python environments.
Configuration
Sparkling Water Configuration allows you to enable Sparkling Water and/or RSparkling. When enabled, the default-sparkling-internal and default-sparkling-external profiles will be available. (See the Profiles section for more information.)
Note: Sparkling Water Jupyter Notebooks are saved to disk at: /opt/h2oai/steam/data/jupyterhub/home/{username}
Click the Configuration option under Sparkling Water.
Enable Sparkling Water and/or R Sparkling.
Specify the path to your Spark home directory (SPARK_HOME).
(Optional) Override default HDAOOP_CONF_DIR to user defined HADOOP_CONF_DIR (from Hadoop configuration).
Specify the path to your Java 8 home directory (JAVA_HOME).
(Optional) Add a comma-separated list of JAR paths that will be added to the classpath
(Optional) Turn on Internal Secure Connections. This enables SSL internal security.
(Optional) Allow insecure XGBoost on clusters with Internal Secure Connections enabled.
Select a Sparkling Water backend to enforce. You can change this to Internal or External backend.
Click Save Configuration when you are done.

Engines
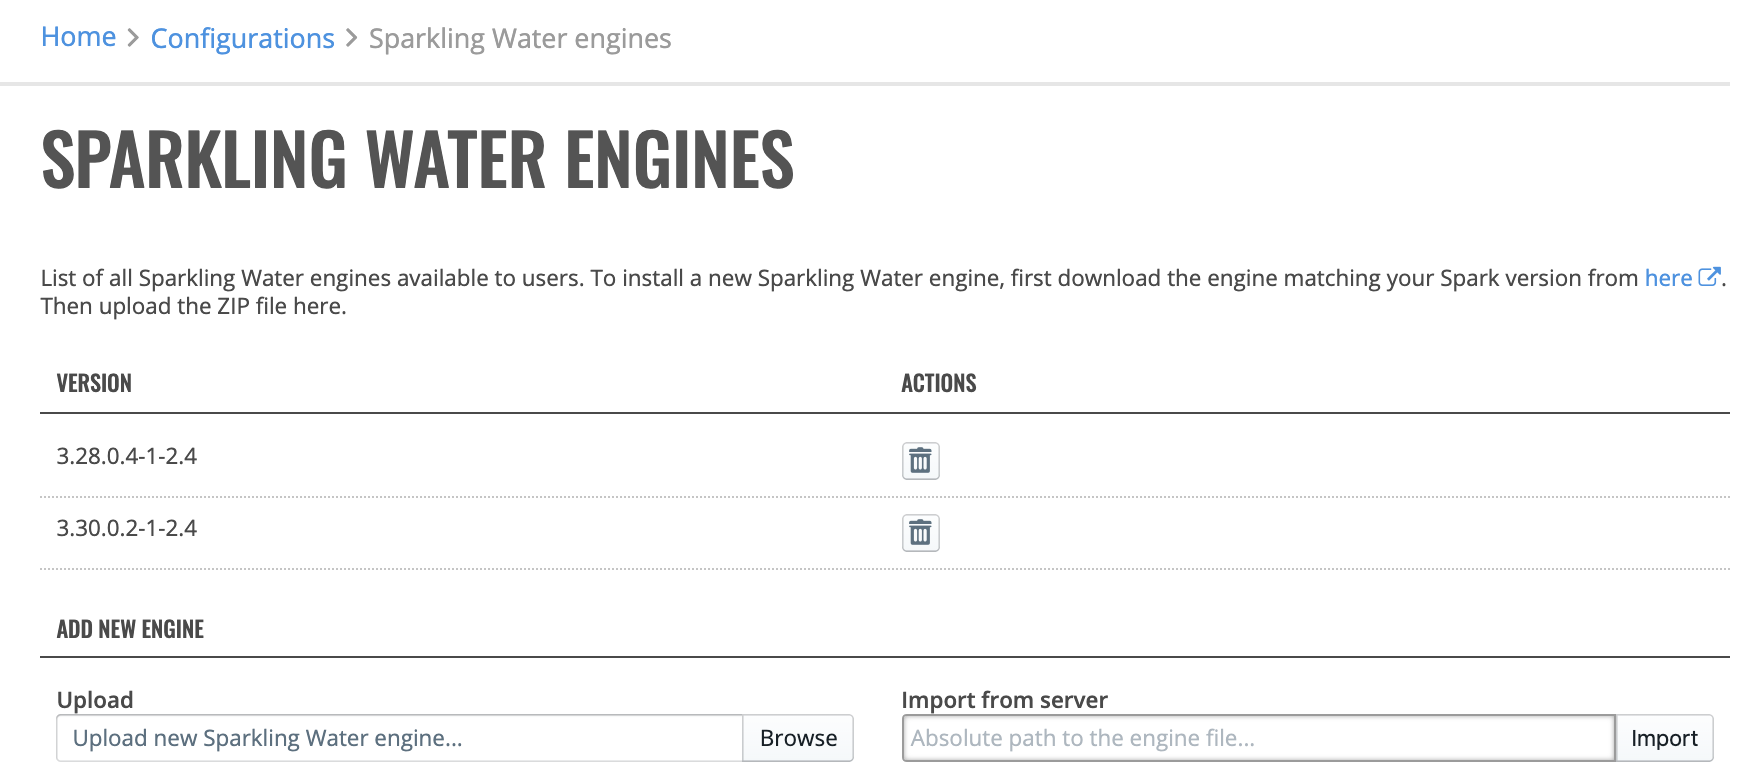
Click the Engines option to view a list of available Sparkling Water engines. To install a new Sparkling Water engine, download the engine that matches your version of Spark. Files can be uploaded by clicking the Browse button or imported from the server by providing the absolute path to the engine file and clicking the Import button. You can also delete engines that are no longer needed by clicking on the Remove engine icon next to the engine you want to delete.
Note: The minimum supported versions of Sparkling Water in Enterprise Steam are:
2.1.41
2.2.27
2.3.16
2.4.1
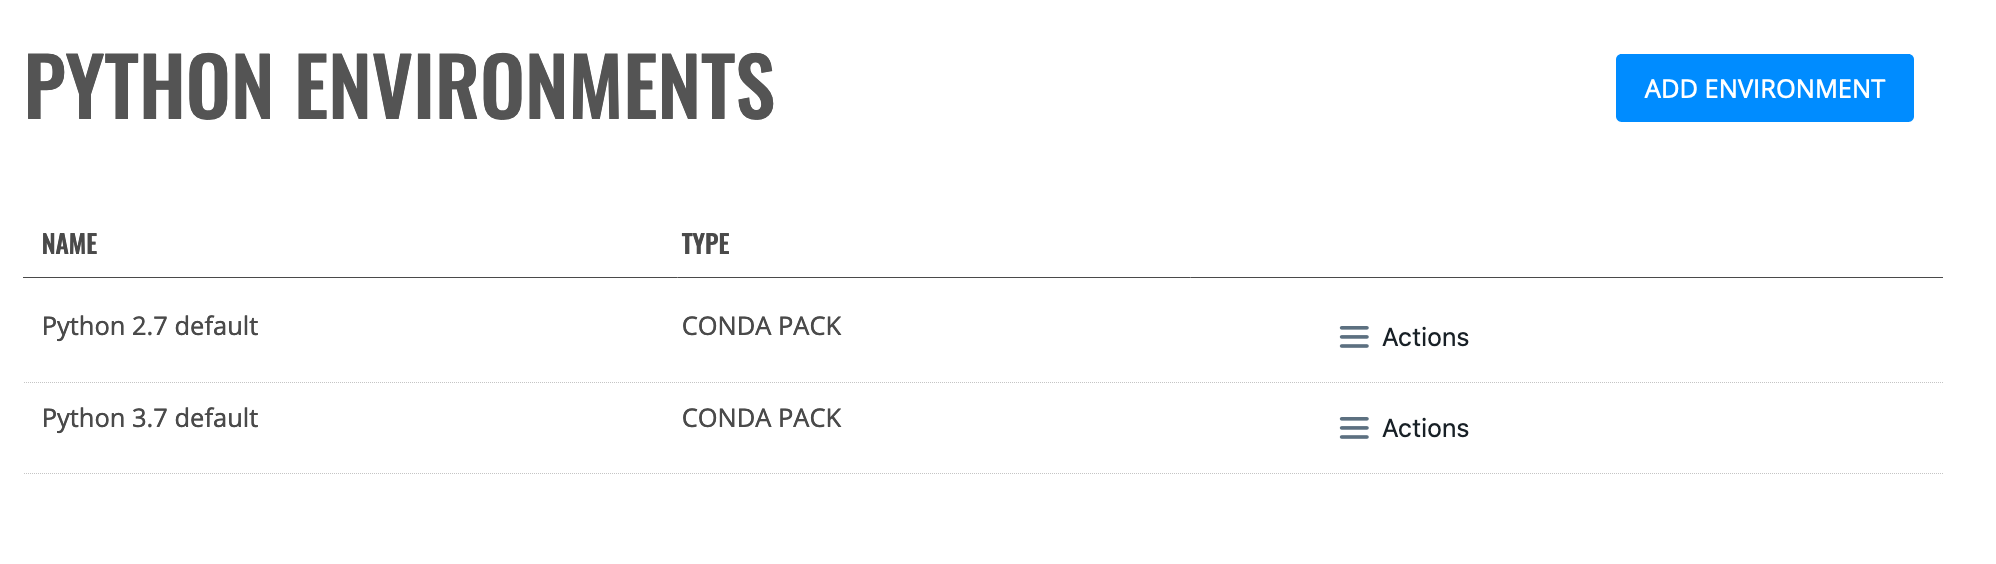
Python Environments
Click the Python Environments option view a list of available Python environments. Enterprise Steam ships with two default environments - Python 2.7 and Python 3.7. These environments allow Enterprise Steam to utilize PySparkling.
Add New Python Environment
With Enterprise Steam, you can add a new Python environment from a Python path or from a Conda package.
Add New Conda Pack
Perform the following steps to add a new Python environment from a Conda package.
Note: The OS type where the environment was built must match the OS type of the target machine.
On the Python Environments page, click Add Environment.
Select Conda pack from the Environment Type dropdown menu.
Enter a unique name for this new environment.
Upload the Conda pack archive file.
(Optional) Assign the new profile to an existing environment.
Click Add Environment when you are done.
Add New Python Path
Perform the following steps to add a new Python environment via a Python path.
On the Python Environments page, click Add Environment.
Select Python path from the Environment Type dropdown menu.
Enter a unique name for this new environment.
Specify the PySpark Python path.
(Optional) Assign the new profile to an existing environment.
Click Add Environment when you are done.
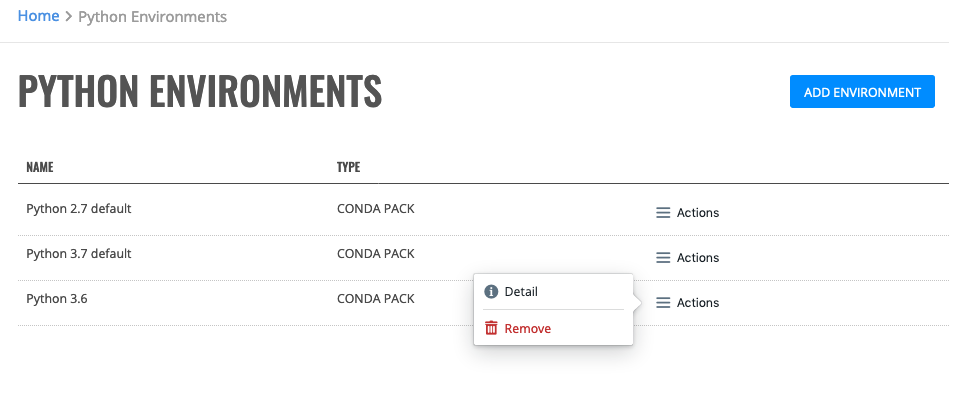
Deleting Python Environments
Note: The default environments cannot be deleted.
Click the Actions > Remove option beside the Python environment that you want to delete. A confirmation message will display. Click Confirm to complete the removal.
Driverless AI
The Driverless AI section allows you to enable and configure Enterprise Steam to manage Driverless AI instances and add new Driverless AI servers.
Note: If the Kubernetes backend is not enabled, then no backends are available for Driverless AI.
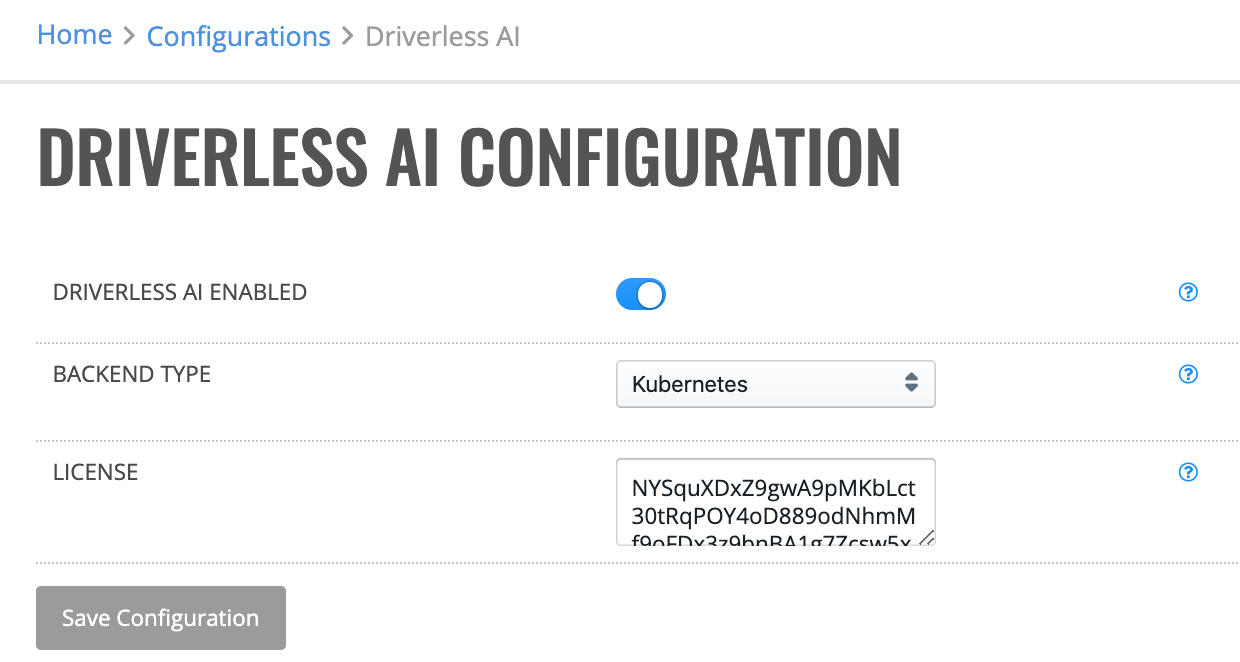
Configuration
Note: The Driverless AI process is started by the user who launched the instance in Steam. To avoid any problems with permissions, Unix usernames and UIDs need to be synchronized across NAS and all the machines involved. (This is standard when admins set up machines; their LDAP/AD stores the username-UID pairs.)
The storage directory on NAS has to be readable and writable to all users. The same applies to the directory that stores DAI engines. Directories for DAI instance data are created automatically and are owned and readable only by the user who launched the instance.
Click the Configuration option in the Driverless AI section.
Click Enabled to enable Driverless AI.
Specify the path to the storage directory that is mounted and shared across all Driverless AI servers and the Steam server. When a valid path is specified, then the list of available engines will populate.
Paste your Driverless AI license file in the Driverless AI License File text field.
Click Save Configuration when you are done.
Engines
Click the Engines option to view a list of available Driverless AI engines. To install a new Driverless AI engine, download the engine that matches your version, then click ADD ENGINE to upload the ZIP file.

You can also delete engines that are no longer needed by clicking the Remove engine icon next to the engine you want to delete.
Note: The minimum required version of Driverless AI is 1.8.5.2.