Working with Projects
All Project related tasks can be completed from within the Projects page of the FME Server Web Interface.
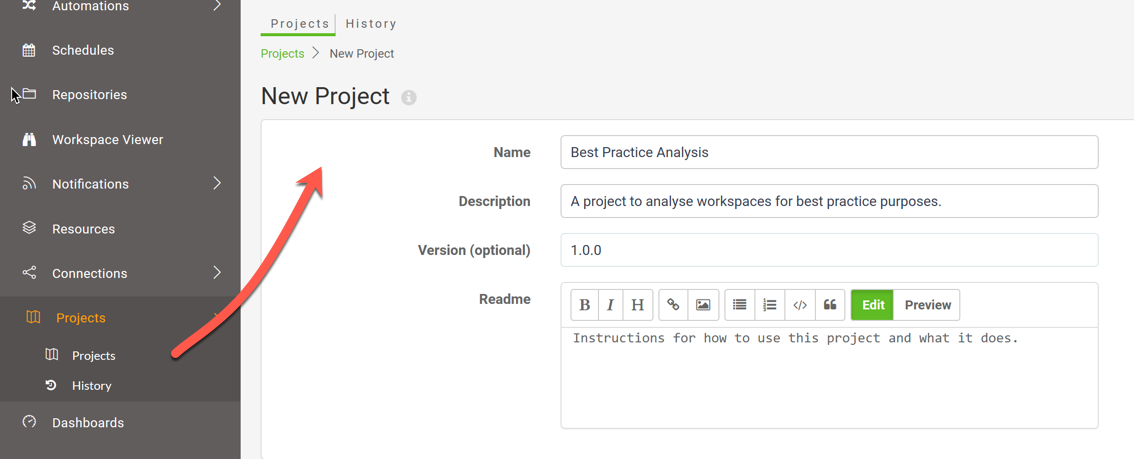
Creating a Project
Creating a new project is done by clicking the New button and entering some basic project settings such as Name and Description:
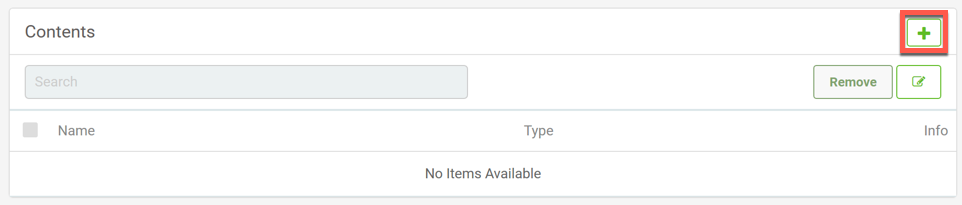
Below the Project Settings is a dialog that shows all content currently added to the project (if any) with a button to add new items on the right-hand side:
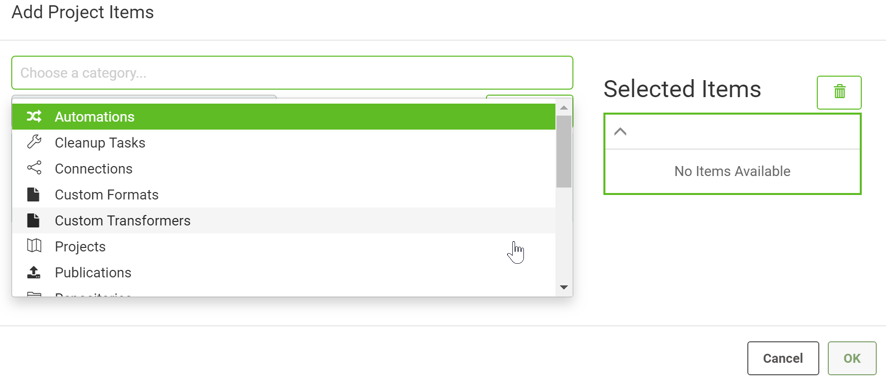
Clicking on the '+' button opens the Add Project Items dialog which allows components to be added to the project:
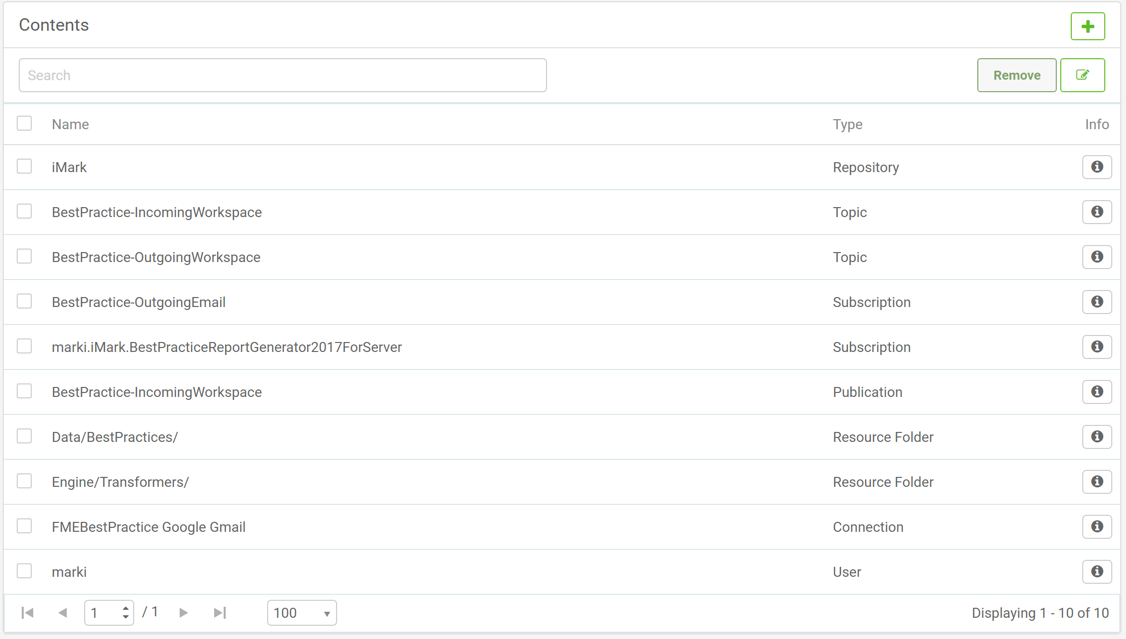
Once you have added some items to the project, they will be listed under the Contents dialog:
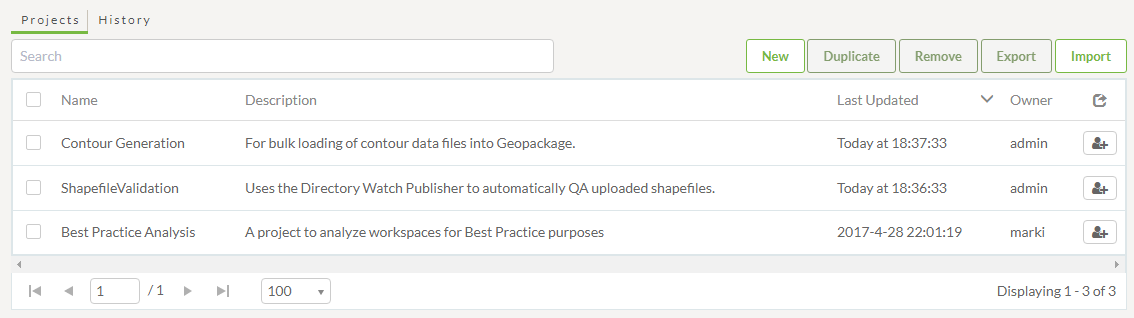
Once complete the project is added to the list on the Projects landing page:
Importing a Project
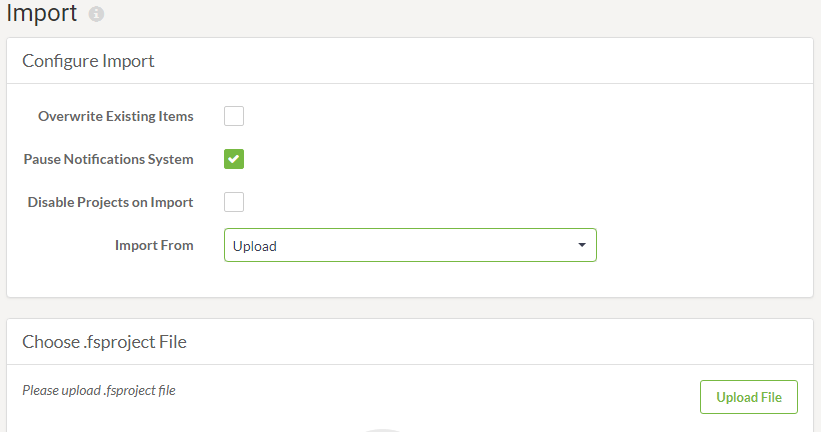
You can import an existing project into your FME Server by simply clicking the Import button.
The Import page allows a .fsproject file to be uploaded or read from a folder in Resources. It also includes other parameters to control the import:
Exporting a Project
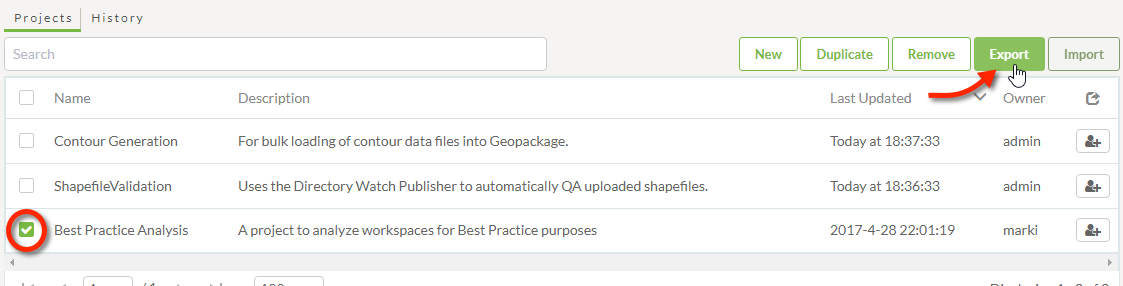
Exporting a project is carried out on the Projects page (accessed via the main menu) by selecting the Project to be exported and clicking the Export button:
This opens a dialog in which to configure and carry out the export:
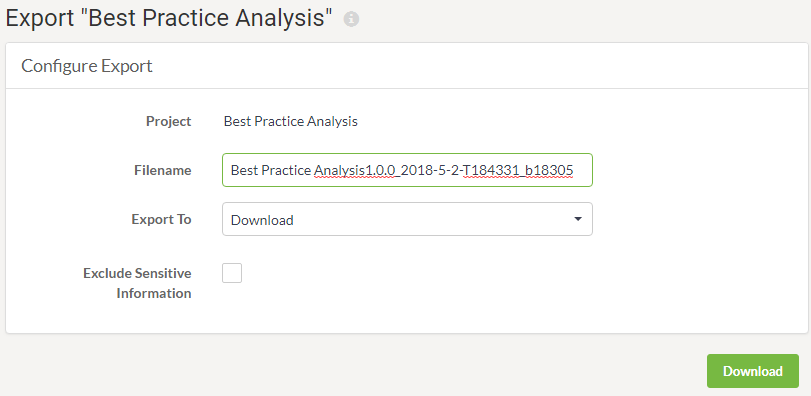
The export writes to a file with a .fsproject extension. There is an option to either provide the export as a download or to write it to a Resources folder.
Removing a Project
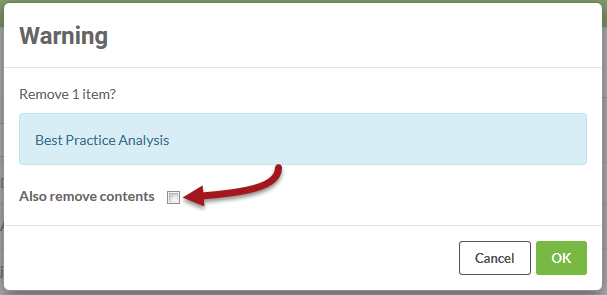
Once a Project has been exported, you may wish to remove it from the Server instance on which it currently resides. That can be done by selecting the Project and clicking the Remove button.
The confirmation dialog that opens allows you to choose whether to also delete all of the components that make up the Project: