Act 2:
Plumbing the Pipeline
Step 1
Introduction
During this seciton, we'll create the various triggers to process new dataThis will include two flows
- The S3 trigger to transcribe and run natural language processing on new audio files
- Lambda trigger to ingest the new CTRs into ES
Step 2
Processing new audio files arriving in S3
In this section, we'll setup this link to automatically process step functions when new data arrives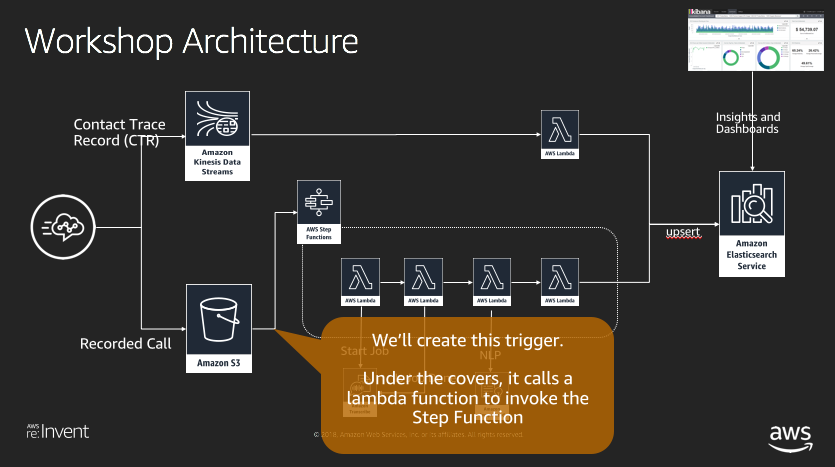
- Go to the cloudformation web console and select the completed script
https://us-west-2.console.aws.amazon.com/cloudformation/home?region=us-west-2#/stacks?filter=active
- Select the "Resources" tab

- Find the kickOffStepFunctionsFromS3Event resource and select the Lambda link in the second column

- This will launch into the Lambda Service console
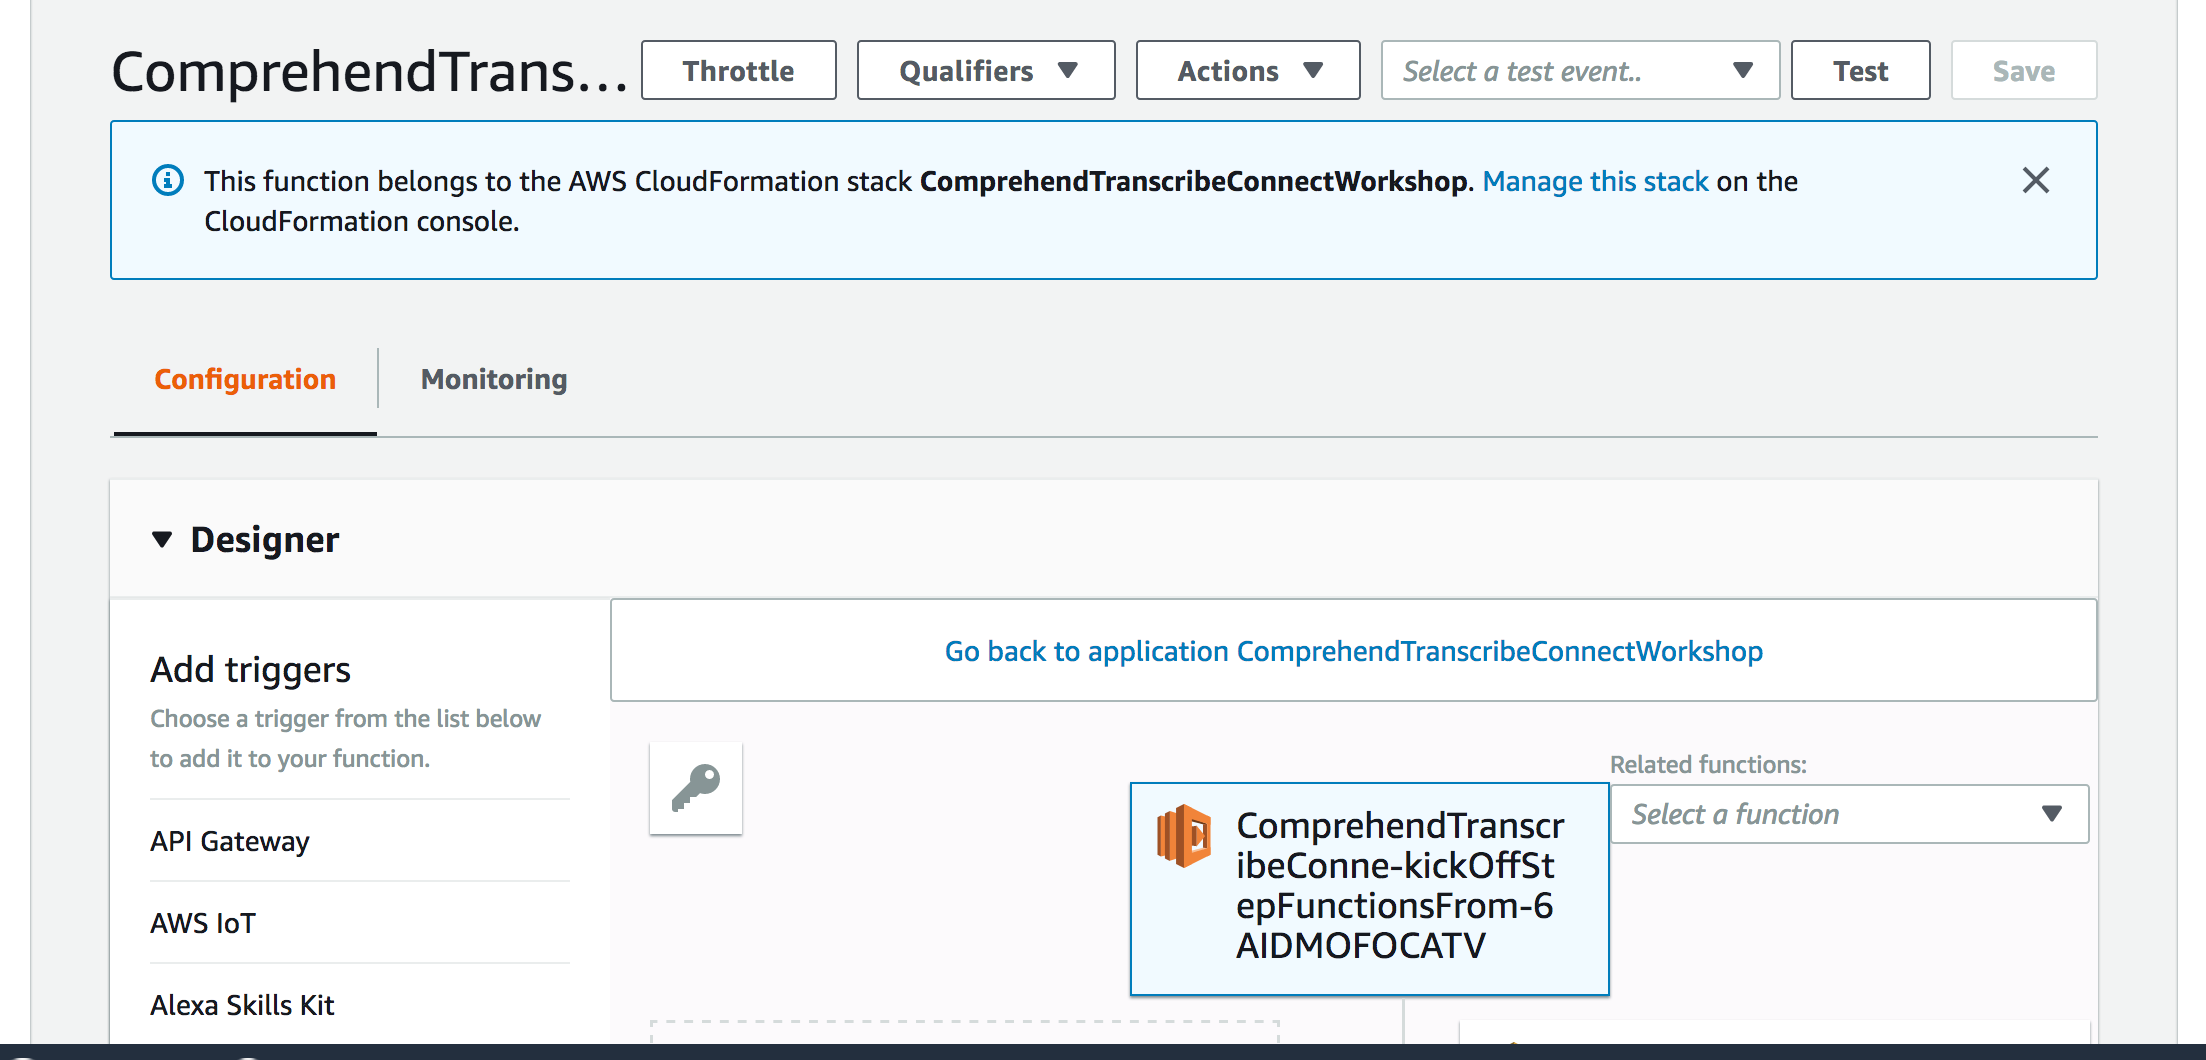
- Under Add Triggers, select S3
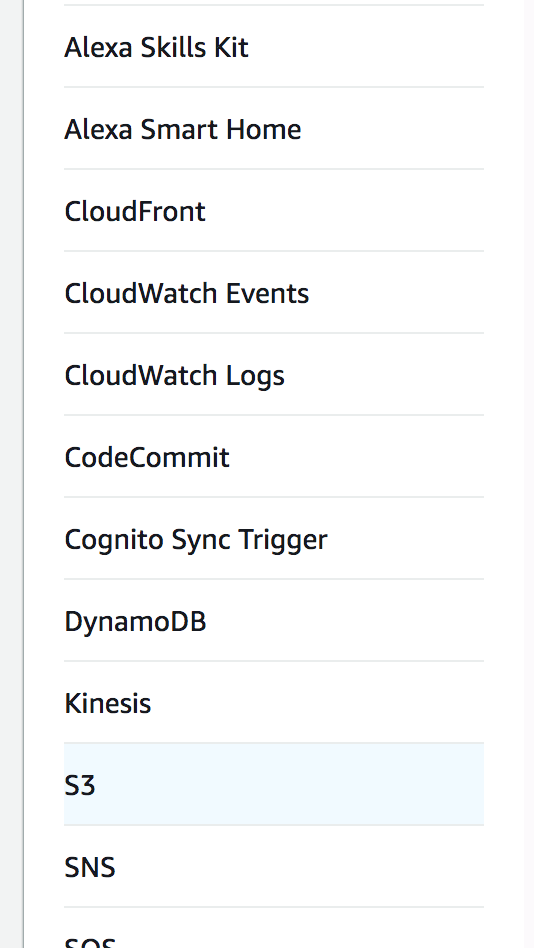
- Select the bucket name that the Cloudformation template created
Keep the default: Event type: ObjectCreated
Enter "connect/< Connect Unique Name from setup >" for the prefix
Connect Unique Name from setup is the name that was setup in the first part. enter ".wav" for the suffix
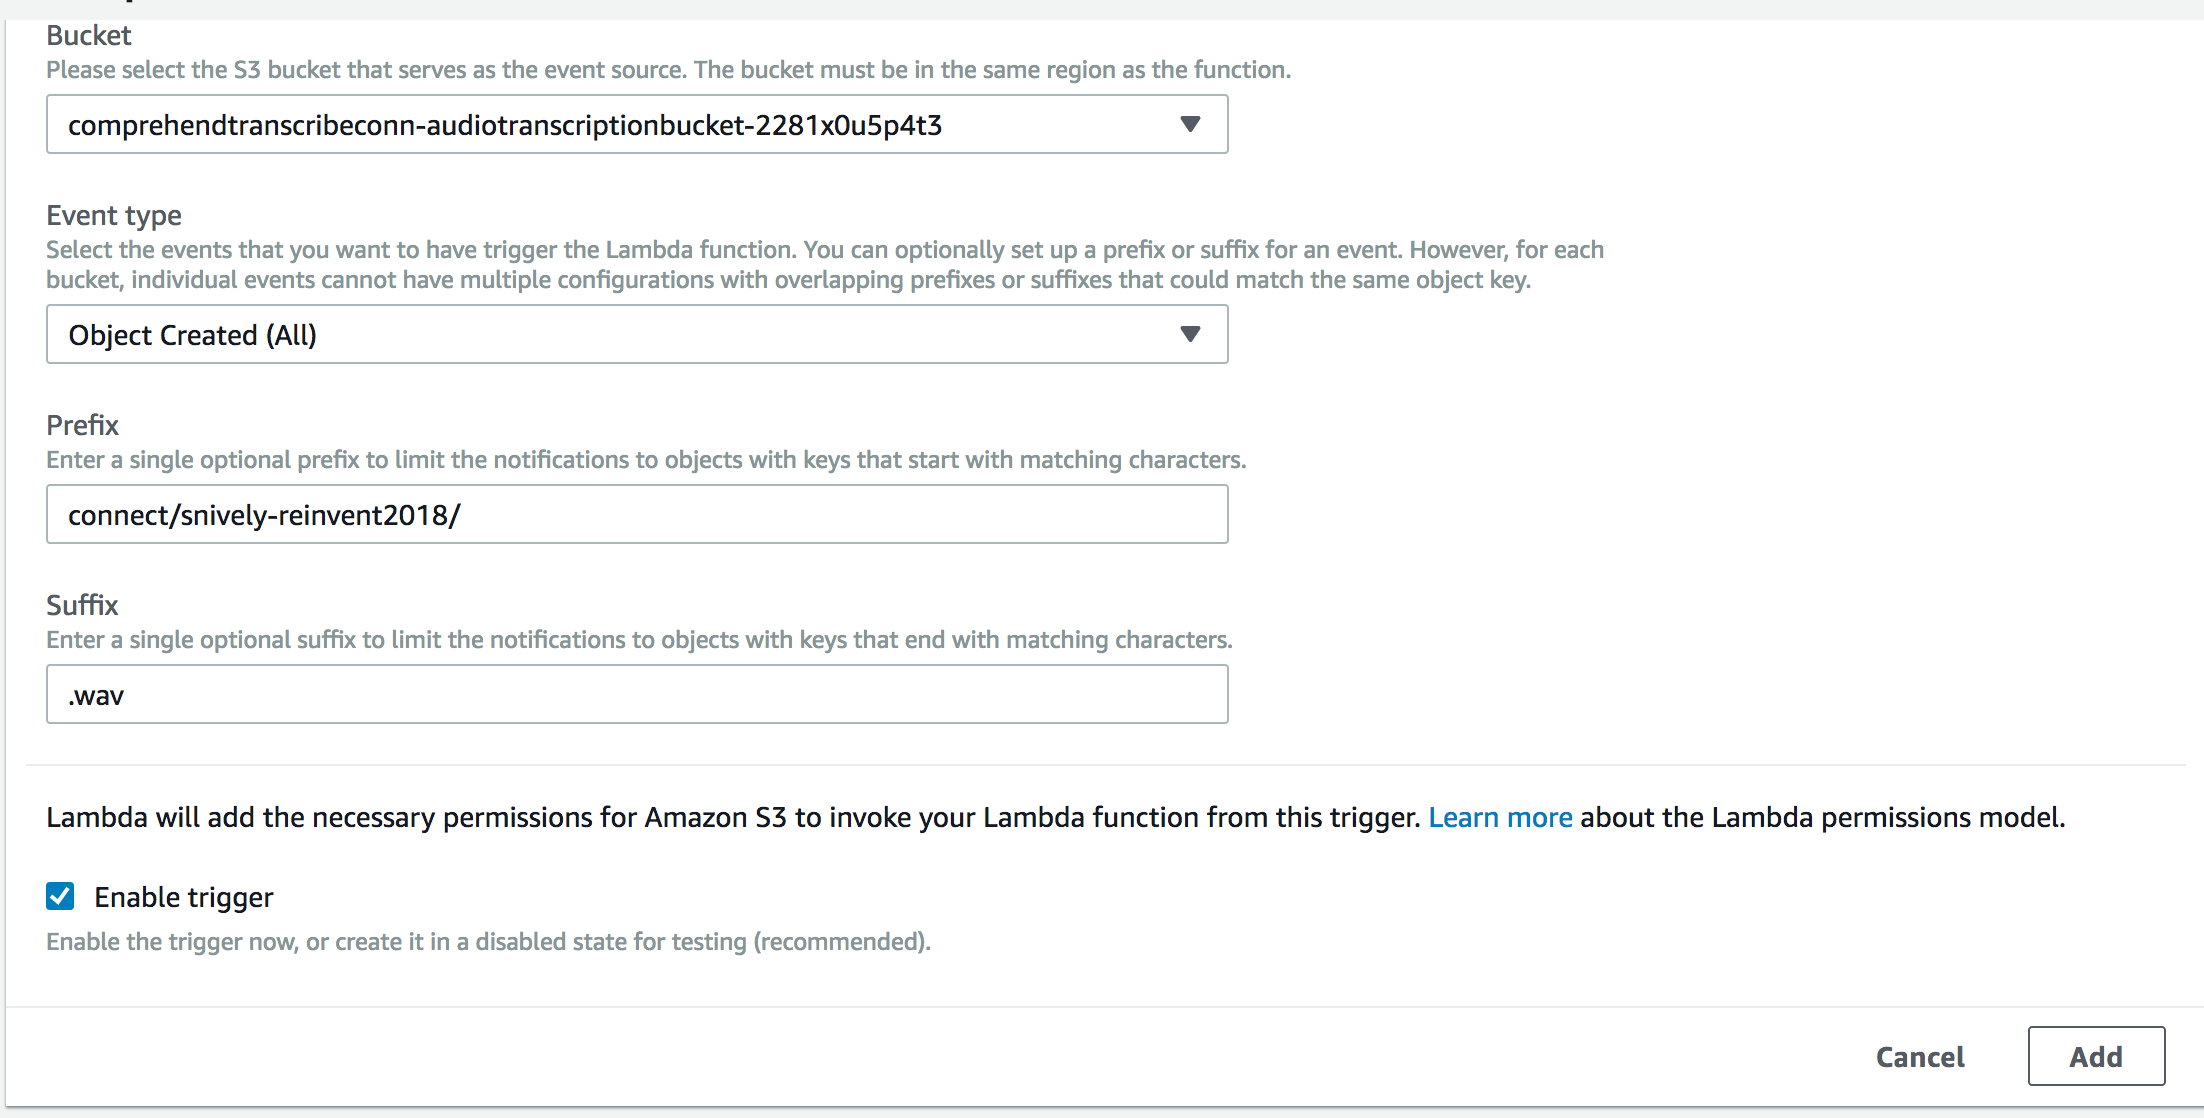
And select "Add" - Don't forget to save at the top right

Step 3
Testing the audio processing pipeline
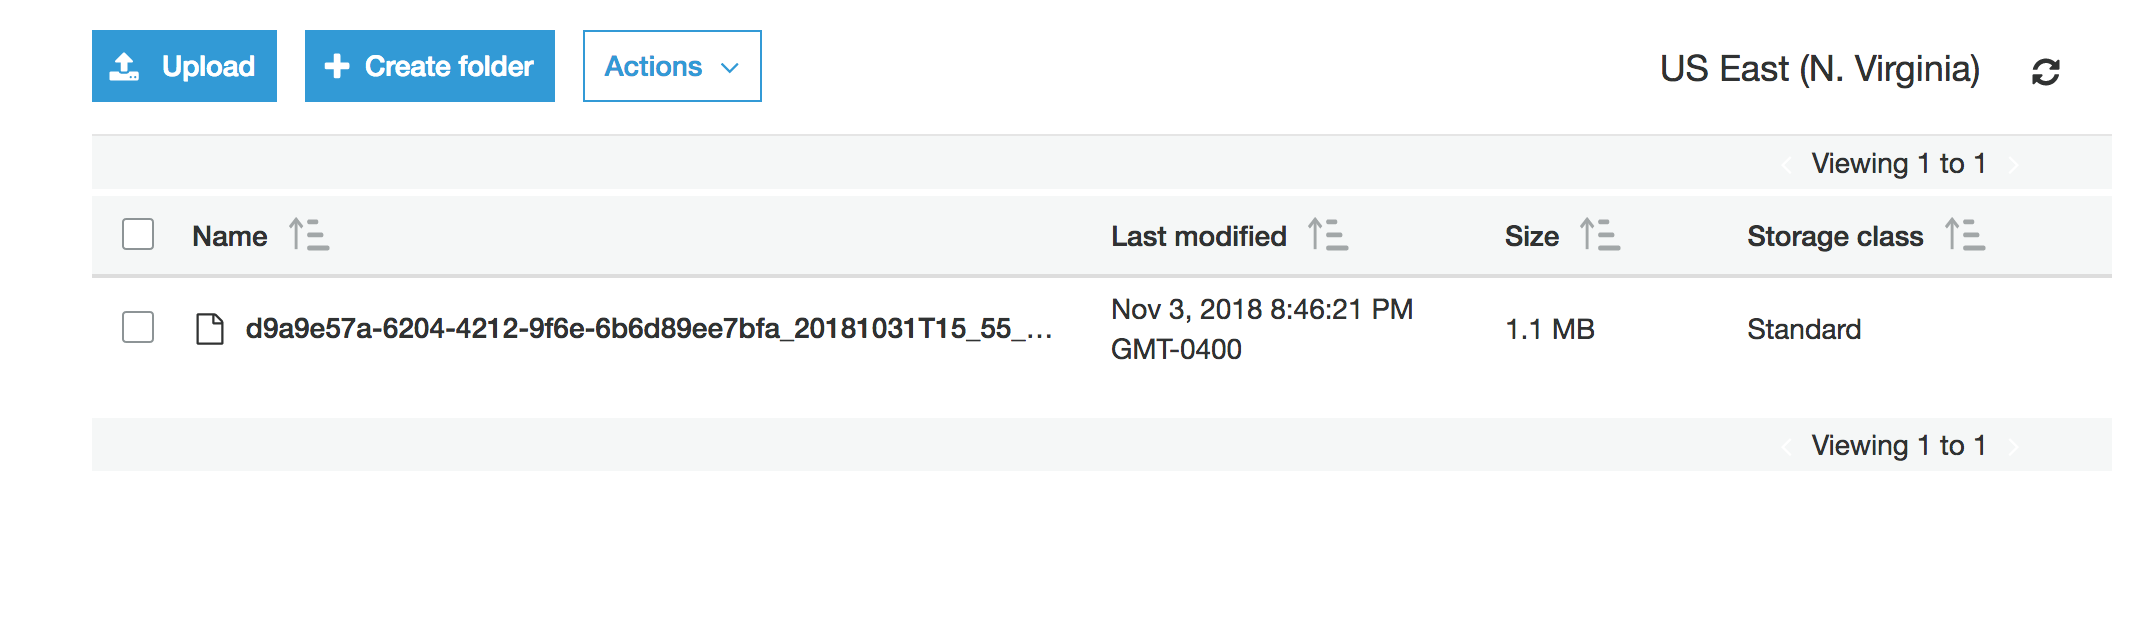
In this next step, we'll run an example processing file through the pipeline.- Download the audio file d9a9e57a-6204-4212-9f6e-6b6d89ee7bfa_20181031T15_55_UTC.wav
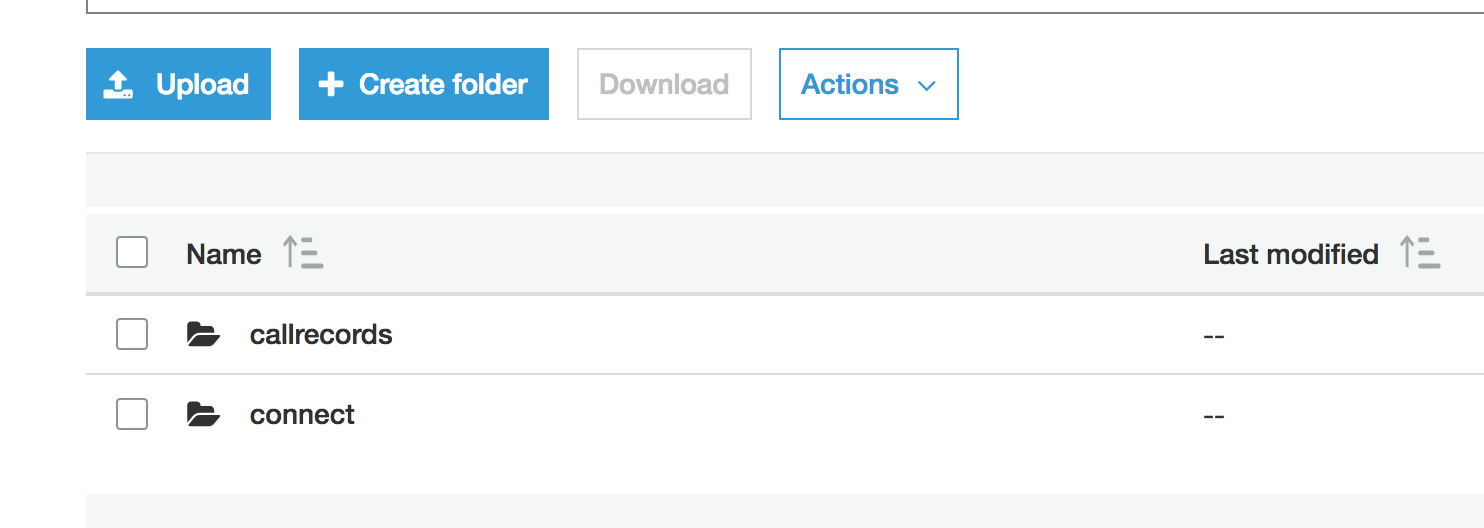
- Go to the S3 console
- Select into the bucket that the cloudformation template created
- Select new folder and type in "connect"
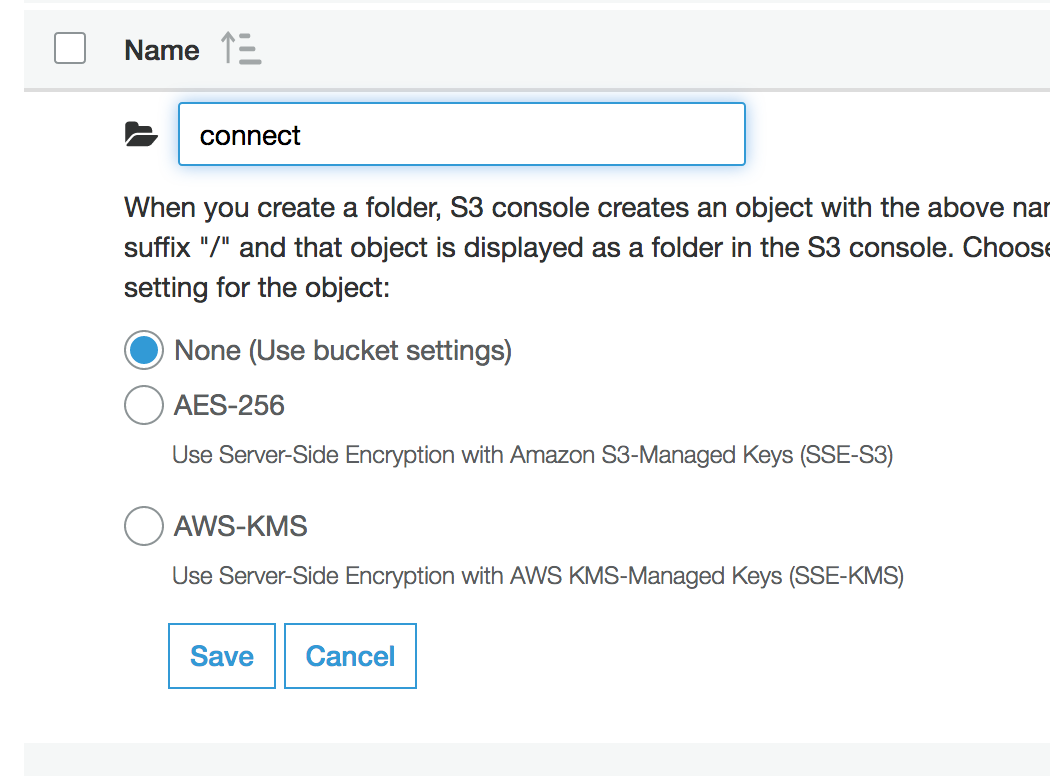
create a new subfolder and type in "< connect name >"
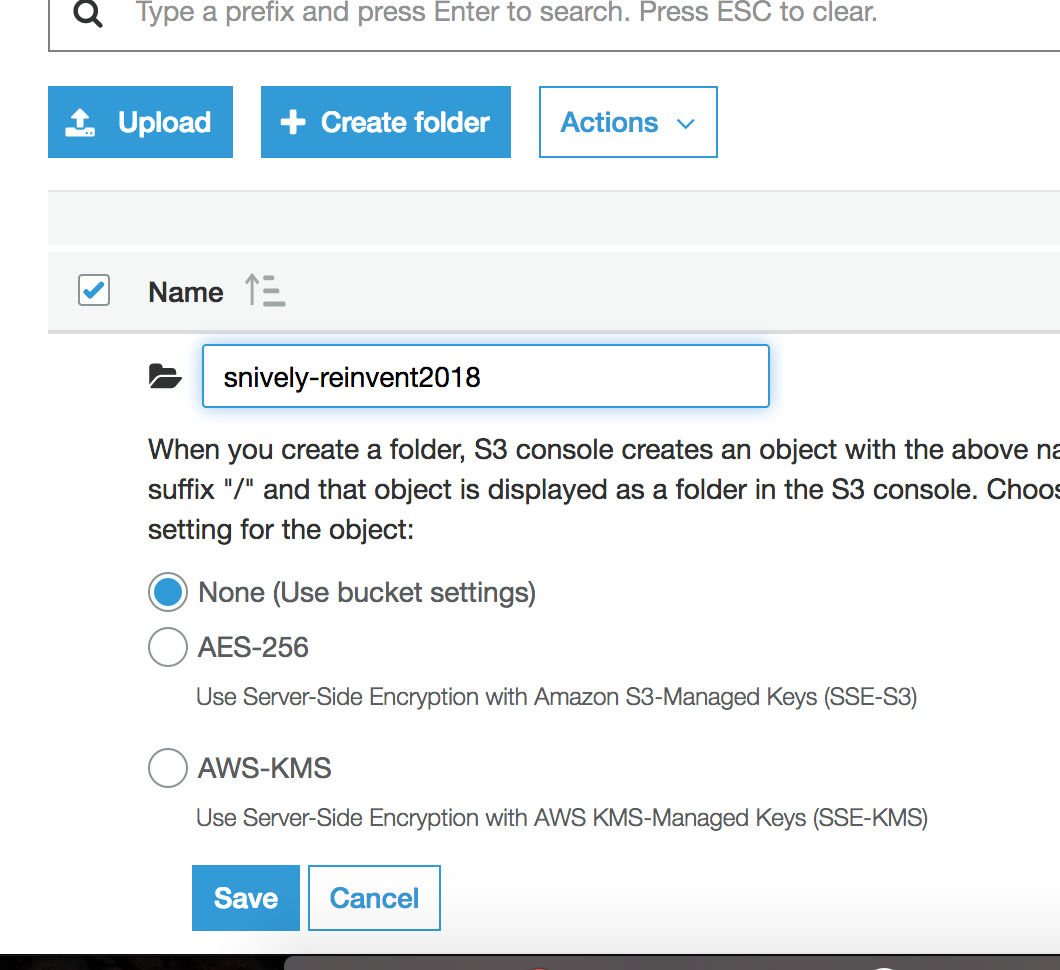
Note -- notice that this matches the prefix we specified in the lambda trigger as well as in the connect definition
- select the new folder to go into it
- Select "Upload"

- Select the file that you just downloaded

- Select "Upload" in the bottom left corner
Step 4
Verifying the processing of the Audio File.
Now that we manually added the audio file to our monitored s3 bucket, let's check out the data processing pipeline- Go into step functions https://console.aws.amazon.com/states/home?region=us-west-2
- You should see a step function running for processAudioFile-xxxx state machine
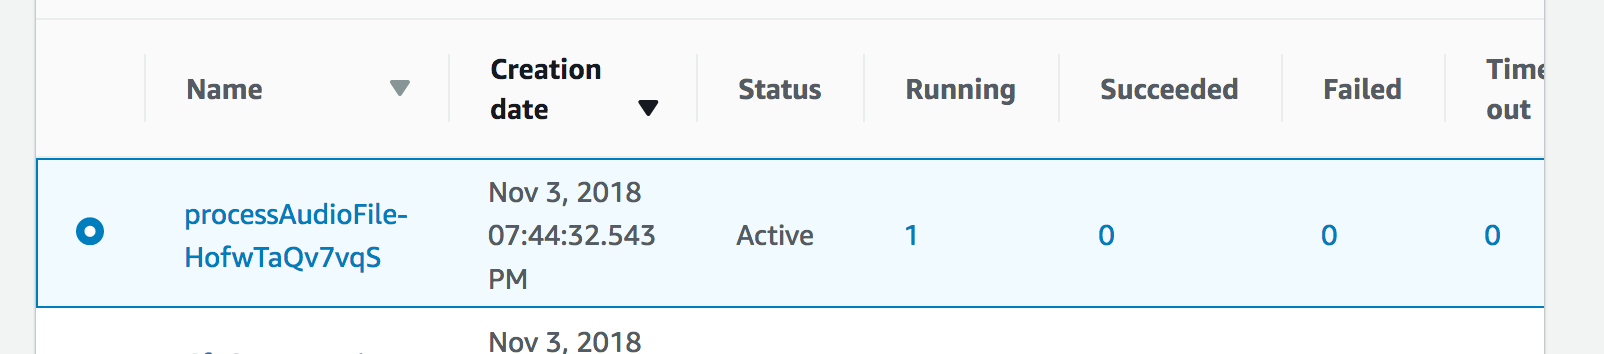
- Step through the Step function details, examine each lambda function at what it's doing
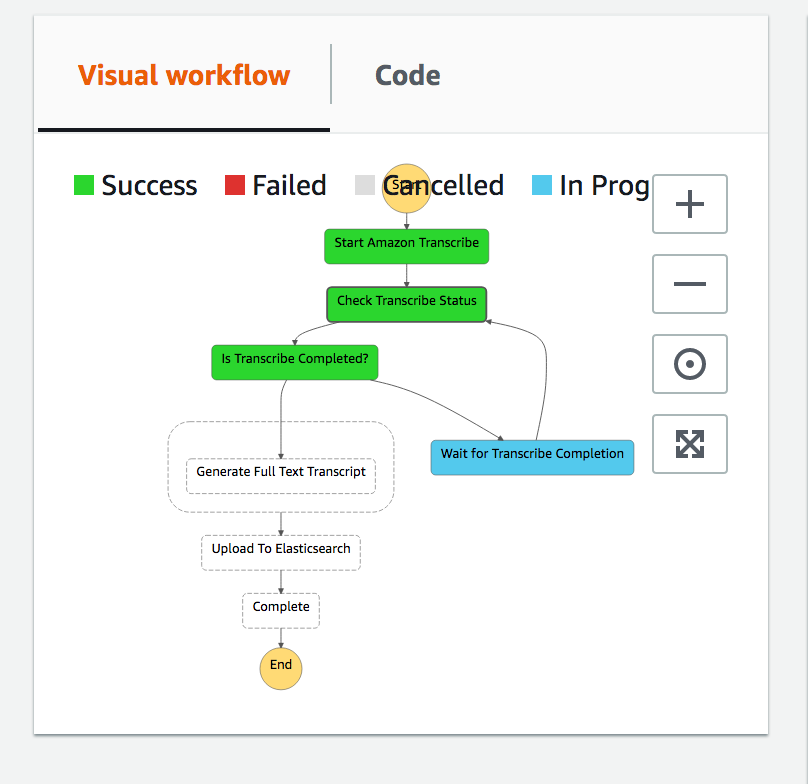
- After 3-5 minutes, you should see a successful run:

- Let's look back in S3, at the root level of the bucket
- Go into callrecords/transcript

- Select the json that you have listed (it will have a different name):
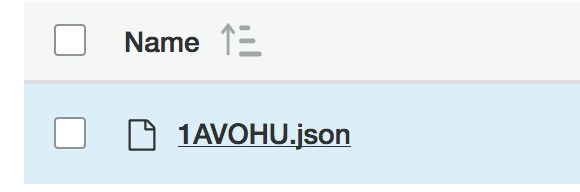
- Select the "Select From" tab

- Scroll down and see the file preview:
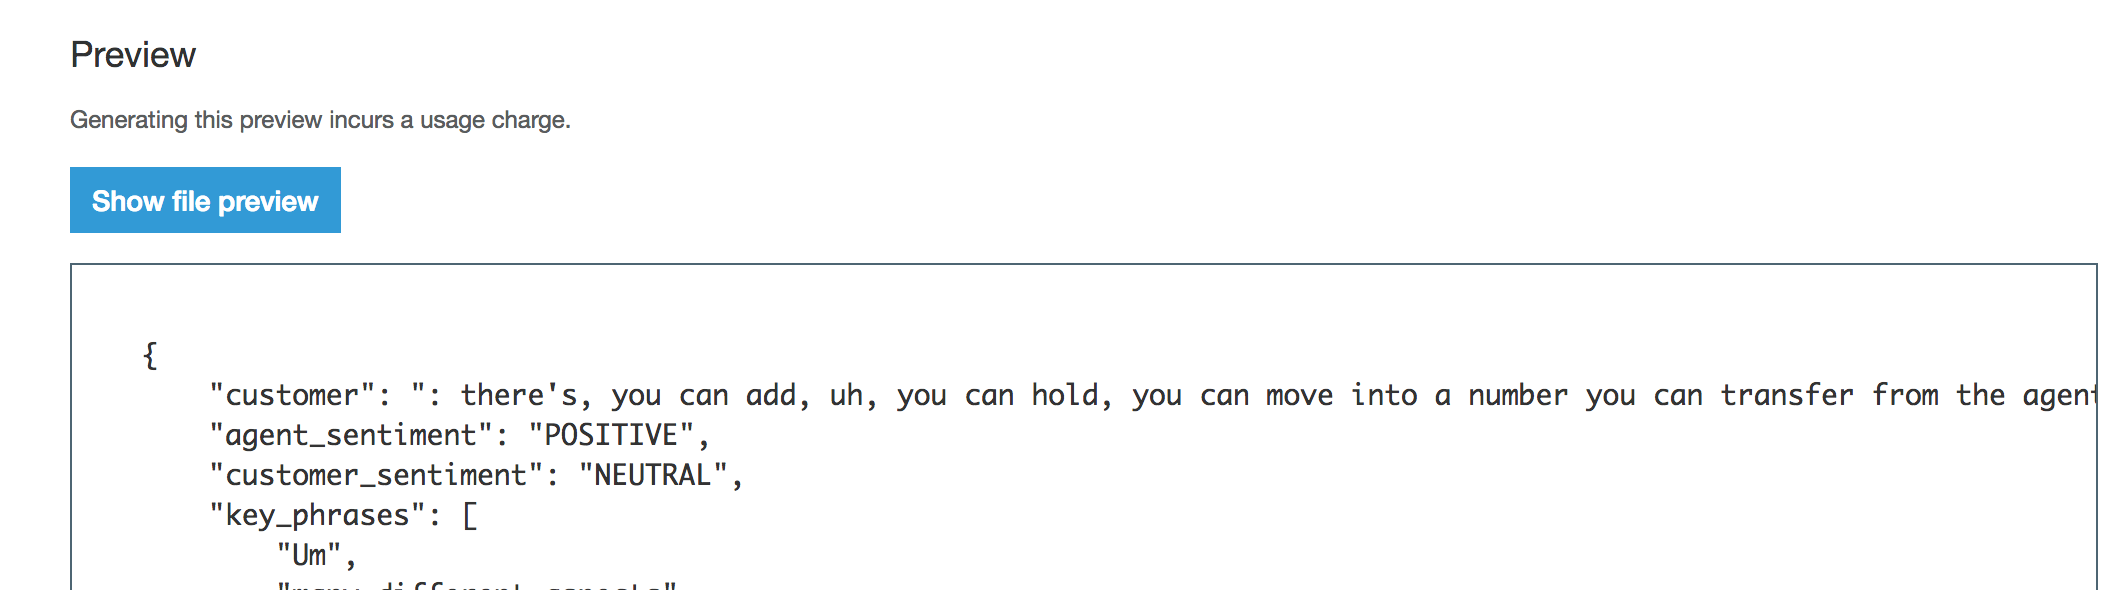
- Notice that we see both the Agent and Customer Transcripts:
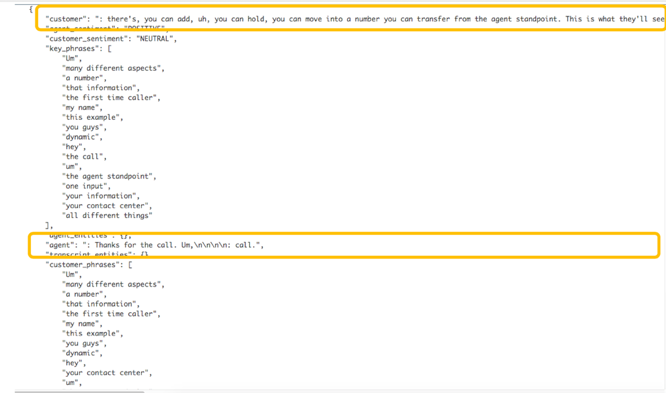
- We also can see the sentiment of both the Agent and Customer:
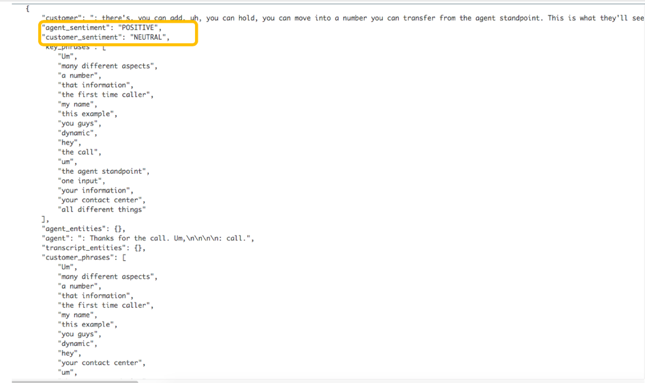
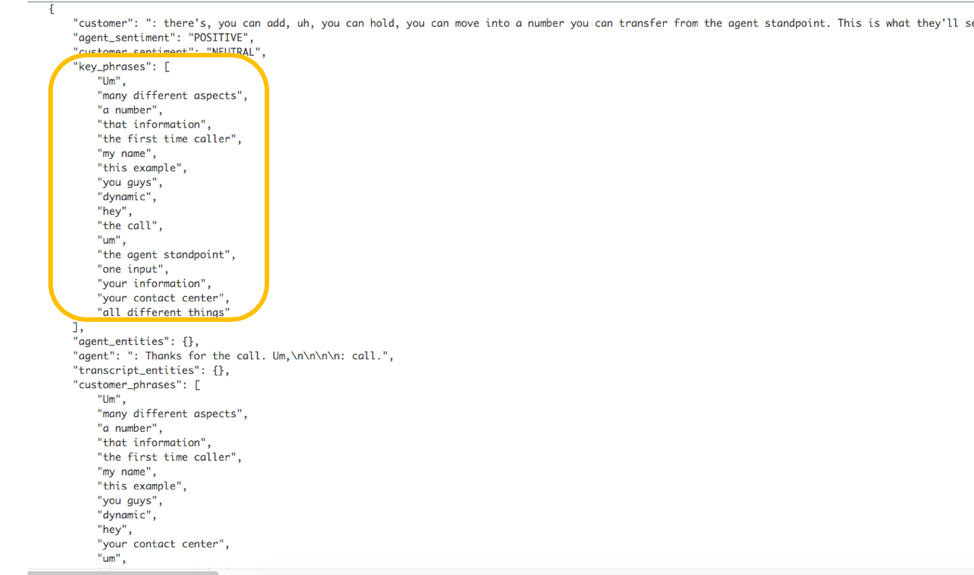
- And the key phrases and entities discussed:
Step 5
Processing new CTR records coming from Kinesis Streams
In this section, we'll setup this link to automatically process new CTR from kinesis streams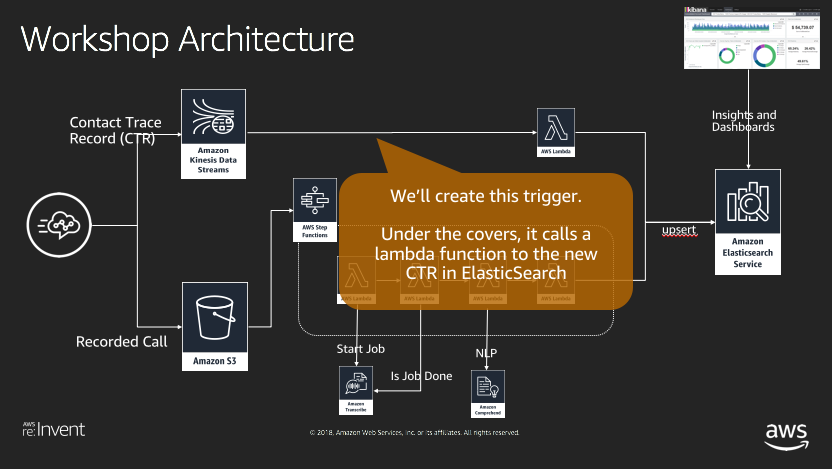
- Go to the cloudformation web console and select the completed script
- Select the "Resources" tab
- Find the indexCTRInElasticSearch resource and select the Lambda link in the second column

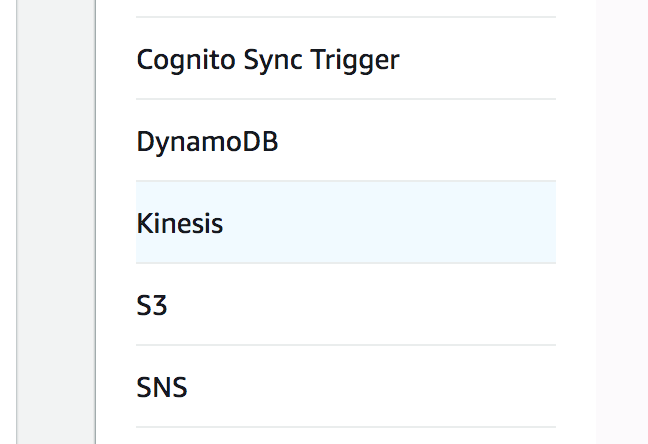
- Under the Add Triggers, Select Kinesis
- Ensure the proper Stream is selected
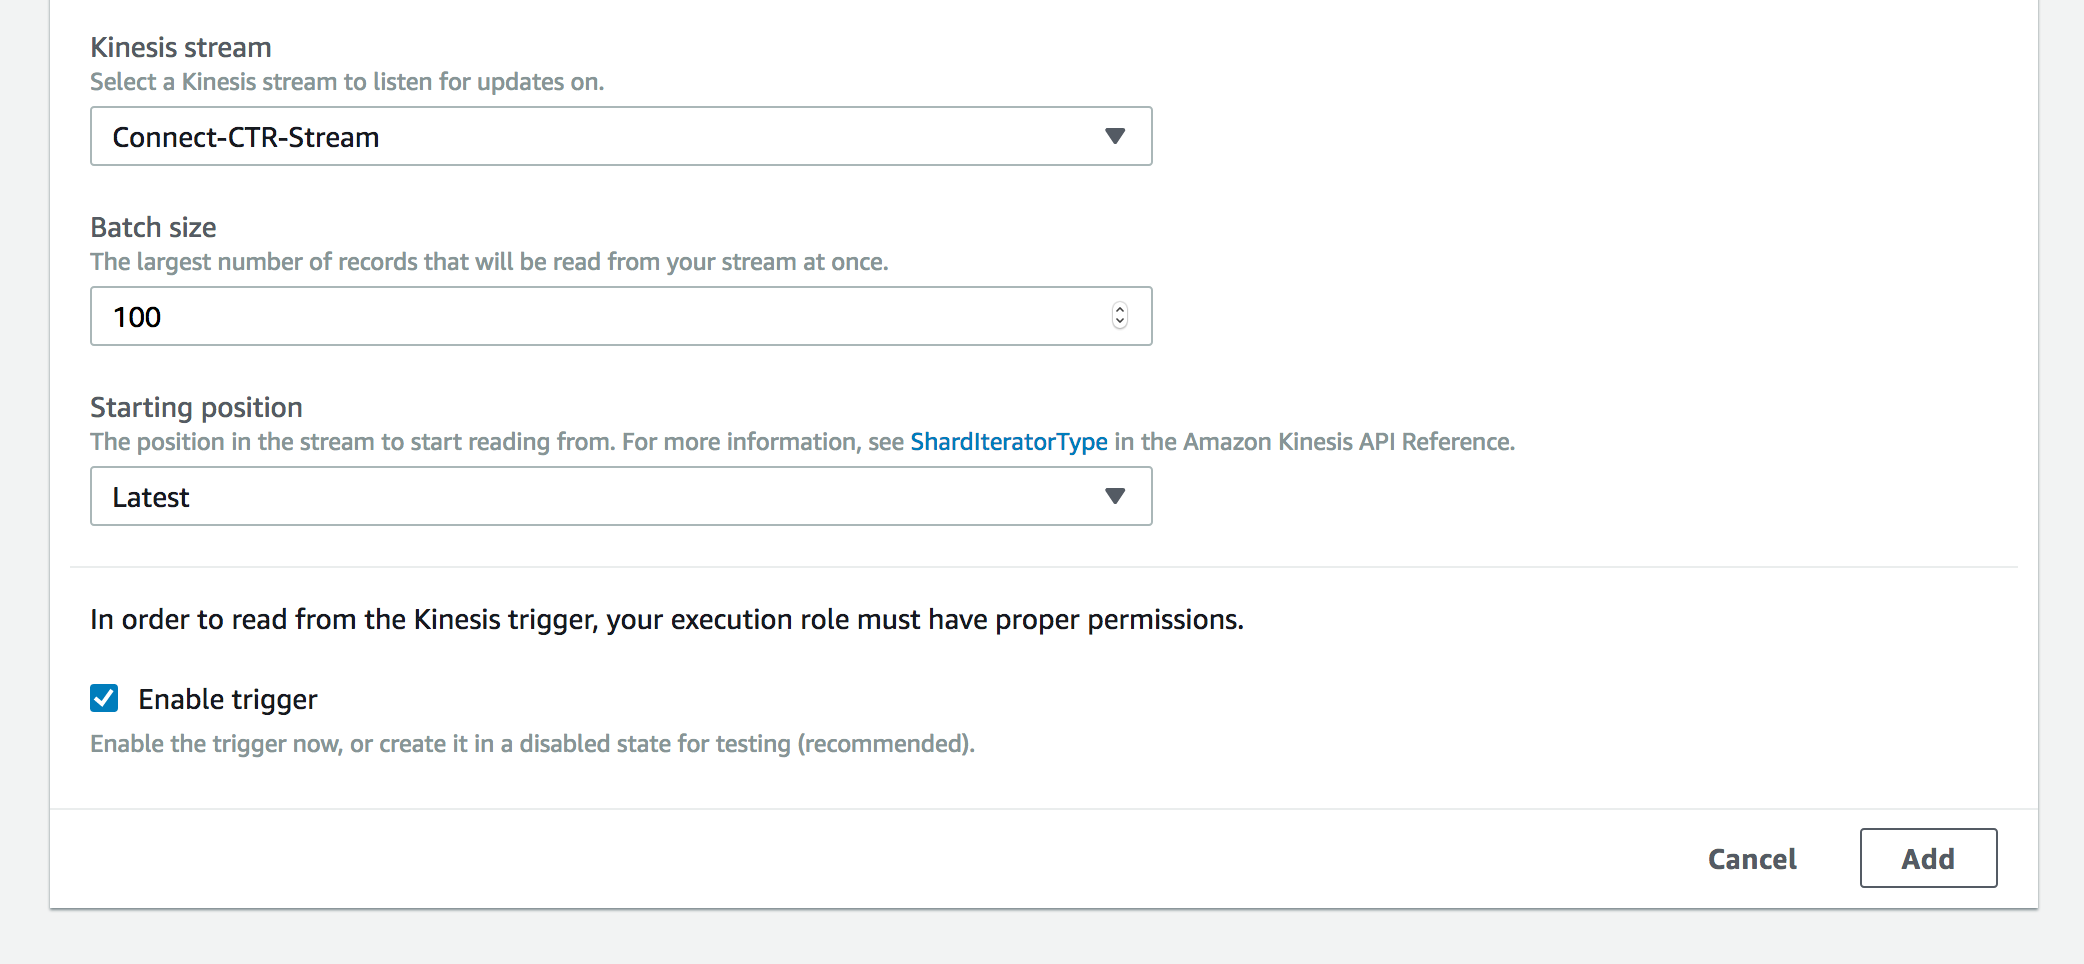
- Select "Add"
- Select "Save" in the top right
- OptionalRun the following command to test it out:
Please note, you don't need to modify the account id below for testing. It will just be stored in ElasticSearch as it appears.aws kinesis put-record --stream-name Connect-CTR-Stream --region us-west-2 --data '{"AWSAccountId":"123456789012","AWSContactTraceRecordFormatVersion":"2017-03-10","Agent":null, "AgentConnectionAttempts":0,"Attributes":{"agentAssist":"Yes","registered":"not registered", "ridePax":"2","ridePickup":"525 Market St 2nd floor, San Francisco, CA","ridePickupDate":"Sunday, November 04 at 10:45PM", "selectedPath":"status","tripID":"1262"},"Channel":"VOICE","ConnectedToSystemTimestamp":"2018-11-02T17:22:20Z","ContactId":"d9a9e57a-6204-4212-9f6e-6b6d89ee7bfa","CustomerEndpoint":{"Address":"+14166053285","Type":"TELEPHONE_NUMBER"},"DisconnectTimestamp":"2018-11-02T17:24:01Z","InitialContactId":null,"InitiationMethod":"INBOUND","InitiationTimestamp":"2018-11-02T17:22:20Z","InstanceARN":"arn:aws:connect:us-east-1:123456789012:instance/116f759b-aaa-bbb-cccc-b0810aa8eca5","LastUpdateTimestamp":"2018-11-02T17:25:05Z","MediaStreams":[{"Type":"AUDIO"}],"NextContactId":null,"PreviousContactId":null,"Queue":null,"Recording":null,"Recordings":null,"SystemEndpoint":{"Address":"+17029049033","Type":"TELEPHONE_NUMBER"},"TransferCompletedTimestamp":null,"TransferredToEndpoint":null}' --partition-key `uuidgen`
Step 6
Making some simulated calls
Create some simulated calls into the call center- Log into the AWS connect admin console
https://us-west-2.console.aws.amazon.com/connect/home?region=us-west-2 - Select the instance alias name you created
- Select the "Login url" option
NOTE: Don't log in as administrator, instead use the super user you created in Act1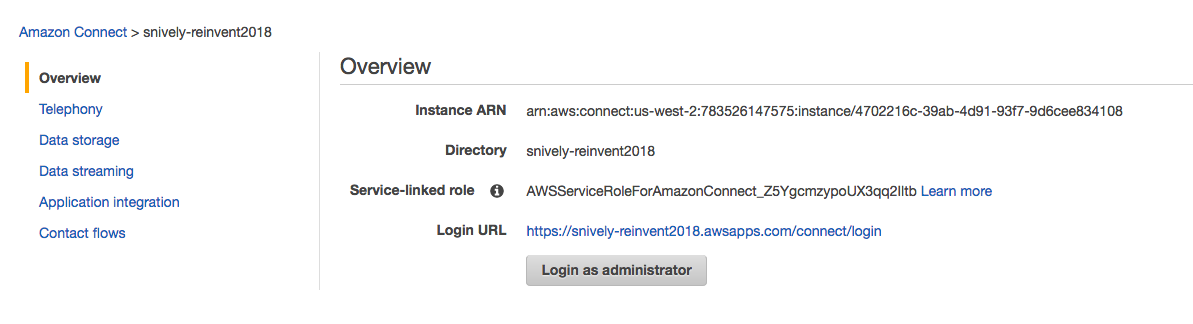
- Use the username and password that you created in the first lab
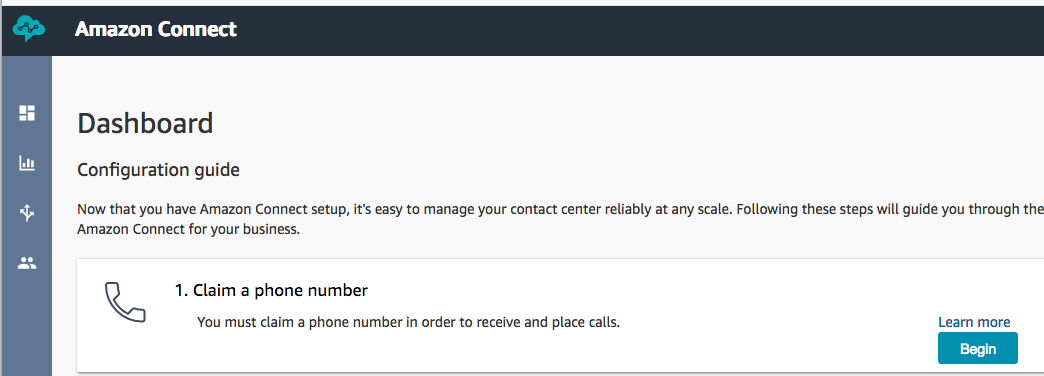
- Under "Claim a phone number" select "Begin"
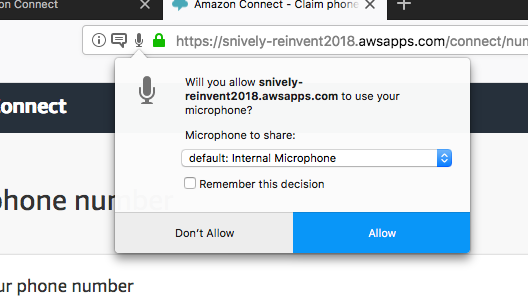
- Select the "Allow the browser to access mic and display notifications"
SELECT "Remember this decision"
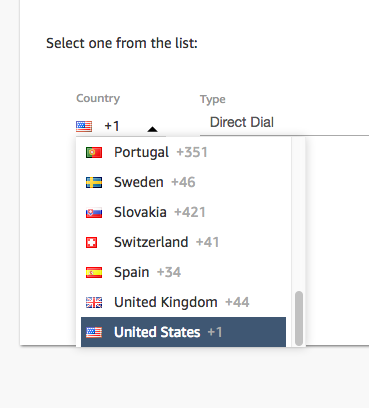
- Under Country, select US and leave the default number (select "Next")
In this next section, we'l setup the flow to record the audio.
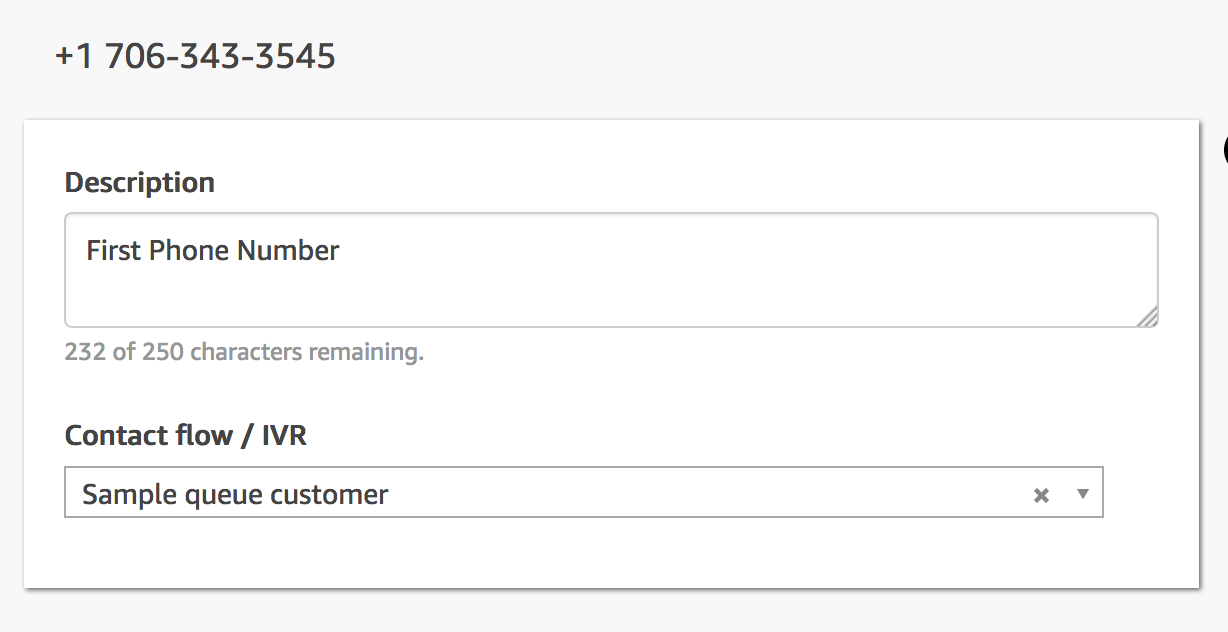
- Select the "View phone numbers"

- Under the Contact Flow configuration, select Sample Customer Queue
- Go back to the main connect dashboard
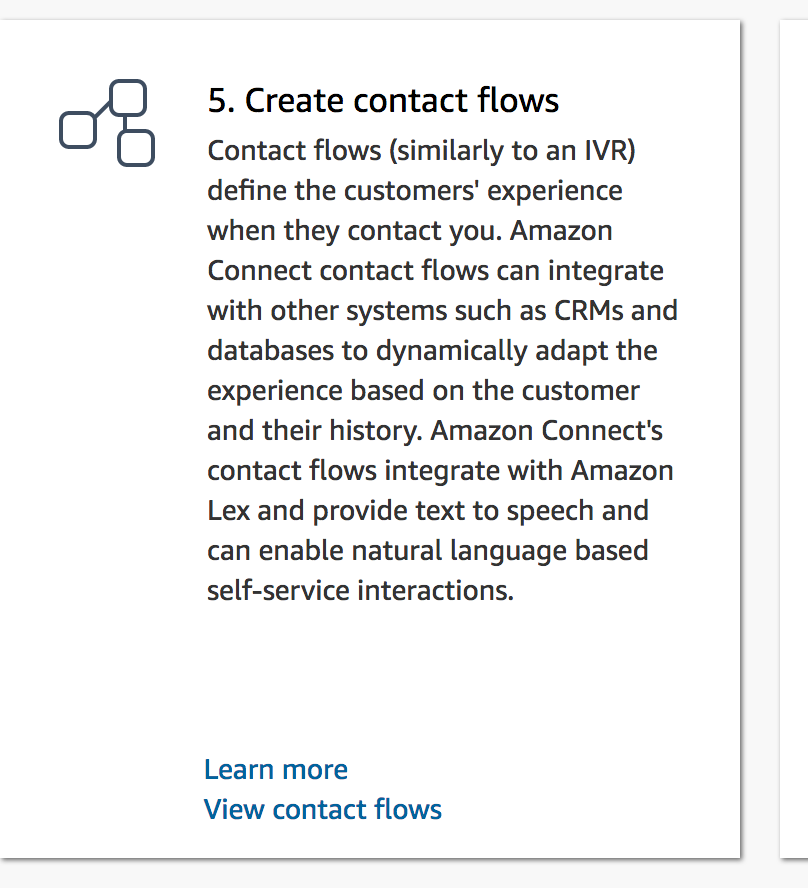
- Under Contact Flow, select View Contact Flows
- Select the "Sample queue Customer" contact FLow

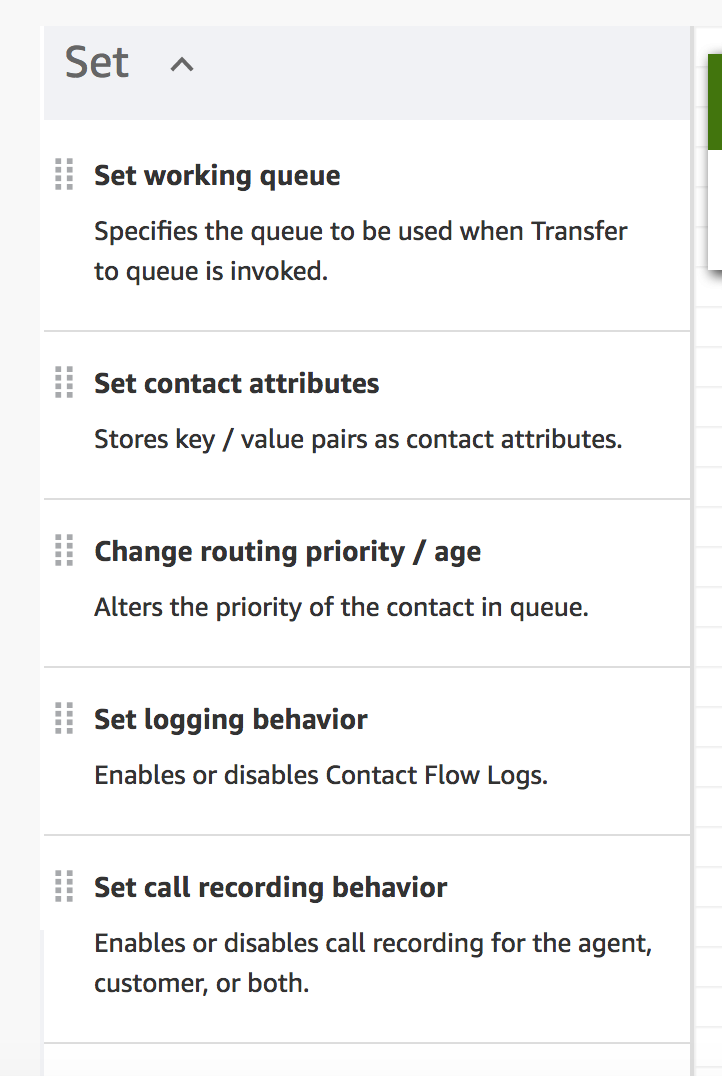
- Under "Set" drag "Set call recording behavoior" and drag it into the diagram
- Update the flow so that it saves the agent and customer recordings
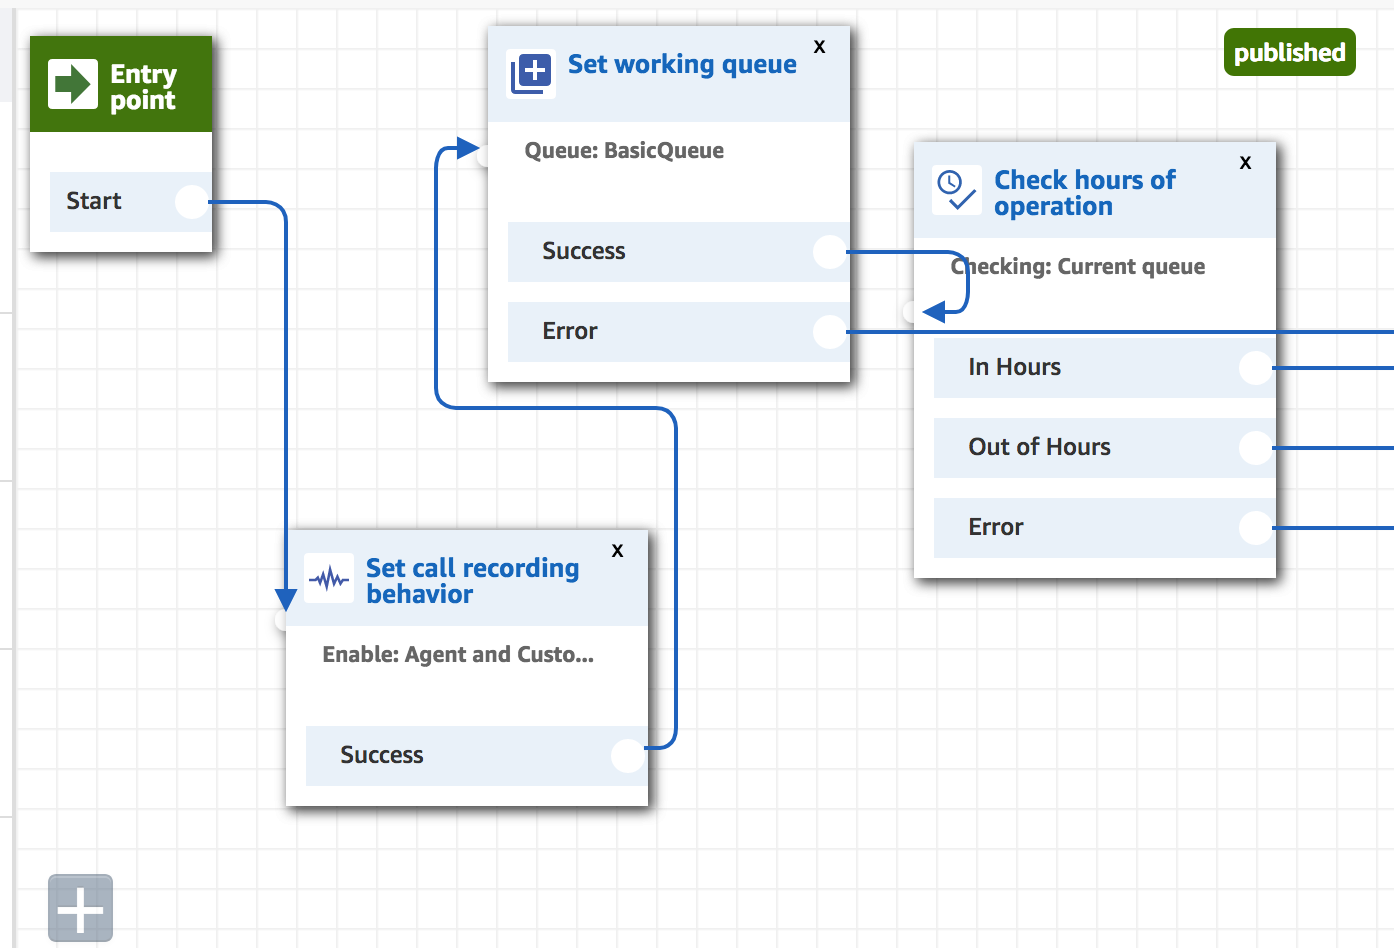
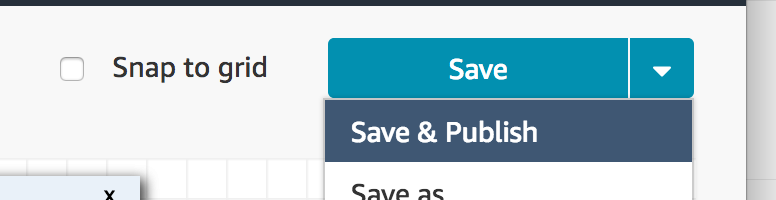
- Save and PUBLISH
Now let's test a call...
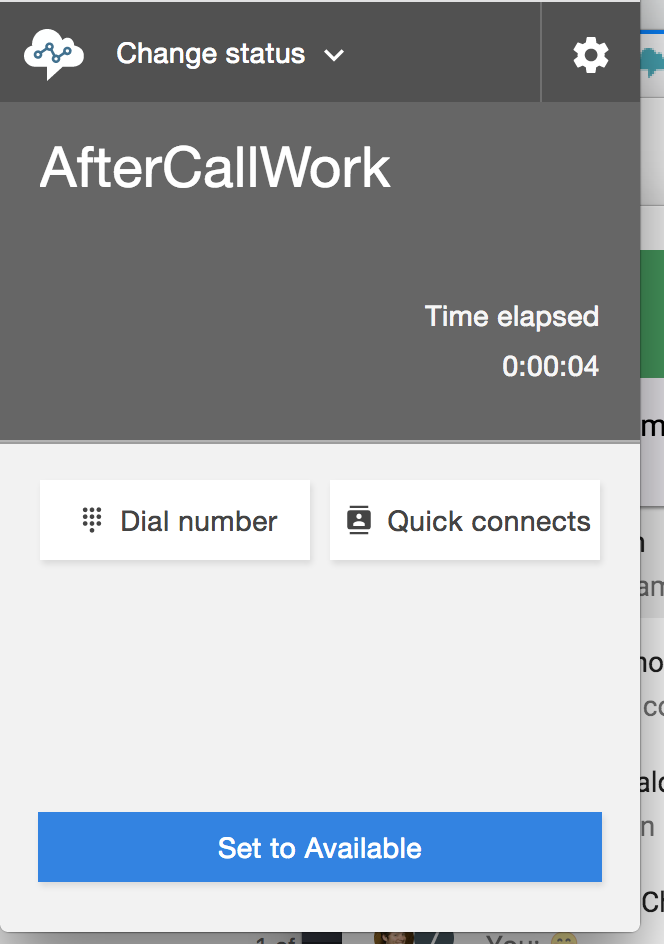
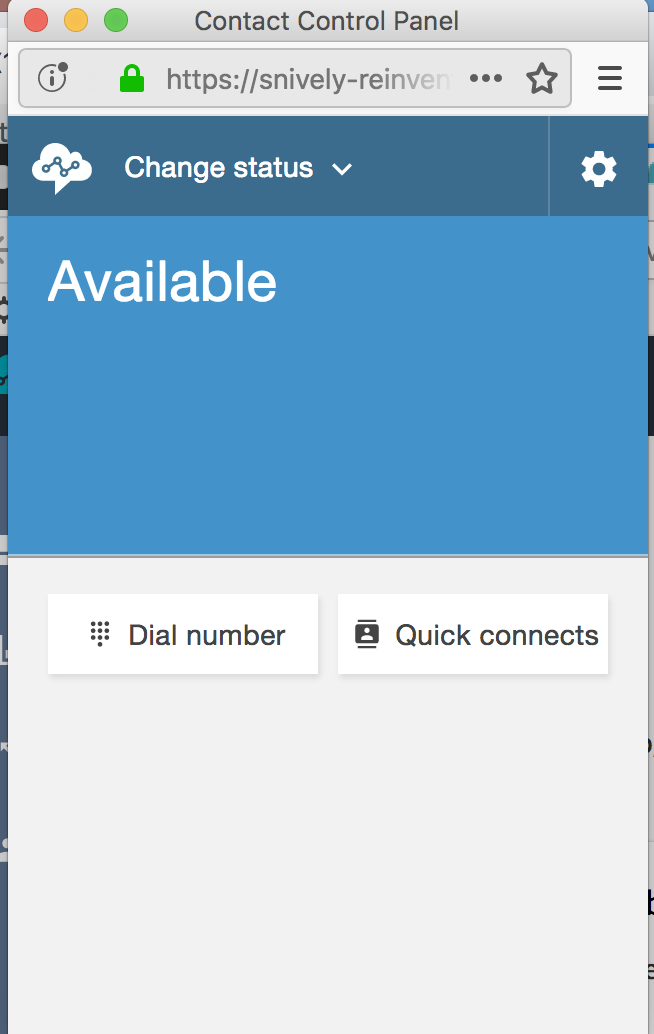
- select the phone icon in the top right corner
- Wait for the agent to say available
- Call into the agent using your cell phone
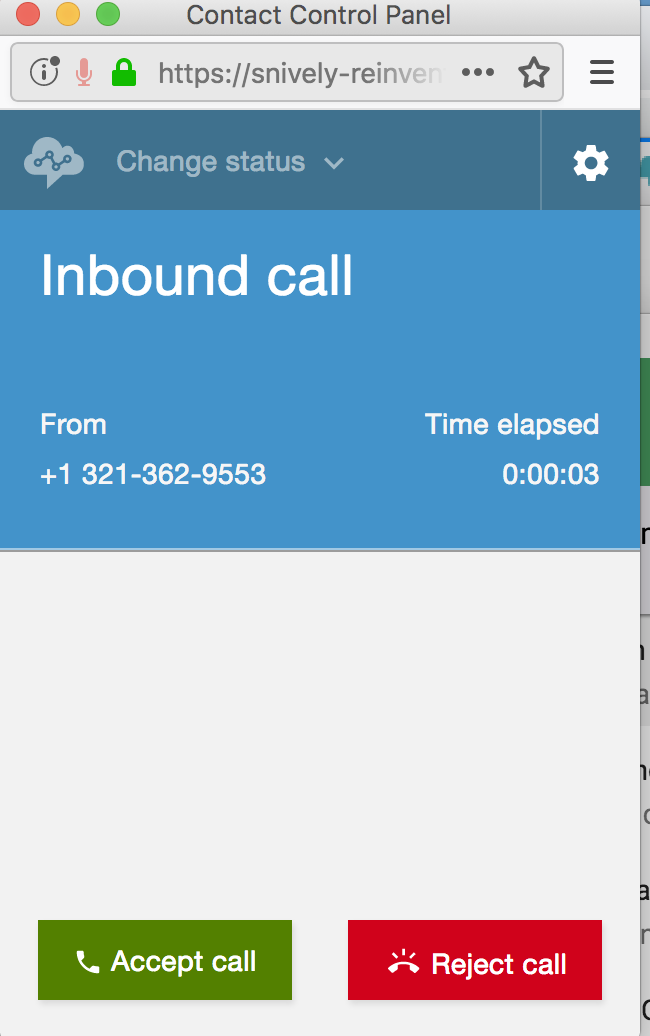
- Using your computer, you can pick up the call and talk to yourself as both the agent an customer
- Hang up

- Set the Agent back to available. This is what will trigger the CTR to get published on the kinesis stream