
1. Log in to the root of your Canvas instance.
Note: Your login user credentials must have admin-level privileges.
2. Go to Admin > <Site> > Developer Keys.
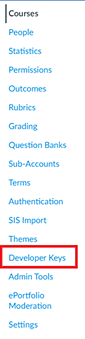
The Developer Keys page appears.
3. Click +Developer Key and select +LTI Key.
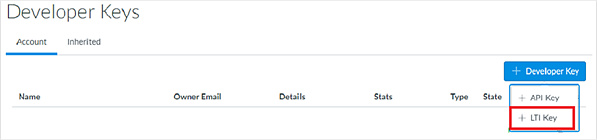
The Key Settings page appears.
4. Copy and paste the values provided below into the associated fields.
Values in green are changeable by the administrator (user-friendly name). All other fields must be exactly as displayed below. Fields not listed can be blank.

– Key Name: HMH Ed Linking Tool
– Redirect URIs: https://api.eng.hmhco.com/lti-deep-linking/api/1.3.0/lti
– Method: Manual Entry
– Title: HMH Ed Linking Tool
Note: The value in the Title field is what will be displayed to your end users when they use the tools. HMH strongly recommends using the value in the Key Name field to allow easier support.
– Description: HMH Ed Linking Tool
– Target Link URI: https://api.eng.hmhco.com/lti-deep-linking/api/1.3.0/lti
– OpenID Connect Initiation Url: https://api.eng.hmhco.com/token-service/api/v2/lti/deep_linking/initializeLogin
– JWK Method: Public JWK URL
– Public JWK URL: https://api.eng.hmhco.com/token-service/api/v1/jwk
5. Expand the LTI Advantage Services. The following options should be enabled:
– Can create and view assignment data in the gradebook associated with the tool.
– Can view assignment data in the gradebook associated with the tool.
– Can create and update submission results for assignments associated with the tool.
– Can retrieve user data associated with the context the tool is installed in.
All other fields should be left inactive.
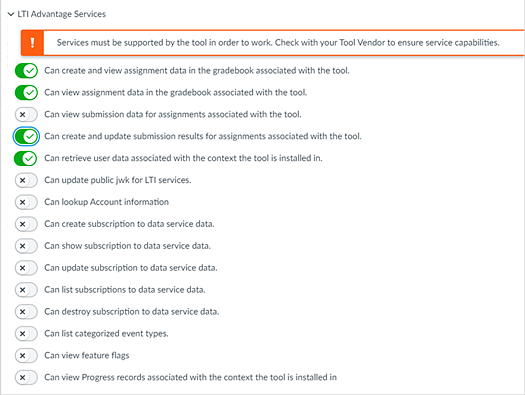
The list of options displayed in this example may not be complete.
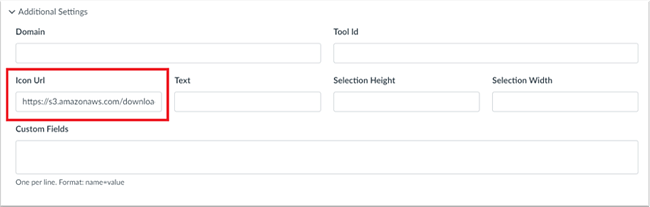
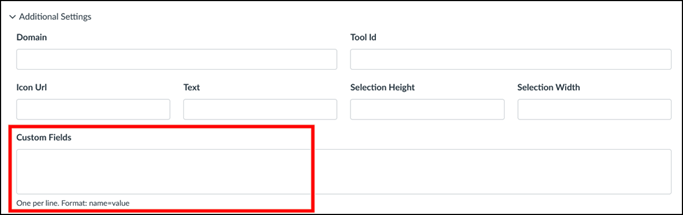
6. Expand the Additional Settings and add the URL for the Icon Url field, as follows: https://s3.amazonaws.com/downloads.hmlt.hmco.com/Communications/Ed_Logo_Black.png
7. Populate the Custom Fields box with the proper code from the table below to indicate how you plan to share the unique Identity of each user. There are six different “Custom Fields” options from which to choose, depending on how you need to co-roster to ensure matching identities.* Only ONE of the connection options below can be active at any one time!
If you are matching this HMH Ed identifier… |
With this Canvas identifier… |
…then paste this code into the Custom Fields slot NOTE: If there are two lines, copy both with a line break between them. |
Ed.LASID |
Canvas.SIS_ID |
Do not place anything in the Custom Fields section. The field should remain empty. |
Canvas.INTEGRATION_ID |
person_sourcedid=$Canvas.user.sisIntegrationId |
|
Canvas.LOGIN_ID |
person_sourcedid=$Canvas.user.loginId |
|
ED.USERNAME |
Canvas.SIS_ID
|
user_resolution_strategy=username
|
Canvas.INTEGRATION_ID |
person_sourcedid=$Canvas.user.sisIntegrationId user_resolution_strategy=username |
|
Canvas.LOGIN_ID |
person_sourcedid=$Canvas.user.loginId user_resolution_strategy=username |
|
Canvas.PRIMARY_EMAIL |
user_resolution_strategy=email_to_username |
*To review Co-Rostering choices and determine
which Identifier pair match you will use, please refer to the article:
Meeting the Co-Rostering requirement ![]() .
.
8. Under Additional Settings, the Privacy Level must be set to Public. This allows Canvas to send the identity of the user using the tool to HMH to allow the integration to work.

9. Under Placements, remove any existing placements and ensure that only the placements Assignment Selection, Editor Button, Homework Submission, and Link Selection are selected.

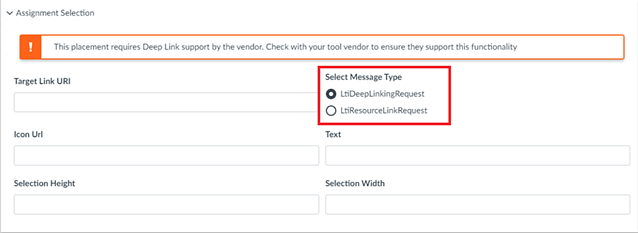
– Assignment Selection placement allows Admins and Instructors to use the LTI Deep Linking Flow to select an LTI resource from an external tool and associate it with a Canvas assignment. (https://canvas.instructure.com/doc/api/file.assignment_selection_placement.html)
– Editor Button placement allows External Tools to be embedded in the Rich Content Editor (https://canvas.instructure.com/doc/api/file.editor_button_placement.html)
Limitation of the Editor Button placements: The Editor Button placements does not provide grade-pass back in Canvas.
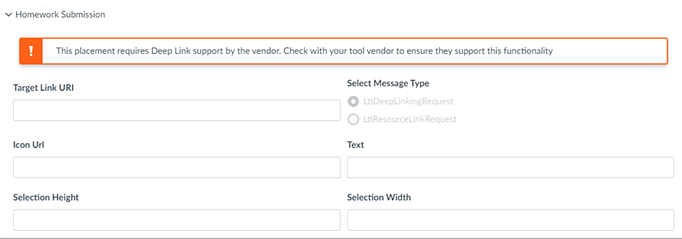
– Homework Submission placement allows grade pass back to an online file upload submission type assignment (https://canvas.instructure.com/doc/api/file.homework_submission_placement.html)
– Link Selection placement allows an external tool to be associated with a Canvas module item (https://canvas.instructure.com/doc/api/file.link_selection_placement.html)
10. Expand Assignment Selection, and select the LtiDeepLinkingRequest option button.
11. Expand Editor Button, and confirm that no options are available to configure.

12. Expand Homework Submission, and confirm that no options are available to configure.
13. Expand Link Selection, and select the LtiDeepLinkingRequest option button.

14. Click Save to save the Developer Key.

The Developer Keys menu returns displaying the new Key you have created.

15. If necessary, activate the key by clicking ON. The key displays as green when ON and red when OFF.

16. Make a note of the number in the Details column associated with this key. This number is required in the next procedure when you create the External Tool. In this example, the number is 32990000000000165. This number is known as the Client ID.

This completes the steps for the Configure Developer Key at the account level.
See Next: Configure External App