Beverage Deposits - Testing Setup
This page describes the environment setup for testing the Beverage Deposit customization.
Environment Setup
In addition to the optional field setup, some items and deposits are required.
Item Segments
Item segments were used to separate bottled items (B1), first level deposits (E1), and second level deposits (E2)
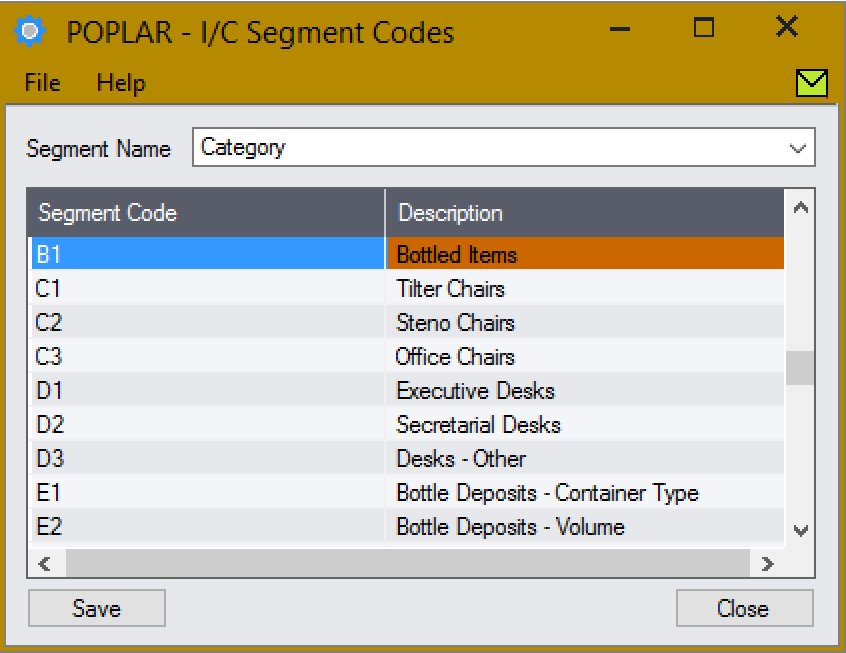
I/C segments were used to make it clear what is a bottle, first, and second level deposit.
Items
Three bottled items, three first deposits, two second deposits, and two summary deposits were setup. All items are setup in the same fashion:
Open I/C Items and Price Lists –> Items.
Open item
A1-103/0.Change the item number to the new item number.
In the Units tab add the Units of Measure: - for bottled items, add
Ea.andCase; - for deposits, add onlyEa..Add the item.
The following items were used:
B1-001/0 - Cola (Large Plastic)
B1-002/0 - Cream Soda (Small Aluminum)
B1-003/0 - Root Beer (Small Glass)
And the following deposits:
E1-001/0 - Plastic Bottle
E1-002/0 - Aluminum Bottle
E1-003/0 - Glass Bottle
E1-900/0 - Bottle Type Summary Deposit
E2-001/0 - Small Bottle
E2-002/0 - Large Bottle
E2-900/0 - Bottle Size Summary Deposit
Pricing
If pricing isn’t set for the deposits, when they are added automatically errors will be raised. Setup pricing for all the items created above:
Navigate to I/C Items and Price Lists –> Item Pricing.
Click the New button.
Set the price list to default for the customer (USA for 1200)
For each item, set the Item in the Item Number field and set a price.
Testing
To test the customization, open new O/E order and add one line for each of the three bottle items. Although your results will vary based on the specific deposit items and prices you have configured, you should see something like this:
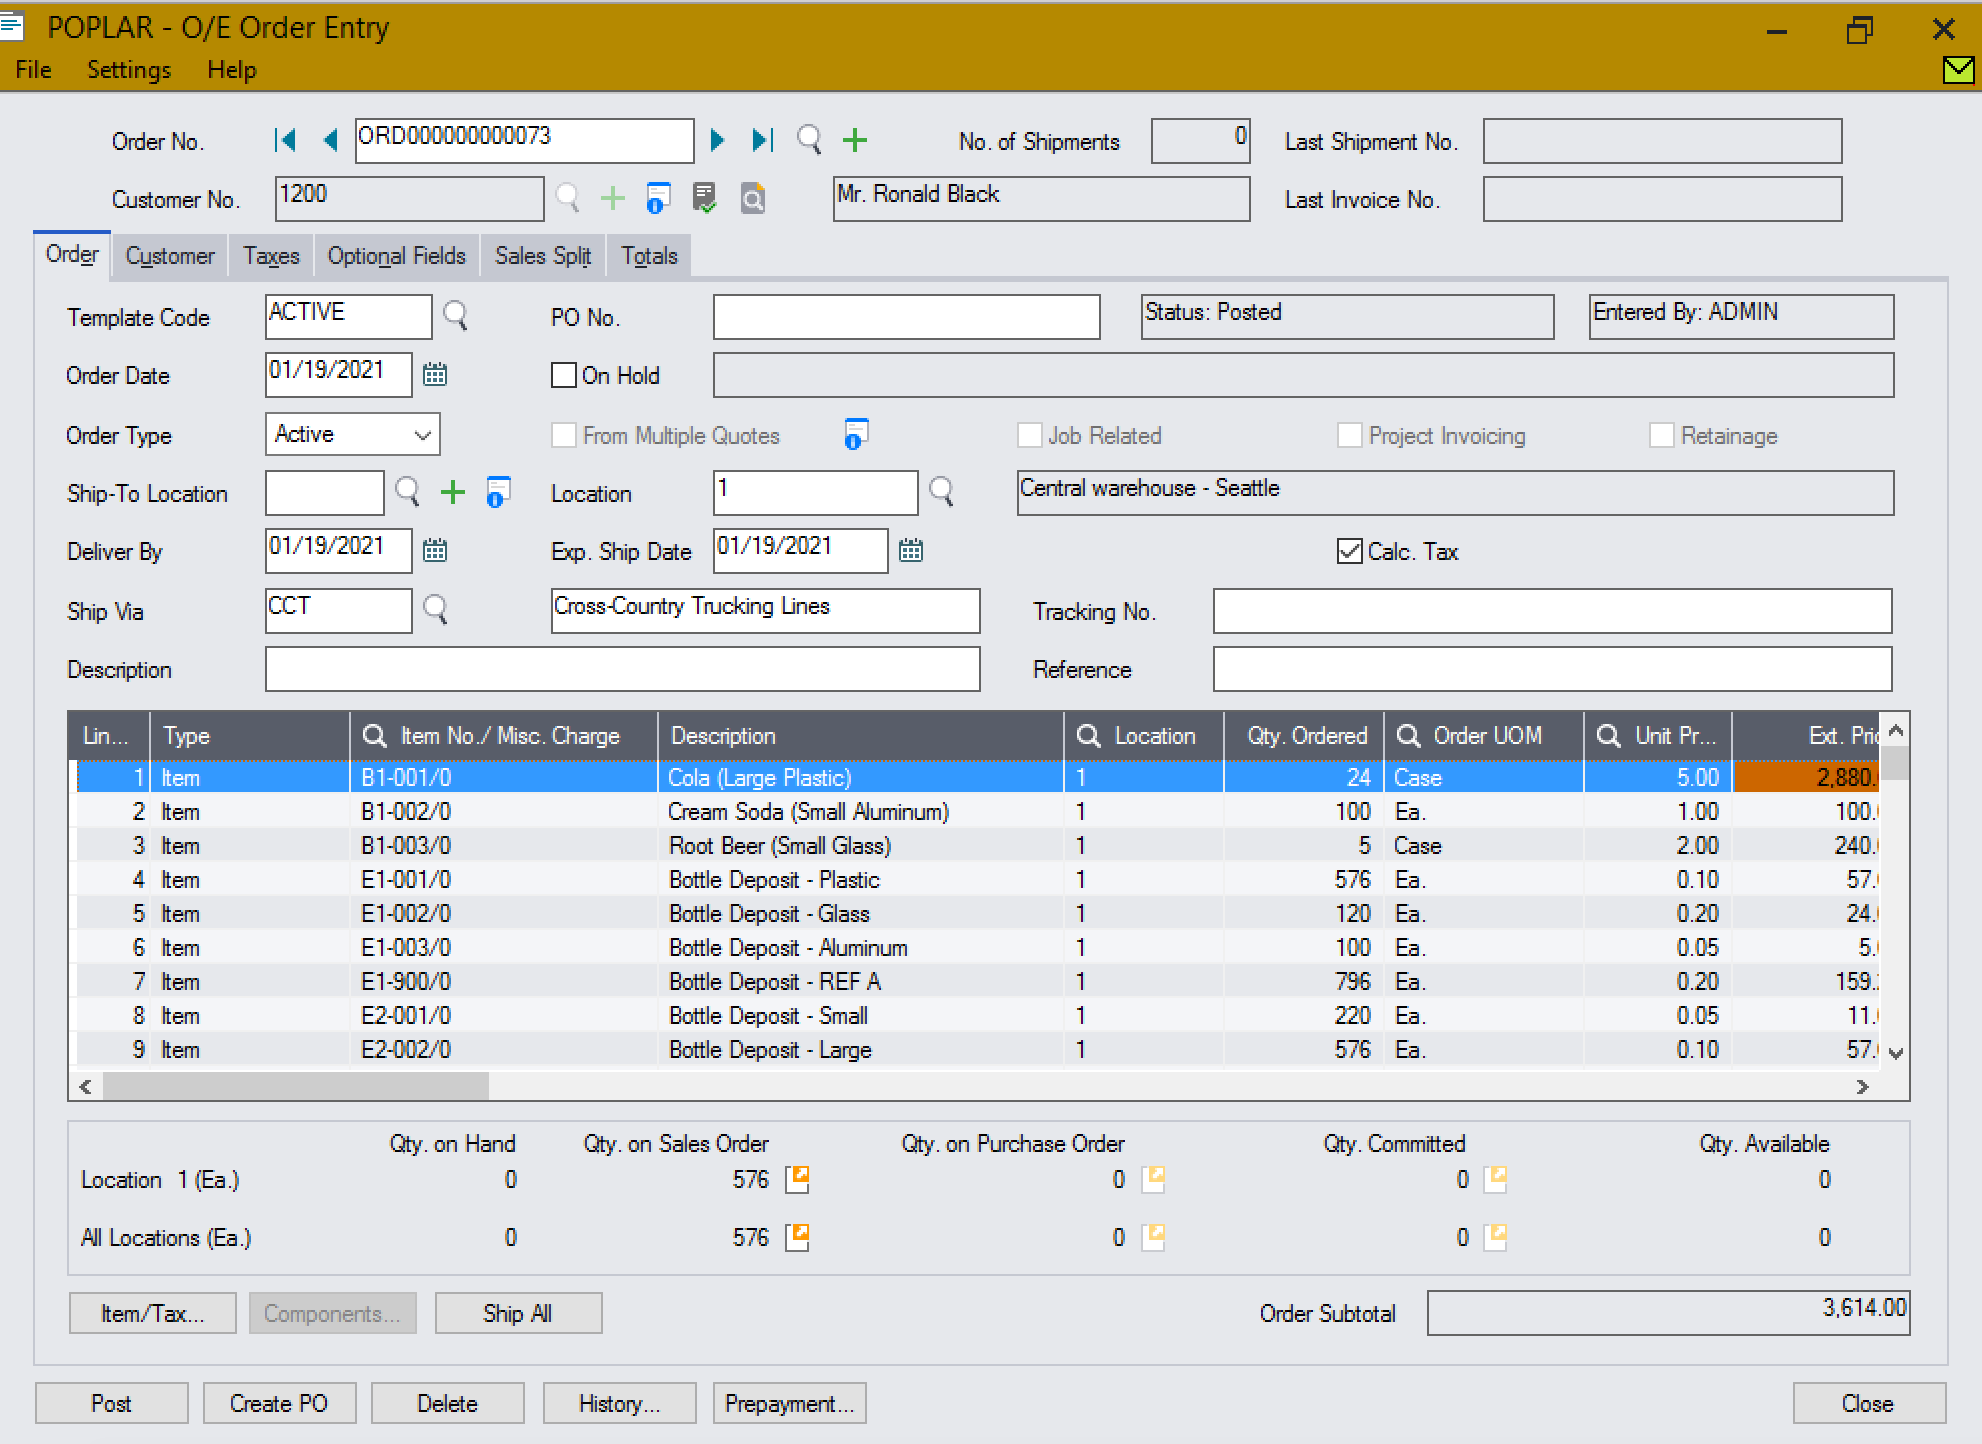
An order with deposits applied for all three bottle items.