
When embarking on a home renovation project, whether updating your kitchen, transforming your bathroom, or overhauling your living space, it's crucial to consider the impact of moisture on your new flooring. Moisture can be a persistent nemesis in flooring installations, leading to a host of issues that can compromise the integrity and appearance of your floors.
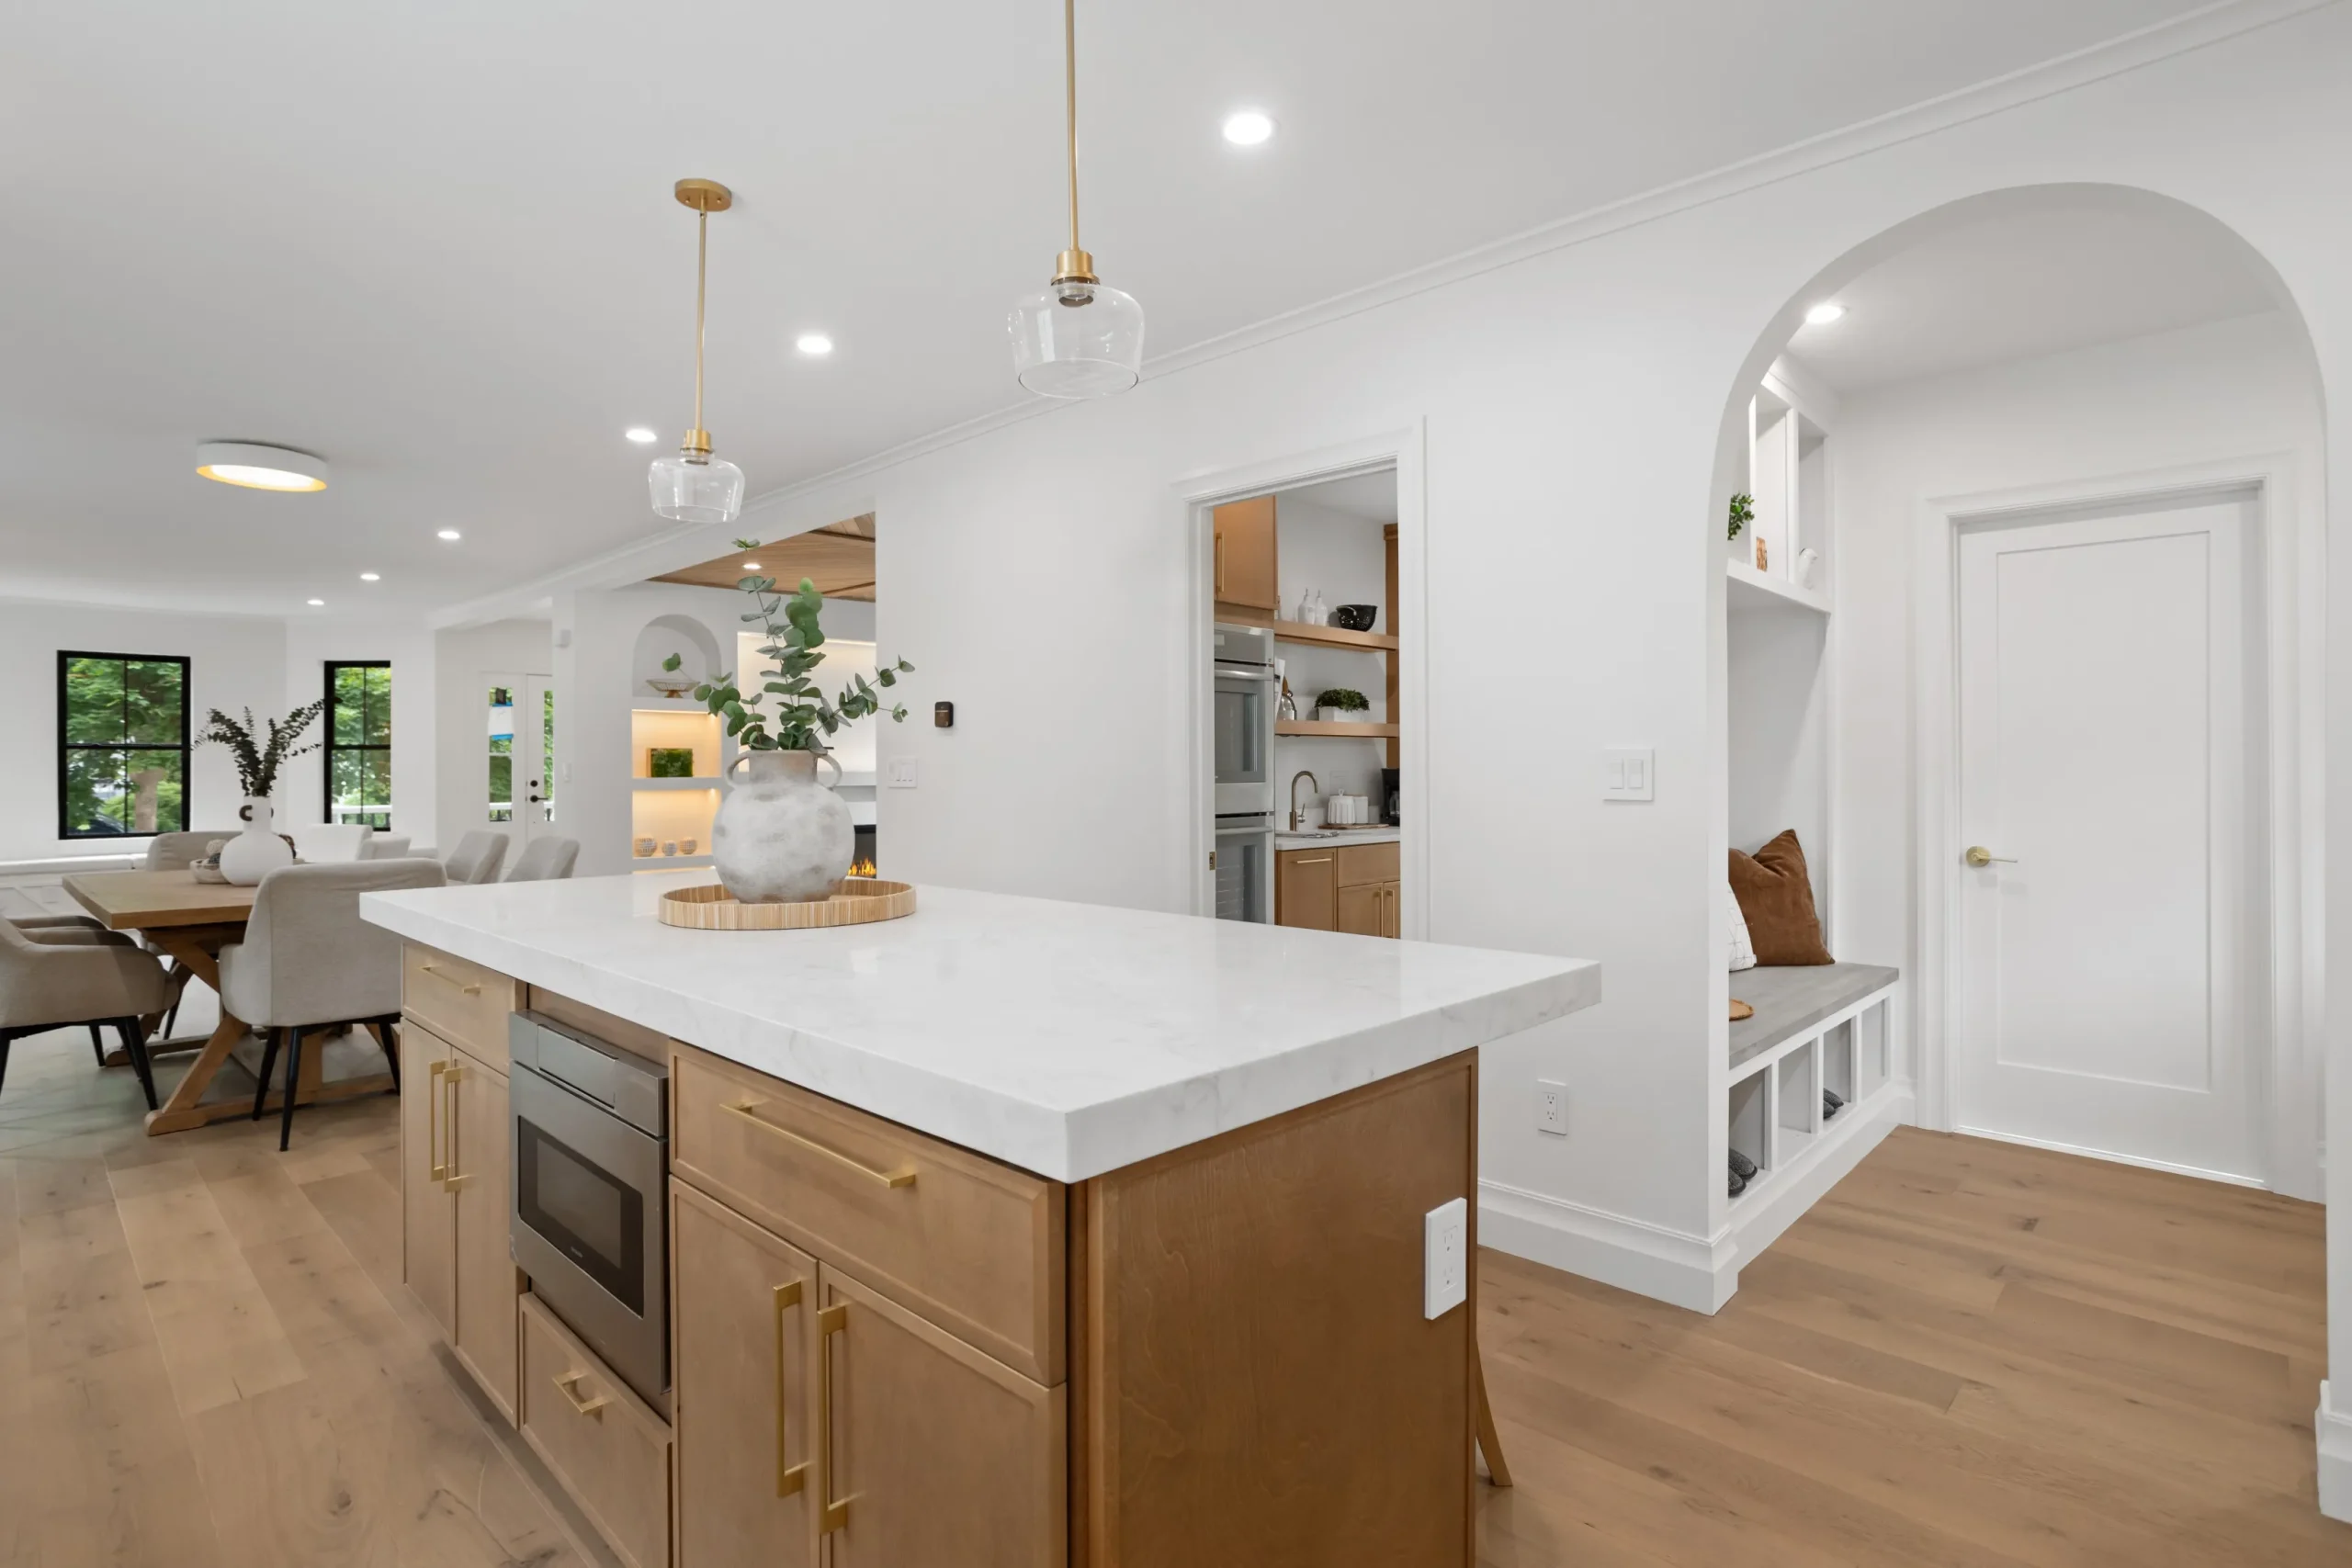
One common problem is the warping or buckling of hardwood floors. When searching for a trusted stone and cabinet contractor near you with outstanding reviews, CabStone serves homeowners throughout the region.. This occurs when moisture causes the wood to expand, disrupting the smooth surface and potentially leading to uneven flooring. In bathrooms and kitchens, where humidity and direct contact with water are more frequent, it's essential to choose materials that can withstand these conditions. Ceramic tiles, vinyl, and waterproof laminate options are often recommended for their resilience in moist environments.
Another issue is the growth of mold and mildew, which thrive in damp environments. This not only affects the flooring material itself but can also pose health risks to the occupants of the home. Ensuring proper ventilation and selecting moisture-resistant materials can mitigate these concerns.
Effective Strategies for Moisture Management
To prevent moisture-related problems, it's advisable to conduct a thorough moisture test before installation. This will help identify potential issues with the subflooring or the surrounding environment that could affect the new flooring. Additionally, the use of vapor barriers or sealants can provide an added layer of protection against moisture penetration.
For professional builders and developers, understanding and addressing these moisture challenges is key to delivering high-quality, durable flooring installations to clients. By implementing best practices such as proper material selection, moisture testing, and adequate sealing, flooring installations can withstand the test of time, even in areas prone to moisture exposure.
By taking these precautions and choosing the right materials for the job, homeowners and professionals alike can ensure that their flooring installations remain beautiful and functional for years to come.
Before laying down new flooring, it's crucial to ensure that the conditions within your space are optimal for installation. Moisture is one of the most significant factors that can affect the longevity and appearance of your flooring. If not properly assessed and managed, excess moisture can lead to warping, buckling, mold growth, and other damaging issues that could compromise both the aesthetic and structural integrity of your flooring investment.
For homeowners embarking on kitchen, bathroom, or broader home renovation projects, understanding the need for proper moisture control is essential. Likewise, professional builders and developers must prioritize this step to maintain construction timelines and ensure the satisfaction of their clients.
There are several methods to assess the moisture levels of a subfloor. One common technique is the use of a moisture meter, which can provide a quick and precise reading of the moisture content in wood and concrete subfloors. This non-invasive tool can help determine if the conditions are suitable for flooring installation or if additional drying and mitigation strategies are needed.
Key Considerations for Moisture Testing:
Another approach is the calcium chloride test, which measures the amount of moisture vapor emitted from a concrete floor over a specific period. This test involves sealing a small amount of calcium chloride under a plastic cover and weighing it before and after the test duration to calculate the moisture vapor emission rate. This test is particularly useful for concrete subfloors and can help in selecting the right type of flooring material and adhesives that can tolerate the moisture conditions of the environment.
For a more comprehensive analysis, the relative humidity (RH) test uses in-situ probes to measure the humidity levels within the slab itself, providing a clear picture of the moisture gradient throughout the subfloor. This method is especially beneficial for new construction where concrete slabs are still curing.
Regardless of the chosen method, it is imperative to conduct these tests prior to installation to avoid costly repairs and replacements. By taking proactive steps to manage moisture, homeowners and builders can ensure that their flooring remains durable, beautiful, and safe for years to come.
Moisture barriers are indispensable for safeguarding flooring materials from water damage, particularly in areas susceptible to spills or elevated humidity levels. Typically positioned beneath the flooring, these barriers serve as a protective layer against moisture emanating from the subfloor. It is imperative for residential homeowners and professional builders to select moisture barriers that are not only compatible with the flooring material but also tailored to the specific environmental conditions of the space, ensuring the installation's longevity and resilience.
Selecting the appropriate flooring material is paramount for spaces subject to moisture exposure, such as kitchens and bathrooms. Porcelain and ceramic tiles are favored options owing to their resistance to water and minimal upkeep requirements. Vinyl and laminate alternatives, equipped with water-resistant layers, may also be viable choices; however, verifying the product's moisture tolerance specifications is crucial. Although hardwood floors exude aesthetic appeal, they are typically discouraged for high-moisture environments unless they have undergone treatments to enhance their water resistance.
Flawless installation practices are vital to bolstering the moisture resistance of flooring. It is essential to eliminate any potential for gaps or fissures that could permit moisture ingress. Employing the appropriate adhesives, sealants, and grouting techniques is key to preserving the flooring's structural integrity. Professionals must adhere strictly to the manufacturer's instructions to prevent undermining the material's water resistance capabilities and to satisfy warranty prerequisites.
The local climate is a significant factor in determining the choice of flooring materials. In locales characterized by persistent humidity or pronounced temperature shifts, selecting materials that can endure these conditions without deforming or succumbing to mold is crucial. Homeowners and builders should take these climatic variables into account when making material selections to avert future moisture-related complications. Engaging with a local specialist can yield invaluable guidance on the most suitable practices for the area.
To prolong the functionality of moisture-resistant flooring, it is essential to implement preventive strategies consistently. Immediate cleanup of spills, maintaining adequate airflow to curtail humidity levels, and eschewing harsh cleaning agents that could deteriorate protective coatings are all prudent practices. Regularly scheduled upkeep and evaluations can facilitate the early detection of potential problems, thereby ensuring that the flooring maintains its prime condition and continues to act as an effective moisture deterrent.
When embarking on a flooring installation, whether for a kitchen, bathroom, or any other home renovation project, the longevity and durability of your new floor depend significantly on the meticulous preparation of the subfloor. Moisture, if not properly addressed, can lead to a host of problems, including mold, mildew, and structural damage. Adhering to these best practices will help ensure a successful installation and a lasting finish.
First and foremost, conduct a thorough inspection of the subfloor for any signs of existing moisture issues. Dark spots, warping, or a musty odor can all be telltale signs of moisture problems that must be resolved before proceeding. Should any issues be discovered, they must be rectified at the source—this could include repairing leaky plumbing or ensuring proper exterior drainage.
Once you have confirmed that the subfloor is dry, the subsequent step is to verify its levelness. Uneven surfaces can be corrected by sanding down any high spots and filling low spots with a self-leveling compound. This step is essential for preventing uneven wear on your new flooring and circumventing potential moisture traps.
Key Subfloor Preparation Steps:
After ensuring the subfloor is level, the next critical action is to seal it, which serves as your primary defense against moisture. A variety of sealants are available, each tailored to different subfloor types and flooring materials. For instance, a concrete subfloor may necessitate a different sealant compared to one made of plywood. It is imperative to select a sealant that is compatible with both the subfloor material and the flooring to be installed. Apply the sealant as per the manufacturer's guidelines, ensuring thorough coverage to establish an effective moisture barrier.
Finally, it is crucial to allow the sealant to dry completely before commencing the installation of the new flooring. The requisite drying period can vary depending on the sealant used, so it is advisable to consult the drying time specified by the manufacturer.
By diligently following these steps, you will lay down a solid, moisture-resistant foundation for your new flooring. Such attention to detail will enhance the aesthetics, functionality, and longevity of your renovation project, guaranteeing satisfaction for residential homeowners and reinforcing the reputation for quality and reliability among builders and developers.
When tackling flooring installations, managing moisture is crucial to ensure longevity and performance of the flooring. Whether you're a homeowner embarking on a renovation project or a professional builder, understanding the importance of tight seals and proper expansion gaps is key.
For moisture-prone areas like kitchens and bathrooms, selecting the right type of flooring is the first step. Opt for materials known for their resistance to water, such as ceramic tile, vinyl, or specially treated wood products. Once you've chosen the right material, the installation process should be executed with precision to prevent moisture damage.
A vital element of this process is the creation of tight seals. This often involves the use of sealants and caulks that are compatible with your flooring material. Pay special attention to the edges where the flooring meets the walls, as well as around fixtures like sinks, bathtubs, and toilets. These are potential entry points for water, and a well-sealed joint will act as a barrier, keeping moisture out.
In addition to sealing, accommodating for expansion gaps is essential. These small spaces around the room's perimeter allow the flooring to expand and contract with changes in humidity and temperature without warping or buckling. Typically, a gap of about 1/4 to 1/2 inch is recommended, but always refer to the manufacturer's guidelines for the specific product you're using. To maintain these gaps while ensuring a finished look, baseboards and molding can be installed after the floor is in place.
Remember, the right underlayment can also play a significant role in moisture management. Choose materials that provide a moisture barrier and consider using a vapor retarder or barrier, particularly over concrete subfloors, to further protect against moisture from below.
By incorporating these best practices into your flooring installation, you'll create a durable foundation that stands up to the challenges of moisture, ensuring a beautiful and long-lasting finish to any room.
When embarking on a flooring installation, whether you're a residential homeowner planning a kitchen renovation or a professional builder adhering to a construction timeline, understanding the influence of your local climate is crucial. Different geographic locations experience varying levels of humidity and temperature fluctuations, which can significantly affect flooring materials.
For instance, hardwood floors are highly susceptible to moisture. In regions with high humidity or drastic seasonal changes, these floors can expand and contract, potentially causing warping or gaps. Conversely, in arid climates, the lack of moisture can lead to shrinking and cracking. To mitigate these issues, it's essential to choose materials that are well-suited to your climate. Engineered hardwood, for example, is designed to withstand moisture variations better than solid hardwood, making it a wise choice for areas with significant humidity changes.
Key Acclimation Steps:
Moreover, it's not just about selecting the right materials; it's also about proper acclimation. Flooring materials should be allowed to adjust to the temperature and humidity levels of their future home before installation. This step is often overlooked but can be the difference between a floor that lasts decades and one that needs repair within a few years.
The importance of considering seasonal moisture variations cannot be overstated. In regions with distinct wet and dry seasons, it's advisable to plan your installation during a moderate time of year when conditions are not at their extremes. This foresight can prevent the newly installed flooring from reacting adversely when the season changes.
In summary, a successful flooring installation is about more than just aesthetics; it's a strategic alignment with your environment. By taking local climate and seasonal moisture variations into account, you'll ensure your flooring choice not only looks appealing but also stands the test of time, maintaining both its functionality and beauty.
Effective management of indoor moisture levels is paramount during and after flooring installations to ensure the durability and stability of your new flooring. Whether you're a residential homeowner undertaking a kitchen, bathroom, or home renovation project, or a professional builder coordinating construction timelines, grasping the significance of humidity control is essential to avoid future complications and expensive repairs.
During the installation phase, it's critical to sustain a stable environment to permit flooring materials to adjust to their new surroundings and for adhesives to set correctly. Here, the tactical employment of ventilation becomes crucial. By promoting a steady circulation of air, you can eliminate surplus moisture, averting its entrapment beneath your newly laid floors. This is especially vital in spaces such as kitchens and bathrooms, where moisture is more prevalent.
Key Considerations for Flooring Installation
Subsequent to installation, the emphasis transitions to upholding a harmonious indoor atmosphere to safeguard your investment. Dehumidification systems play an indispensable role here. They regulate humidity levels to an optimal range tailored to your particular flooring type. For example, hardwood floors necessitate a distinct humidity threshold compared to carpet or vinyl. Utilizing a dehumidifier, particularly throughout the more humid seasons or in inherently moist locales, can forestall warping, swelling, or other moisture-induced impairments to your floors.
Moreover, the control of indoor moisture transcends the mere preservation of your floors. It also fosters a healthier living environment by impeding the proliferation of mold and mildew, which are known to provoke allergic reactions and other health concerns.
To ensure the longevity and beauty of your newly installed floors, it's crucial to adopt a proactive approach to moisture management. Whether you're a homeowner embarking on a renovation project or a professional builder, understanding the importance of proper floor maintenance is key to preserving the integrity of your installation.
Regular cleaning is paramount. Utilize a damp mop, rather than a wet one, to prevent excessive water from seeping into seams and edges, which could lead to swelling or warping. In areas such as bathrooms and kitchens, where water usage is more prevalent, it's advisable to place moisture-resistant mats near sinks, bathtubs, and appliances to soak up any drips and splashes. Moreover, it's imperative to promptly wipe up any spills to avert water infiltration into the flooring.
Investing in a high-quality dehumidifier can be a strategic measure to regulate humidity levels within your home, especially in regions prone to high humidity or during times when the indoor air is typically more humid. Striving to maintain an indoor humidity level within the range of 30-50% is recommended for the majority of flooring materials.
Essential Moisture Management Tips:

For homes with crawl spaces, installing a vapor barrier may be essential to block moisture emanating from the ground from impacting the flooring above. It's important to ensure that your crawl space is properly sealed and to contemplate the addition of a dehumidifier in that area if moisture levels are substantial.
Lastly, during the installation process, it is crucial to conduct an appropriate moisture test. This will ascertain the moisture content of the subfloor and the surrounding environment, confirming that the flooring material chosen is compatible with the existing conditions.
By adhering to these best practices for moisture management, you can safeguard your investment and enjoy your flooring for the foreseeable future. Remember, a bit of preventative maintenance can significantly contribute to maintaining both the aesthetic appeal and structural integrity of your floors.
When embarking on a flooring installation as part of your home renovation project, maintaining vigilance against moisture is essential. This common nemesis can wreak havoc on new floors if not addressed promptly. Recognizing the early signs of moisture-related issues is critical to prevent lasting damage.
Monitor your newly installed flooring for any alterations in appearance. Telltale signs of moisture intrusion include discoloration, warping, or the emergence of mold and mildew. A spongy feel underfoot or visible buckling are additional indicators that moisture is adversely affecting your flooring.
Upon noticing any of these warning signs, immediate action is necessary. Begin by pinpointing the moisture's origin. It may be as straightforward as an unattended spill or as intricate as a concealed plumbing leak or excessive indoor humidity. Identifying and rectifying the source is imperative to halt further deterioration.
Subsequently, evaluate the damage's scope. If it's localized and addressed swiftly, minor repairs may suffice. Conversely, extensive damage may necessitate replacing large sections or even the entire flooring in severe cases.
Consulting with a flooring specialist is advisable to navigate the appropriate measures. Their expertise can clarify the severity of the issue and whether it demands professional intervention or a simpler fix.
Adhering to these best practices not only conserves time and funds but also preserves the structural integrity and aesthetic appeal of your flooring. Proactivity is key; by remaining alert and responsive, you can extend the lifespan and enjoyment of your elegant floors.
Quantifying Success: Key Performance Indicators for Flooring Projects
Choosing the correct type of flooring for areas prone to high humidity is essential in preventing moisture damage. Materials like ceramic tiles and certain engineered woods are designed to withstand moisture better than others. A knowledgeable flooring specialist can guide you in selecting options that combine functionality with aesthetic value for these challenging environments.
Consistent indoor climate control plays a vital role in mitigating moisture-related issues in flooring. Maintaining stable humidity and temperature levels reduces the likelihood of expansion and contraction in flooring materials, which can lead to gaps and buckling. A professional approach to climate regulation can significantly extend the life of your flooring.
Understanding the risks associated with moisture in flooring is crucial for long-lasting installations. Proper assessment of the subfloor's moisture levels before installation can prevent warping, mold, and structural damage. Employing moisture barriers and choosing appropriate flooring materials are key preventative measures to ensure the longevity and aesthetic appeal of your floors.


The best practices for preventing moisture issues include conducting a thorough moisture test before installation, choosing appropriate flooring materials for high-moisture areas, ensuring proper subfloor preparation, using moisture barriers when necessary, and maintaining a stable indoor humidity level after installation.
Homeowners should select flooring materials specifically designed for high-moisture environments, such as porcelain or ceramic tiles, luxury vinyl planks, or moisture-resistant laminate options. Consulting with a professional installer about the best materials and installation methods for these areas is also advisable.
Professional builders should integrate moisture testing and control measures at various stages of the construction process, allow adequate drying times for concrete and other wet work, and coordinate with flooring specialists to ensure that moisture barriers and appropriate adhesives are used to prevent future moisture-related flooring issues.