Installing the Ductwork
Installing the ductwork is an essential step in establishing a ducted heating system. This procedure, while outlined, can be managed effectively with a bit of preparation and the right devices. The ductwork serves as the network of pathways that distribute cozy air from the heating device throughout your home, ensuring consistent and comfy temperature levels in every space.
To begin, its important to have a clear understanding of your homes design and the heating needs of each area. This will aid in identifying the most efficient courses for the air ducts. Begin by producing an in-depth strategy that includes the areas of the heating unit, the main trunk lines, and where the branches will certainly lead off to specific vents. This strategy will certainly assist you through the installation procedure and aid to minimize mistakes.
When you have your plan, collect your materials. Youll require ductwork, connectors, hangers, and insulation, together with tools such as a measuring tape, tin snips, and a drill. The kind of ductwork you select is essential, with options varying from flexible to rigid steel air ducts. Adaptable ducts are easier to set up and can browse around challenges, however rigid ducts are extra resilient and effective in regards to air movement.
Start the installation by setting up the major trunk line, which will deliver air from the heating device to the remainder of the system. Secure it firmly and guarantee that it is properly sustained by hangers to stop drooping, which can decrease efficiency. The Ultimate Checklist for Smooth Ducted Heating Installation . Next, install the branch lines that will prolong from the trunk line to the various areas. As you do this, see to it to utilize the ideal ports to preserve a tight seal and protect against air leakages.
It is critical to protect the ductwork, particularly in locations that pass through unheated rooms like attic rooms or cellars. Insulation helps to maintain the temperature level of the air as it takes a trip with the air ducts, making certain that it reaches each room at the wanted warmth without shedding warmth in the process.
Finally, test the system to ensure that whatever is working appropriately. Check for air leaks by running the system and feeling along the ductwork for any type of running away air. If you find leaks, seal them with duct tape or mastic. Make any needed adjustments to the air movement to guarantee that each space obtains the ideal quantity of warm.
Installing ductwork requires accuracy and interest to information, yet with mindful preparation and implementation, it can be accomplished efficiently. The result is a trusted and effective heater that keeps your home cozy and comfortable throughout the chillier months.
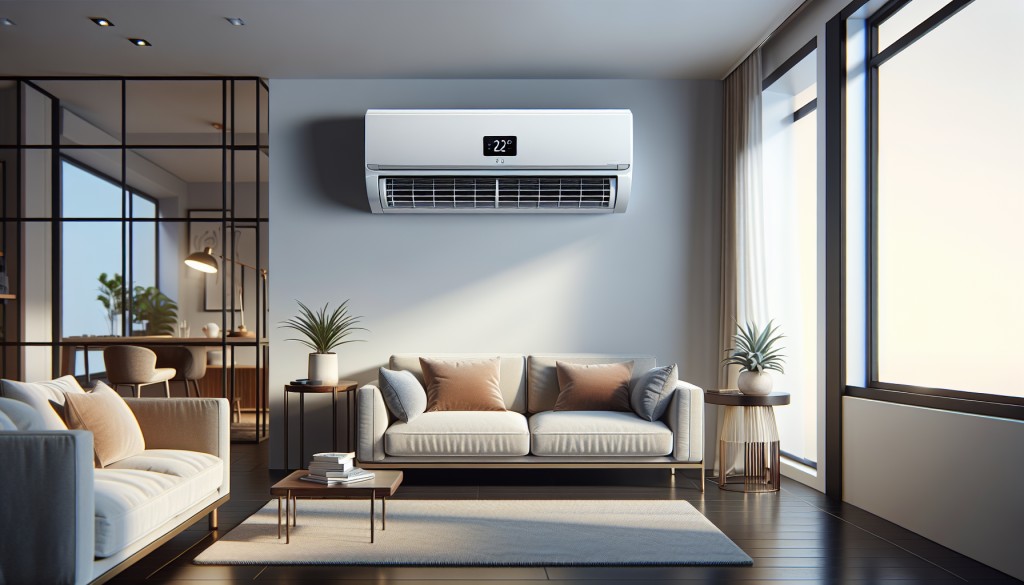
Attaching the Heating Device
Linking the heating system is a pivotal step in the installation of ducted heater, a procedure that, when implemented correctly, guarantees the effective and effective distribution of warmth throughout a home or structure. This task includes linking the central heating unit, often referred to as the furnace or heater, to the network of air ducts that will certainly bring cozy air to various areas. Ensuring a proper link is important for the total efficiency of the heating unit, as it straight influences the power efficiency and convenience degrees within the home.
To begin with, it is necessary to have a clear understanding of the format of the structure and the positioning of the heating unit. The unit is usually set up in a central location, such as a basement or utility room, to maximize the distribution of heat. Prior to making any type of links, make sure that the device is securely in position which all safety and security procedures are complied with, including separating power sources and confirming that gas lines, if appropriate, are appropriately secured and fitted to prevent leakages.
The connection procedure begins with connecting the major plenum to the heating system. The plenum is the big air duct that functions as the main network for air distribution. It is essential to make sure that the plenum is correctly lined up and firmly attached to the heating device, as any type of gaps or imbalances can bring about air leakages, minimizing the efficiency of the system. Use proper securing materials, such as duct mastic or metal-backed tape, to seal any type of joints or joints and prevent loss of warmed air.
Next, the ductwork that extends from the plenum to different components of the structure have to be linked. This entails attaching the primary supply air ducts to the plenum and then branching out to smaller air ducts that result in specific rooms. Each connection ought to be carefully looked for safe fittings and appropriate securing to preserve the stability of the air circulation. Dampers might be installed within the ductwork to manage the circulation of air to various areas, permitting much more specific control of temperatures in private spaces.
Furthermore, it is necessary to connect the return air ducts to the heating system. These air ducts are in charge of bringing cooler air back to the unit to be reheated. The return duct ought to be placed strategically to make sure effective air blood circulation throughout the building. Correct insulation of these ducts is also important to prevent heat loss and enhance the general effectiveness of the heating unit.
Ultimately, as soon as all physical connections are made, it is essential to test the system. This involves powering up the heating device and checking for any kind of air leaks, unusual sounds, or uneven temperature level distribution. Any issues ought to be addressed immediately to make sure the system operates at peak performance.
In conclusion, connecting the heating system in a ducted heater calls for cautious interest to detail and adherence to security criteria. By ensuring that all connections are safe and secure and effectively sealed, you can improve the performance and integrity of your heating unit, providing constant warmth and convenience throughout your home. This step, though relatively technical, is an essential part of developing a comfortable living environment throughout the chillier months.
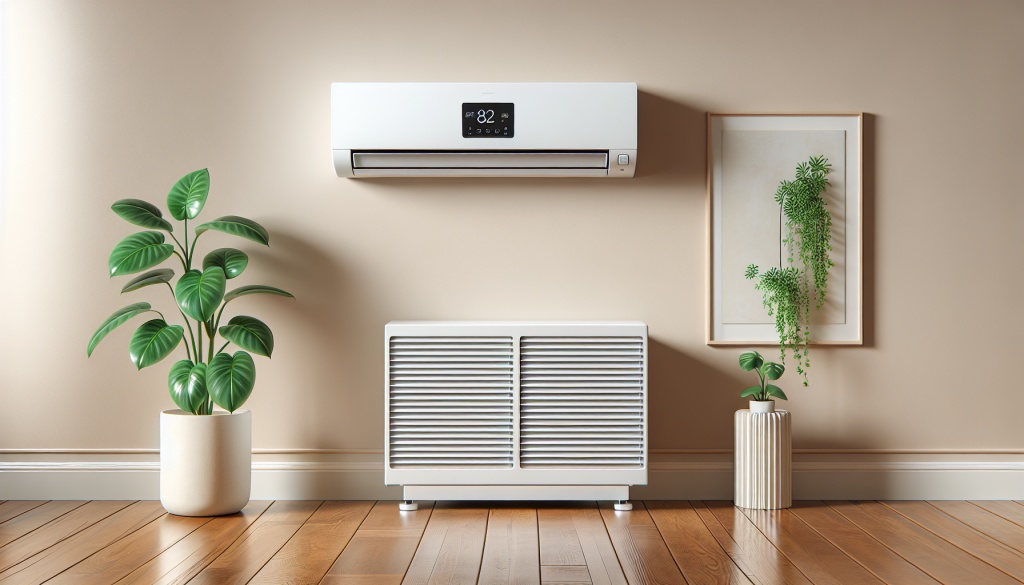
Checking the System
Checking the system is an important phase in the installation of ducted heating, ensuring that the arrangement functions effectively and securely. Besides the hard work of preparation, selecting the best parts, and thoroughly mounting the system, you intend to see to it that your new ducted heating operates smoothly to give warmth and convenience throughout your home.
As soon as the installation is full, the preliminary action in examining the system is to carry out an aesthetic examination. This entails examining all the links and joints to guarantee they are safe. Any type of loosened or poorly connected ducts can result in substantial inefficiencies or even pose security dangers. Its likewise important to confirm that the thermostat is properly set up and that all electric connections are risk-free and appropriately insulated.
Complying with the aesthetic inspection, the system should be powered on for a trial run. This is where you test the functionality of the entire ducted heater. Beginning by establishing the thermostat to a higher temperature than the current space temperature to prompt the heater to turn on. Listen for any kind of unusual sounds that might indicate problems with the fan or the motor. The airflow ought to correspond and equally distributed throughout all the vents in your home.
It is also crucial to look for any unusual smells, which can suggest an issue with the burner or the warmth exchanger. A minor smell of shedding dust is typical throughout the initial couple of minutes of operation, particularly if the system has not been made use of for an extensive duration. Nonetheless, consistent odors ought to be explored quickly.
In addition, determining the outcome temperature at numerous vents will aid make certain that the system is heating effectively which there are no blockages or leakages in the air ducts. The temperature needs to rise consistently and uniformly, reflecting that the system is dispersing warmth as expected.
Finally, after the preliminary test run, monitor the system over a couple of days. This ongoing observation will certainly help confirm that the thermostat preserves the preferred temperature which the system cycles on and off appropriately. Any abnormalities in the system's performance must be dealt with promptly to avoid more issues.
In summary, testing the system is an integral part of setting up ducted heating. By conducting a detailed assessment and keeping an eye on the system's efficiency, you make sure that your heating option is risk-free, reliable, and all set to maintain your home comfy during the colder months. This attentive method not just safeguards your financial investment but likewise assures peace of mind for you and your family members.
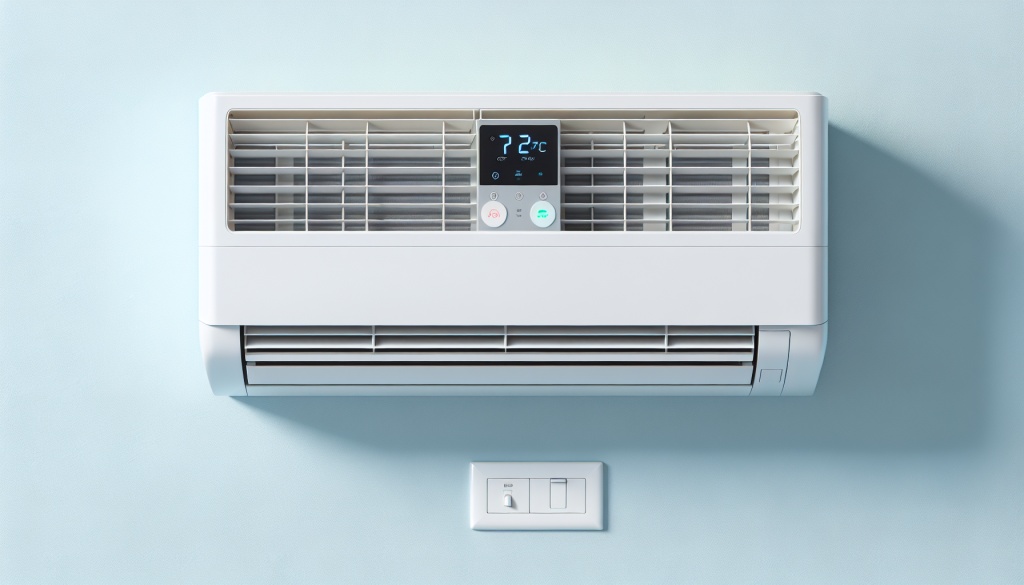
Final Assessments and Safety And Security Checks
Last Examinations and Safety and security Checks are important elements in the process of setting up a ducted heater. These steps make sure not only the proper performance of the system yet also the security and convenience of those that will certainly be utilizing it. Just like any considerable home renovation project, making the effort to thoroughly examine and verify the installation can prevent future concerns and give satisfaction.
Once the installation of your ducted furnace is total, conducting a last inspection is important. This involves an extensive evaluation of the entire system to validate that all elements are appropriately installed and functioning as meant. Begin by checking the thermostat to guarantee it is correctly calibrated and with the ability of properly preserving the desired temperature. An incorrectly calibrated thermostat can lead to inefficient heating and increased power prices.
Next off, check out the ductwork to confirm that it is securely connected and devoid of any type of obstructions or leaks. Leaky ducts can lead to significant heat loss, minimizing the effectiveness of the system and increasing energy expenses. Additionally, evaluate the vents to guarantee they are open and unobstructed, enabling optimal air flow throughout the home.
The safety of your heating system is of utmost importance. Carrying out safety and security checks entails numerous vital actions. First, verify that all electrical links are secure which there are no exposed cables that might position a fire risk. If your system is gas-powered, check for any kind of gas leaks by utilizing a gas leak detector or a service of soap and water put on the connections. If bubbles form, there might be a leak that calls for immediate interest from an expert.
Guarantee that the location around the heating unit is free from any kind of combustible products. This precaution lowers the danger of accidental fires and boosts the overall safety of your home. Furthermore, it is wise to mount carbon monoxide gas detectors near the heating system and in living areas to check for any kind of unsafe degrees of this odorless, colorless gas.
Finally, it is advantageous to execute a test run of the system to observe its performance. Switch on the heater and enable it to run for a couple of cycles. Listen for any type of uncommon noises, such as rattling or banging, which can indicate loosened elements or other concerns that require dealing with. Display the systems capacity to keep a constant temperature throughout the home.
Finally, final evaluations and safety and security checks are vital to ensuring that your ducted heating unit is mounted correctly and runs safely. By putting in the time to carry out these checks, you can avoid prospective problems, improve the systems effectiveness, and ensure a risk-free and comfy environment for you and your family. Keep in mind, when unsure, consulting with a specialist can provide added guarantee and expertise.


