Configuring File System Indexing
Zerto can index the VM's file system so the VM's file and folder names can be easily and quickly searched for. To do so, the user must perform the following procedures:
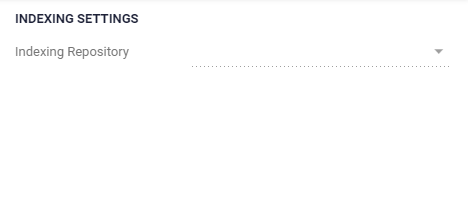
Setting an Indexing Repository
Zerto's indexed data is saved in a Repository. The Indexing Repository is set through the Site Settings. Before you proceed, read the Considerations:.
Considerations:
|
•
|
All VMs File System Indexing meta-data is saved on a single Repository. |
|
•
|
The same SMB Repository can be used as an indexing Repository and as a long-term retention Repository. Or, a dedicated SMB Repository can be used for File System Indexing meta-data only. |
To set an indexing Repository:
|
1.
|
In the Zerto User Interface, click SETTING ( ) in the top right of the header and select Site Settings. ) in the top right of the header and select Site Settings. |
The Site Settings window is displayed, with the default tab, Site Information, open
|
2.
|
Click LTR Settings tab |
|
3.
|
Choose an SMB Repository from the Indexing Repository drop-down menu. You can change the indexing Repository to a different SMB Repository at any point. The change will affect only future file system indexing operations. Any previously created indexes will still be enabled for Search by Zerto as long as the Repository is configured under Setup > Repositories. |
The SMB Repository selected as the indexing Repository cannot be deleted from the Setup > Repositories list. In order to delete, make sure to first set a different SMB Repository for indexing or select None. .
Selecting None from the indexing Repository menu will cause all subsequent file system indexing operations to fail. In that case, disable file system indexing from any VM currently selected for indexing.
Enabling Virtual Machines for File System Indexing
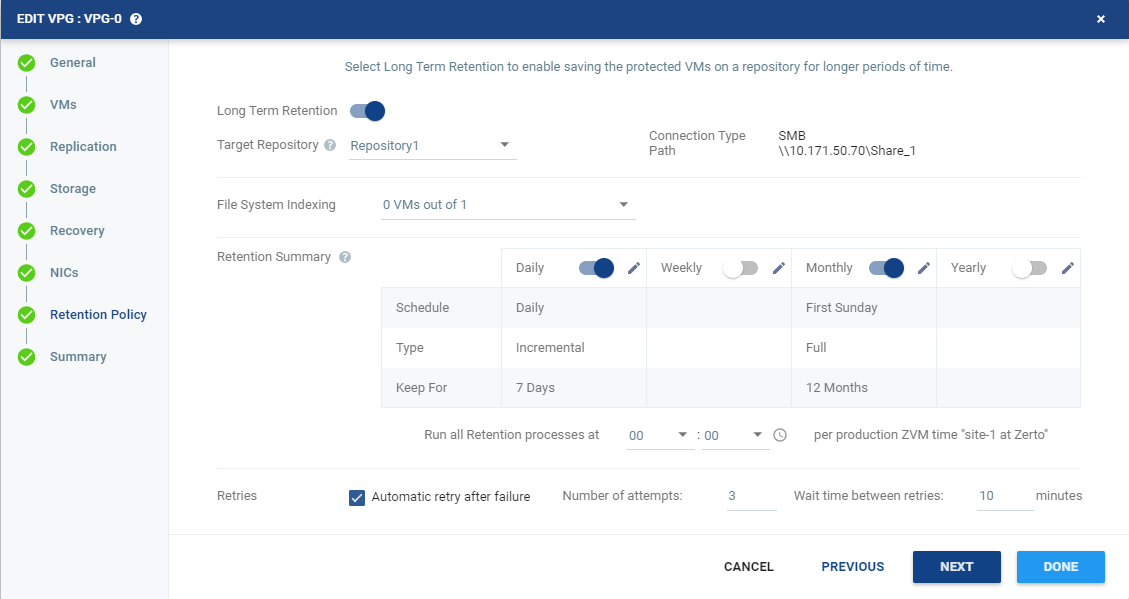
Enabling virtual machines for indexing can be done when you first create the VPG to protect virtual machines. You can also enable virtual machines for indexing by editing an existing VPG.
|
Note:
|
Indexing, like any other VPG task or operation, blocks any other operation on the VPG, except for Failover. |
Considerations:
|
•
|
File System Indexing processes are launched after all the VPG VMs have completed their retention process operations. |
|
•
|
File System Indexing is considered successful only if the retention operations are successful. If a retention operation of a VPG fails, the indexing of the VMs within that VPG will also fail. |
|
•
|
Failure to index a VM's file system does not impact the retention set itself. |
|
•
|
Up to 100 millions entries (Files or Folders) can be indexed per ZVM (under optimal, well scheduled indexing operations). |
|
•
|
You can index 3 virtual machines in parallel and up to 1 per recovery host. |
To enable virtual machines for file system indexing:
|
1.
|
Click the File System Indexing drop-down menu. The list of protected virtual machines appear. By default, all VMs are not selected. |
|
Note:
|
Enabling indexing can be done only if Long Term Retention is enabled. |
|
2.
|
Select the virtual machines to index. |
Indexing Execution
The index will run after the retention process for all the VMs in the VPG had completed successfully. The indexing task is automatically created and can be stopped manually by going to Tasks > Abort.
 ) in the top right of the header and select Site Settings.
