v0.9.6
GeoWave Quickstart Guide Sandbox Environment Setup 
Introduction
The Sandbox Quickstart Guide is designed to allow a user to see some of the capabilities of the GeoWave library on a personal computer, even though GeoWave is primarily designed to be used with massive datasets that would require a much more powerful machine to process. The Sandbox VirtualBox image provided will allow a user to deploy a single node cluster where they can demo GeoWave on sets of vector and raster data.
Setting Up the Environment
The virtual image provided for this demo can be found at here. The image is a very large file (~14 GB) so make sure that you give yourself enough time to download it and that your machine has enough room to store it.
Setting up the VirtualBox Image
-
Open up your VirtualBox manager. If you do not have VirtualBox downloaded, do so here. This demo was tested against VirtualBox 5.1.26, you may experience trouble importing the virtual image on older versions.
-
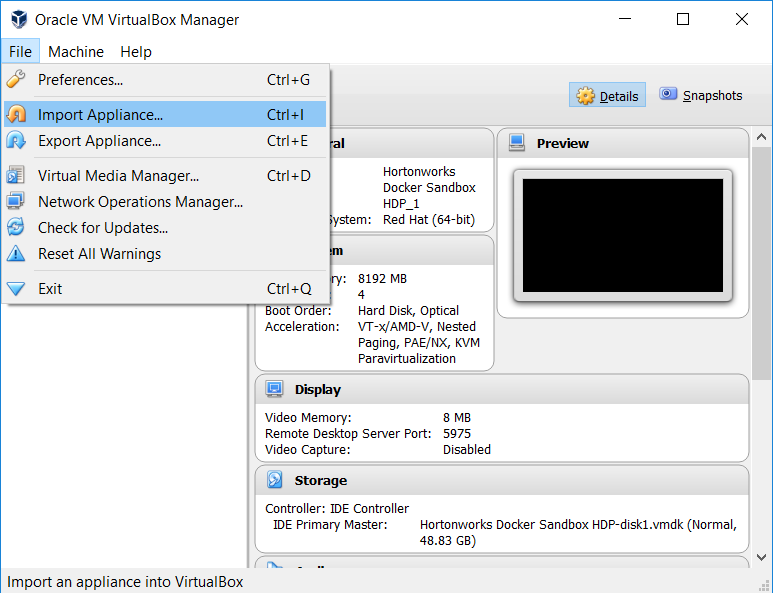
Click "File" and select "Import Appliance" from the dropdown.
-
Click on the folder icon, and navigate to VirtualBox_HDP_GeoWave_Sandbox.ova (the image that you downloaded).
-
Select "Next" and then "Import"
-
This should take a couple of minutes
-
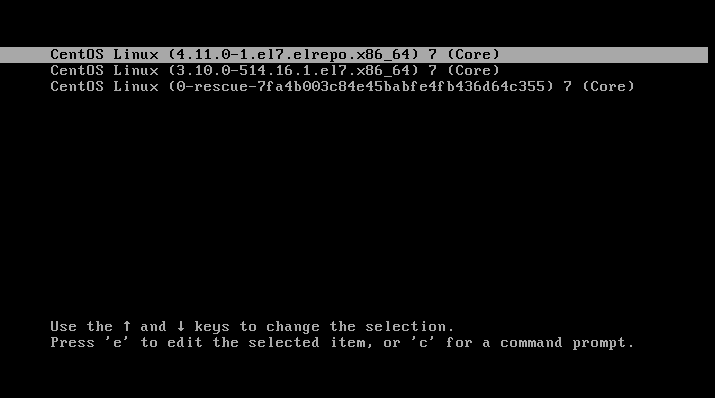
Once the image has been imported, start it up from the manager. Every time you power the machine on it will ask you which version of Linux it should boot, pick the default/first option.
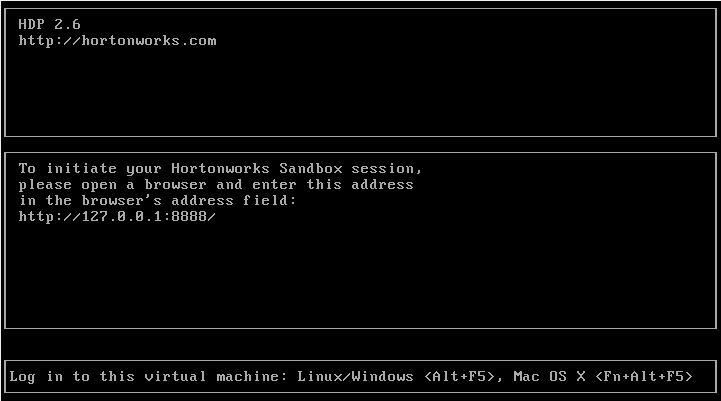
The machine should power on shortly (this can take a few minutes). After it’s powered on you should see the screen below. This is the last time that you will have to interact directly with the VirtualBox. Make sure that the virtual machine is active for the duration of this demo.
|
VirtualBox Mangager has a feature that allows Virtual Machines to be started and operated in headless ( non-Graphical-User-Interface(GUI) ) mode. Since the Sandbox was setup as a non-GUI VM, it is recommended that users' run their GeoWave Sandbox Virtual Machine in headless mode when possible. To start a VM in headless mode, within the VirtualBox Manager screen, right-click on the Sandbox VM image that was imported, and select Start -→ Headless Start. The VM status can be monitored through the Preview pane within the dashboard, and once the VM has started, you can configure your machine and interface with the VM as outlined in the steps below. |
Configure Sandbox
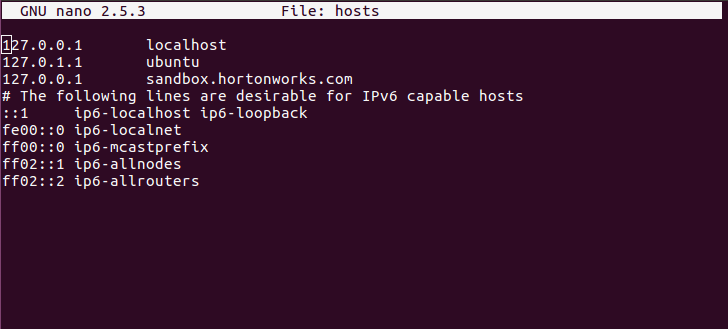
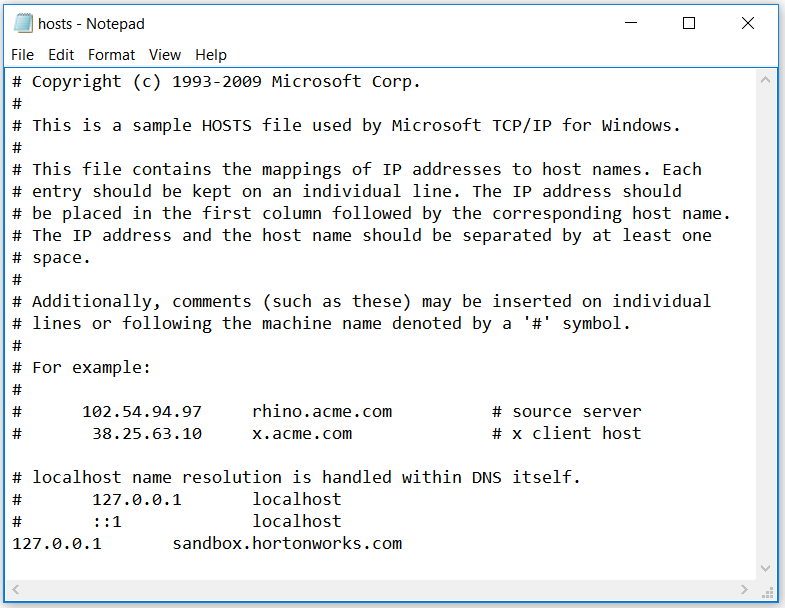
Before you can configure the Sandbox, you will need to edit your hosts file to make sure that you can access the sandbox through your browser. You will need root or admin permissions to change these files.
-
Linux: Add the line
127.0.0.1 sandbox.hortonworks.comto the/etc/hostsfile -
Mac: Add the line
127.0.0.1 sandbox.hortonworks.comto the/private/etc/hostsfile -
Windows: Add the line
127.0.0.1 sandbox.hortonworks.comto theC:/Windows/System32/drivers/etc/hostsfile
|
Make sure that you save |
After this you should be able to log into the Ambari Server at http://sandbox.hortonworks.com:8080
-
Username: raj_ops
-
Password: raj_ops
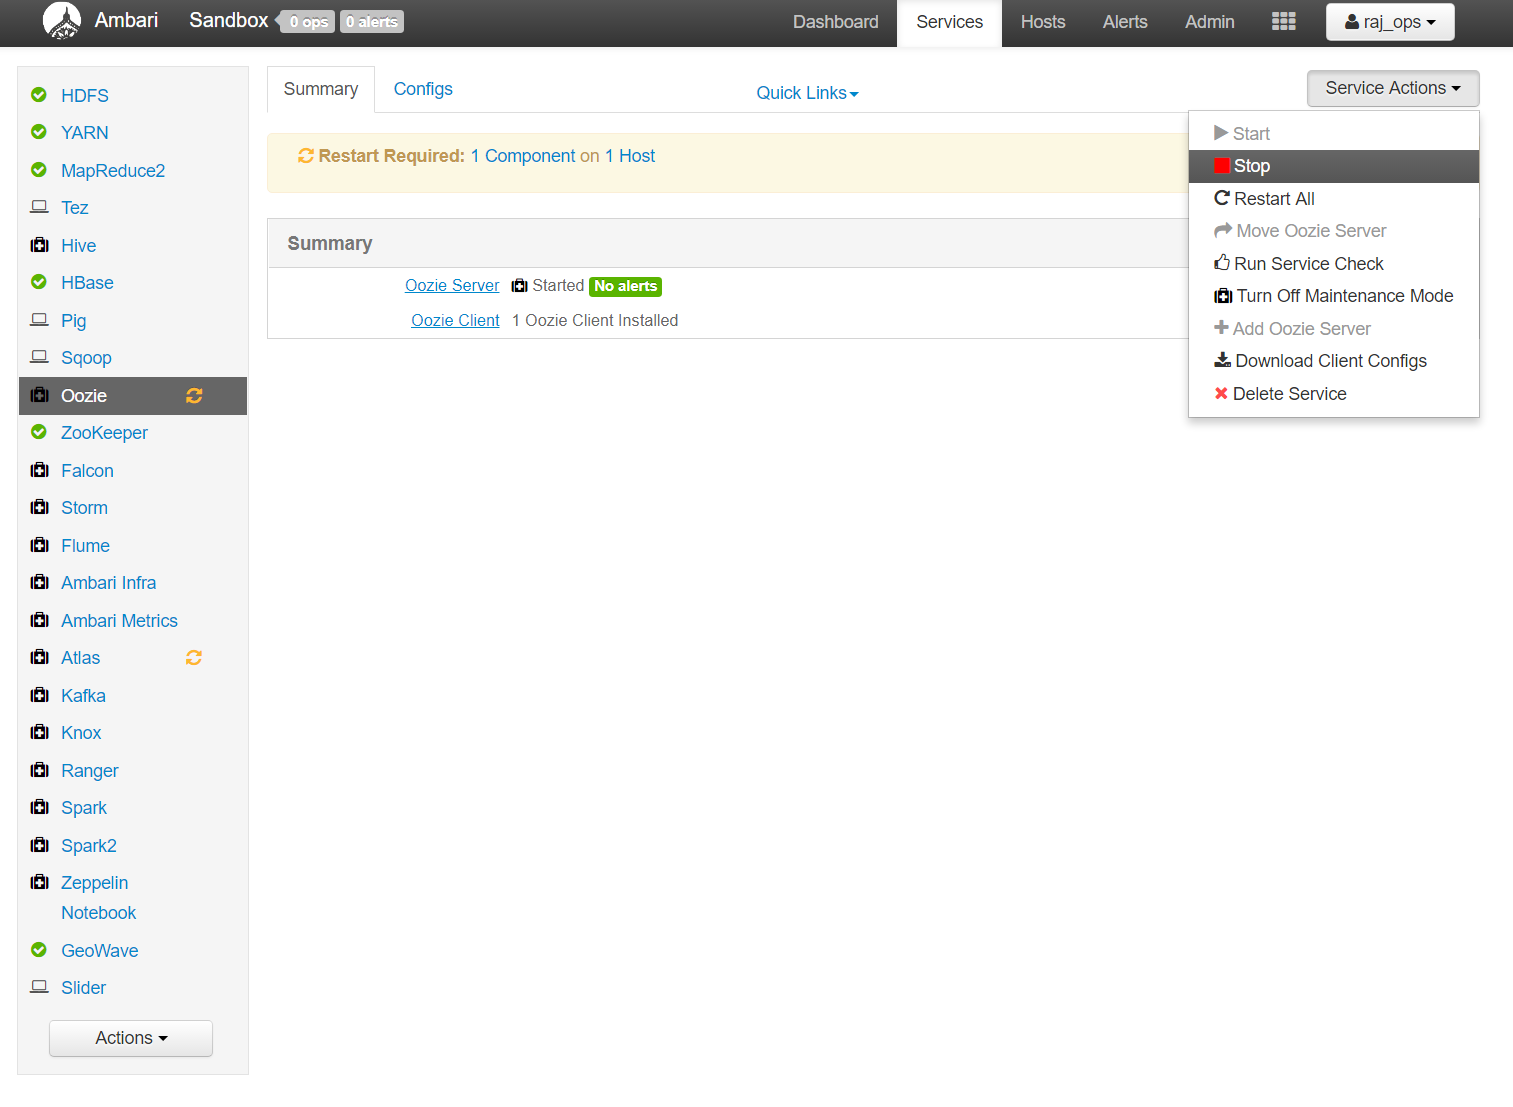
The Ambari server provides an interface that allows you to control which services you’d like to run in your environment. However, on start-up, the Sandbox automatically runs a number of unnecessary services.
To best run this demo you should stop: Oozie, Flume, Ranger, Spark2, and Zeppelin Notebook. To stop a service, select it from the list on the left, click on "Service Actions," and select "Stop" from the dropdown menu.
Using the VM
After the Sandbox and virtual machine are configured, ssh into your machine. If you are using Windows it is recommended that you use PuTTY.
-
Host Name: root@sandbox.hortonworks.com
-
Port: 2222
$ ssh root@sandbox.hortonworks.com -p 2222
Warning: Permanently added 'sandbox.hortonworks.com,xxx.xxx.xxx.xxx' (ECDSA) to the list of known hosts.
root@sandbox.hortonworks.com's password:|
No key is necessary to access this machine |
If you are using PuTTY, click open to continue.
When prompted for a password, enter geowave1.