Upgrading the Current Installation
The existing Virtual Replication Appliances and protected virtual machines, together with all other information, such as checkpoints, journals, sites, and pairing details, are retained and are available in the upgraded installation.
The upgrade is performed without disrupting the protection, but no new checkpoints are written to the journal during the actual upgrade.
This temporarily causes alerts to be issued, even if only a single site was affected, stating that the journal history and RPO do not meet their specified target settings.
To upgrade the version:
|
1.
|
Run the Zerto installation executable for your environment. |
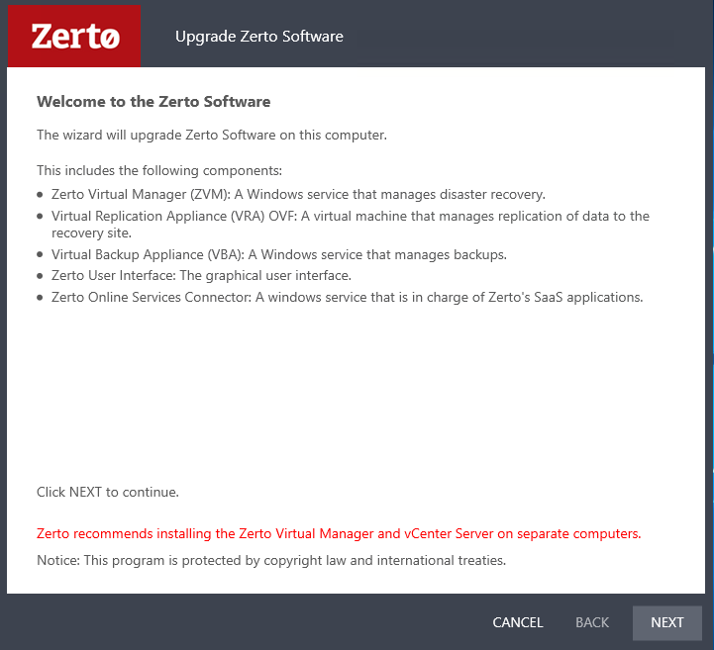
The Upgrade Zerto Software wizard is displayed.
|
2.
|
Click NEXT to continue. |
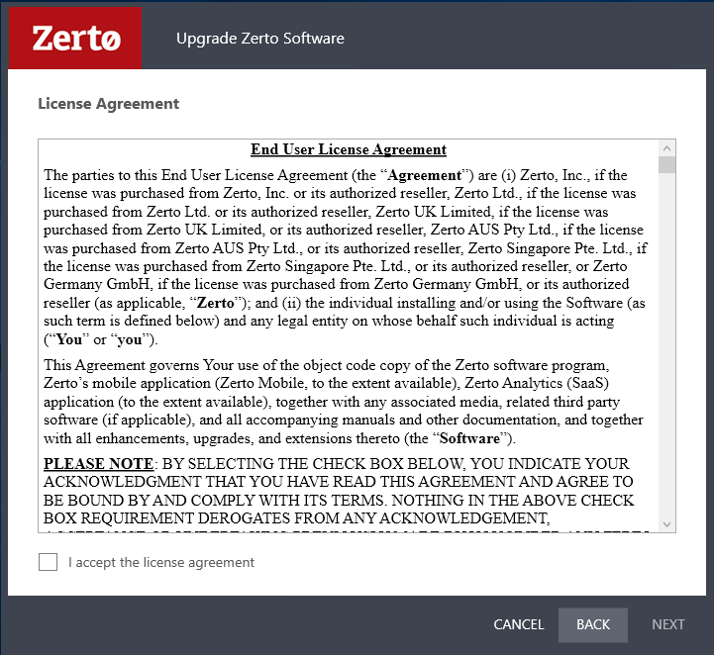
The License Agreement window appears.
|
3.
|
Review, then select the checkbox to accept the license agreement. Click NEXT to continue. |
If your site was configured with offsite backups, or repository configurations, the Offsite backups window appears. Otherwise, the VRAs Upgrade window appears.
|
4.
|
Review the list of data which will be deleted during the upgrade, then select Delete all offsite backup configuration, and click NEXT. |
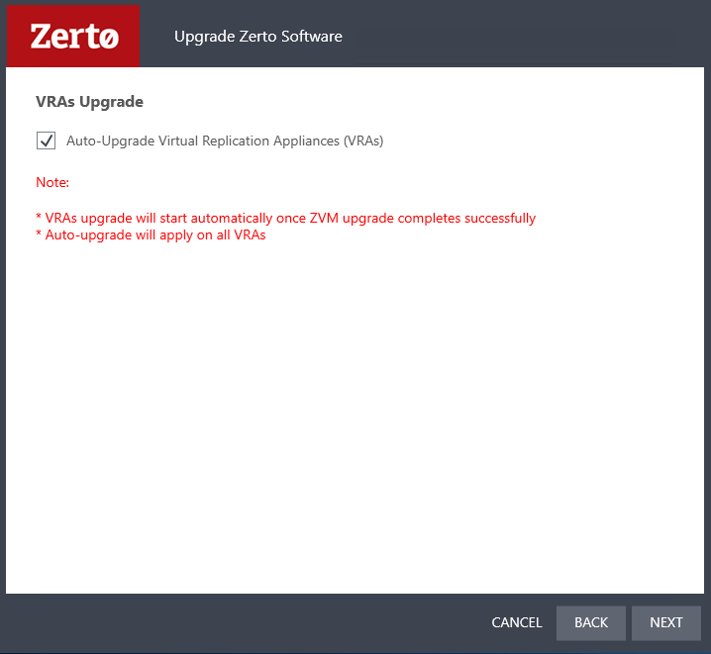
The VRAs Upgrade window appears.
|
•
|
The Auto-Upgrade Virtual Replication Appliances (VRAs) checkbox is selected by default. |
This means that all the VRAs will be automatically upgraded once the upgrade completes successfully.
|
Note:
|
For version upgrades, for VRAs at the protected site, a bitmap sync is performed following the upgrade. |
|
•
|
Optionally, deselect the checkbox to manually upgrade VRAs after the version upgrade completes. |
The Zerto Virtual Manager Communication window appears.
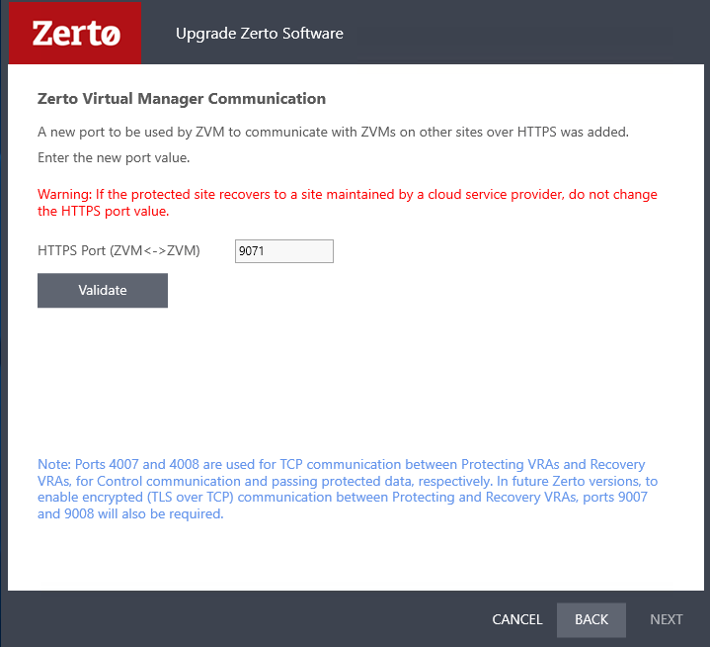
In this window the connection settings (ports) appear, which are used by Zerto Virtual Manager to communicate with Zerto Virtual Managers on other sites.
From Zerto v8.0 and above, port 9071 appears by default.
|
•
|
For any peer sites running Zerto v7.5, the ZVM to ZVM communication is backwards compatible and will continue to be carried out over port 9081. |
|
•
|
For any peer sites running Zerto v8.0Ux, following the upgrade the ZVM to ZVM communication connection will be made secure and encrypted, and will be carried out over a new HTTPS port, 9071 by default. |
Therefore, prior to upgrading to Zerto v8.0Ux, if your site has any peer sites running v8.0Ux, make sure this new port, 9071, is open for communication between the sites. In addition, make sure the current port used between the sites, 9081 by default, will remain open as well for the duration of the upgrade.
When an enterprise uses a Managed Service Provider to supply disaster recovery services, do not change the value that appears by default.
|
6.
|
Click Validate. After the communication port passes validation, an OK appears, and the Next button becomes available. |
The Validation window appears.
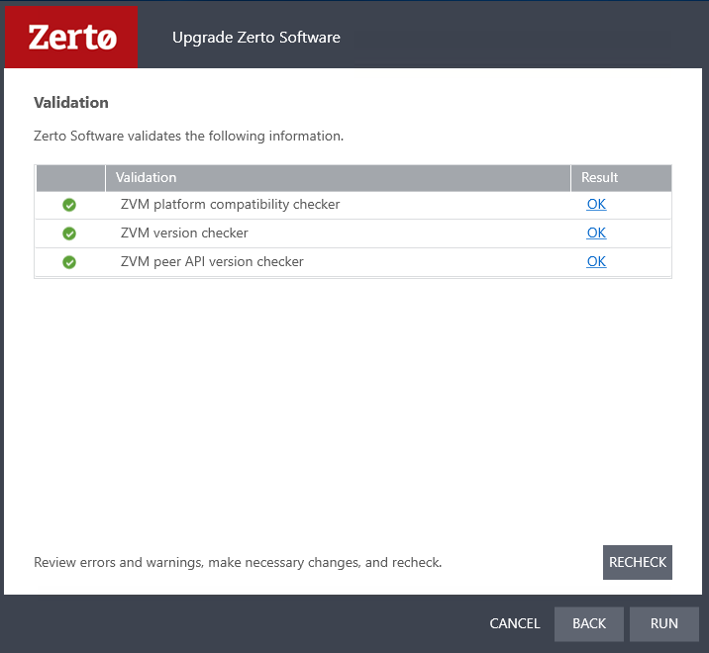
Zerto validates that your system meets the upgrade requirements.
|
•
|
If there are error or warnings, make necessary changes, and click Recheck. |
|
8.
|
Click Run to proceed with the upgrade. |
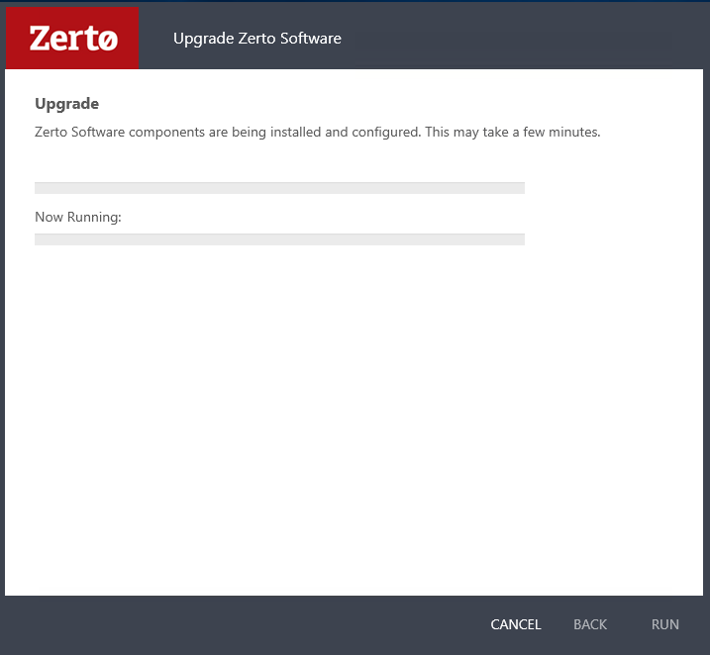
The Upgrade window appears.
|
•
|
The version upgrade proceeds automatically. |
|
•
|
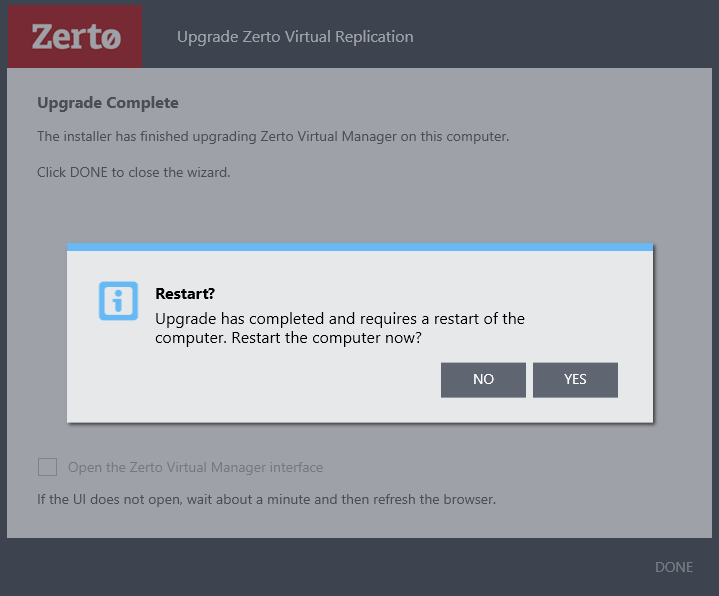
When complete, the Upgrade Complete window is displayed, with the checkbox Open the Zerto Virtual Manager interface already selected. |
|
•
|
It is highly recommended that you track the VRA upgrade via the Zerto Virtual Manager user interface. |
|
•
|
If you do not want to track the VRA upgrade progress, deselect the checkbox. |
|
9.
|
Click DONE to close the wizard. |
|
•
|
If during the upgrade, system requirements are identified that require a restart, a window is displayed informing the user that the upgrade is complete and whether to restart the computer. |
In such a case, the ZVM service will be started, and the automatic VRA upgrades will begin, only after the VM is restarted.
|
•
|
Select YES, to restart the VM immediately. |
|
•
|
The ZVM service will be started, and the automatic VRA upgrades will begin. |
|
•
|
If not convenient to restart the VM immediately, select NO. |
|
•
|
You will not be able to log into the ZVM UI as the ZVM service will not have started. |
|
10.
|
The Zerto Virtual Manager interface opens at the Setup > VRAs tab, displaying the Upgrading VRA tasks. You can now track the VRA upgrade. |
|
Note:
|
If the vSphere Client console was open during the upgrade, close it and reopen it. |