Backends
The Backends section allows you to configure the Hadoop backend to enable H2O and Sparkling Water clusters and to configure H2O Agent backend to enable Driverless AI servers.

Hadoop Configuration
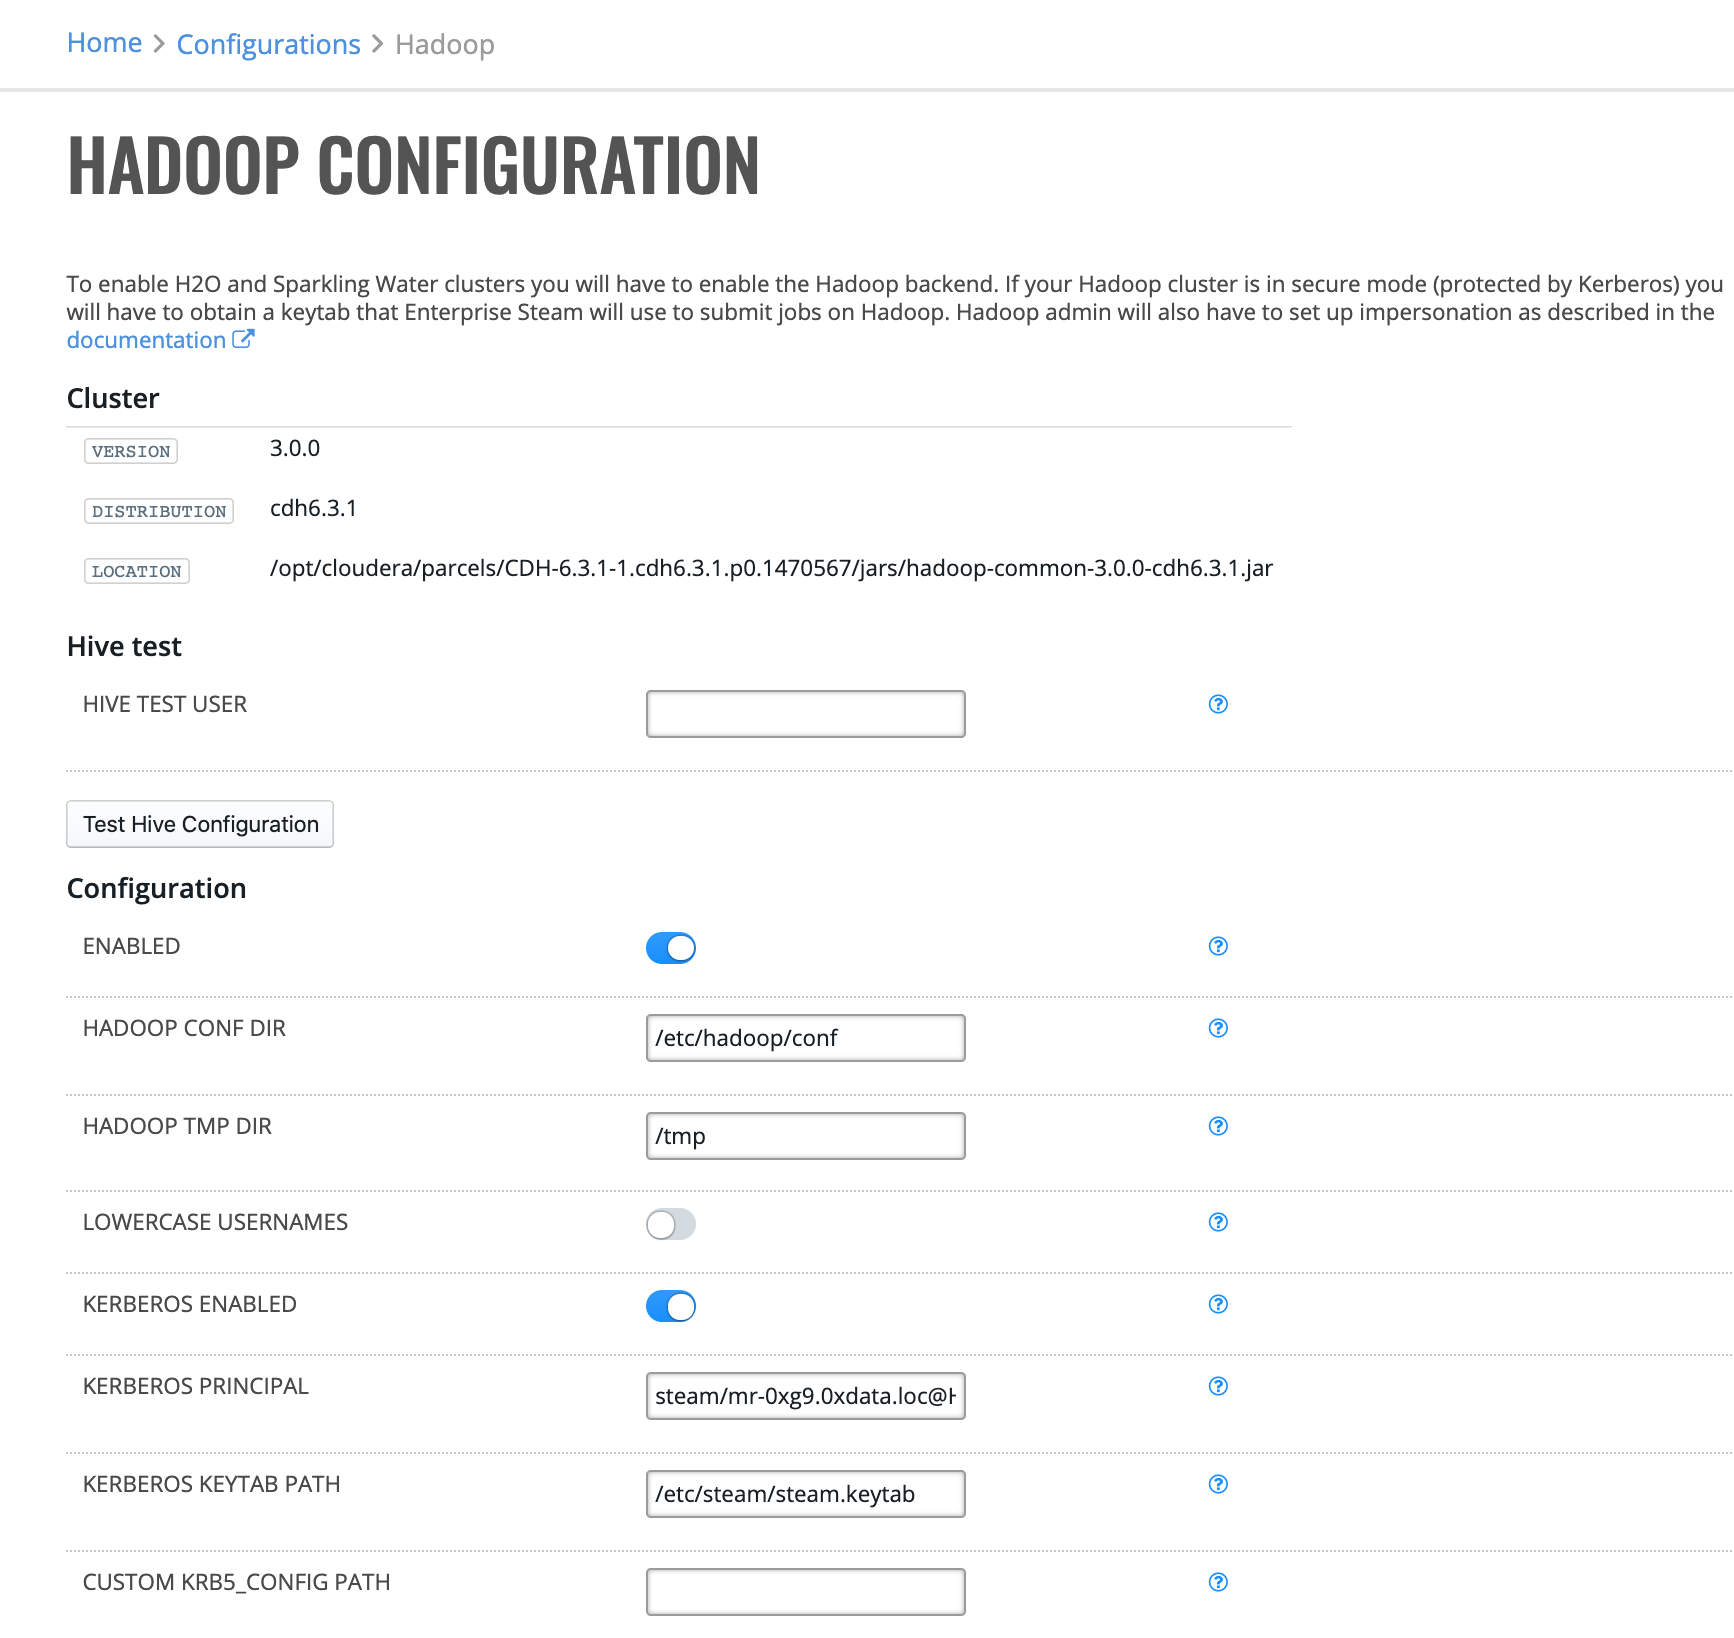
In order to enable H2O and Sparkling Water clusters in Enterprise Steam, you must enable the Hadoop backend. If you Hadoop cluster is in secure mode (protected by Kerberos), then you will have to provide a keytab that Enterprise Steam will use to submit jobs on Hadoop.
Note: Your Hadoop admin will have to setup impersonation for Steam user. Follow to the Set Up Hadoop Impersonation section. You will not be able enable Hadoop backend without it.
Click Configuration under the Hadoop Backend section. This opens the Hadoop Configuration page, which shows your current Hadoop version, distribution, and jar file location.
Click Enabled to enable the Hadoop backend.
Enter the absolute path to the Hadoop configuration directory.
Enter the absolute path where Hadoop tmp files are stored.
Specify whether to make all usernames to be lowercase when submitting jobs to Hadoop. This is disabled by default.
Specify whether to enable Kerberos. This is disabled by default. If enabled, then specify the following additional settings:
Kerberos principal: Enter the full name of the Kerberos principal associated with the keytab.
Kerberos keytab path: Enter the path to the Kerberos keytab on the filesystem.
Custom KRB5_CONFIG PATH: Optionally enter the path to a custom KRB5_CONFIG file.
Specify whether to enable Hive support. This is disabled by default. If enabled, then specify the following additional settings:
Hive JDBC Driver Path: Enter path to the Hive JDBC driver on the server.
Hive Principal: Enter full name of the Hive Kerberos principal.
Hive Host: Enter the hostname of the Hive server.
Hive JDBC URL Pattern: Enter the Hive JDBC URL Patter. This is optional but either Hive Host or Hive JDBC URL Pattern or both has to be set.
Click Save Configuration when you are done.
Kubernetes
Configuration
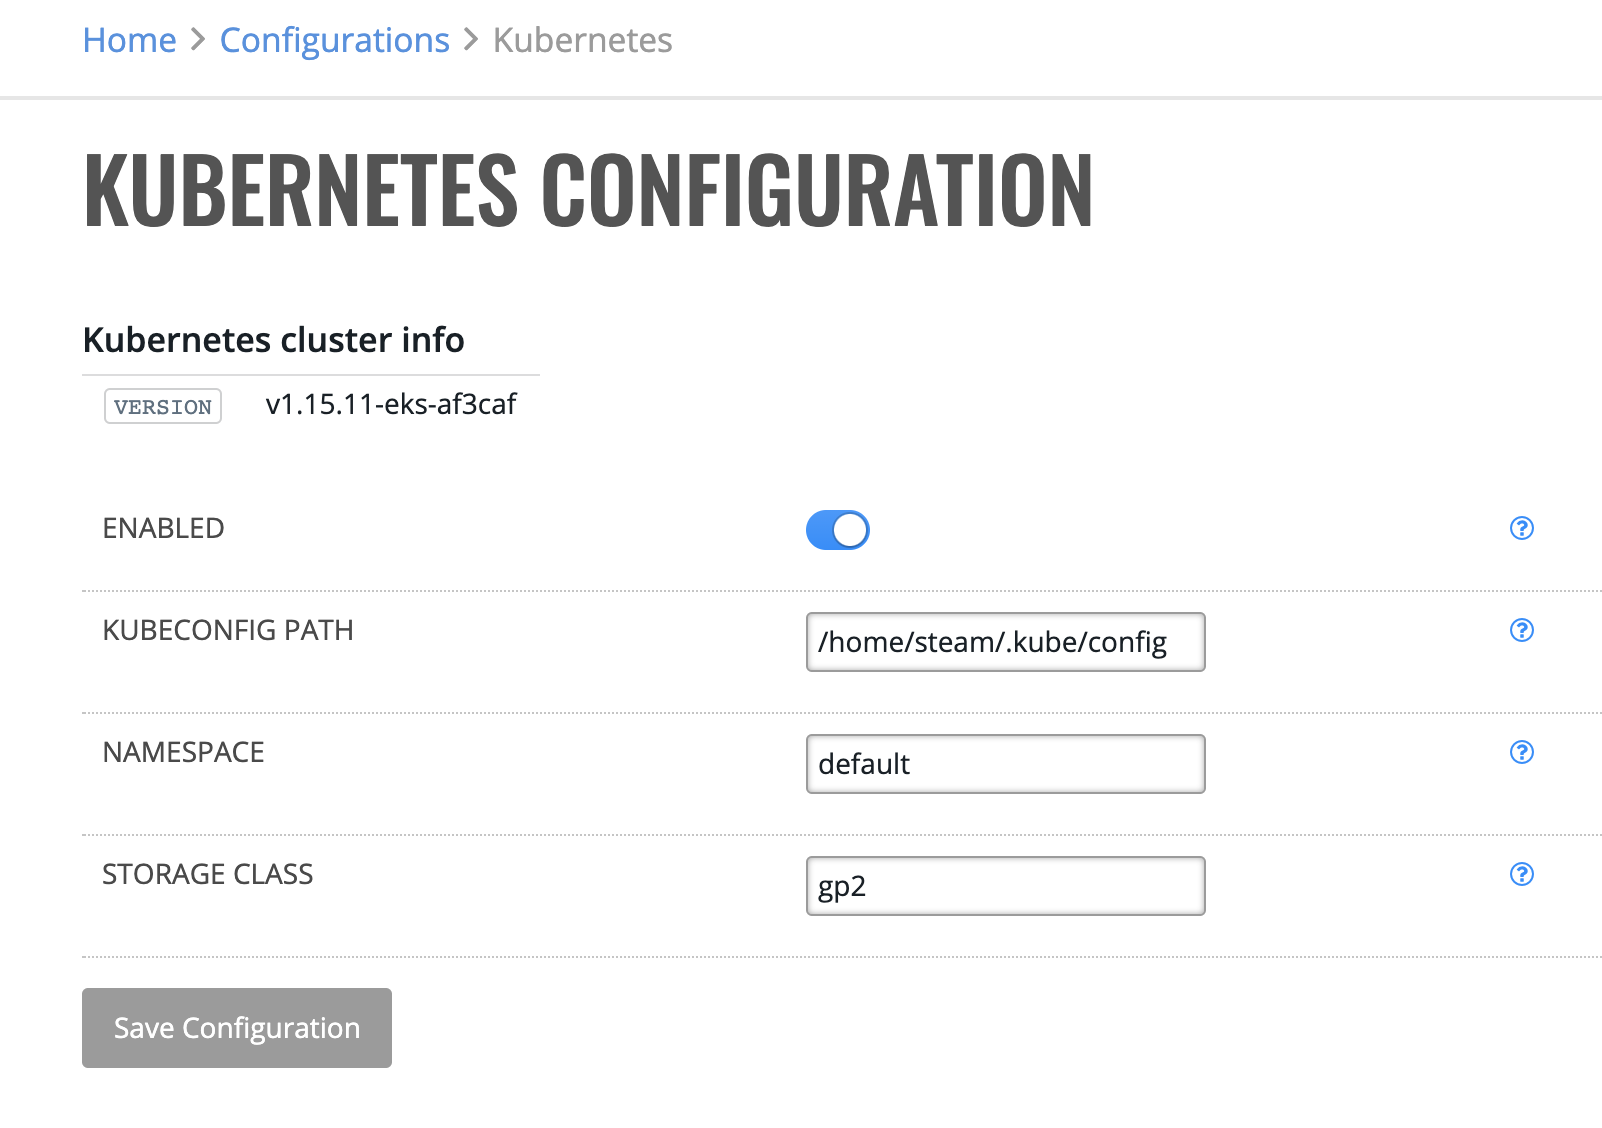
Click Configuration under the Kubernetes Backend section. This opens the Kubernetes Configuration page.
Click Enabled to enable the Kubernetes backend.
Enter the absolute path to the kubeconfig file of the Kubernetes cluster.
Enter the Kubernetes namespace where all Steam objects live.
Enter the name of the StorageClass object that manages provisioning of PersistantVolumes.
Click Save Configuration when you are done.
Volume Mounts
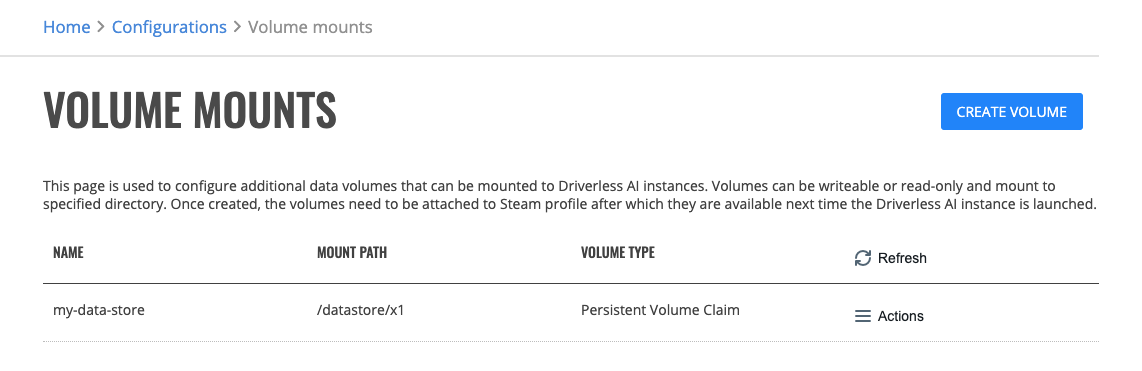
This page is used to configure additional data volumes that can be mounted to Driverless AI instances. Volumes can be writeable or read-only and mount to specified directory. Once created, the volumes need to be attached to Steam profile after which they are available next time the Driverless AI instance is launched.
Creating Volume Mounts
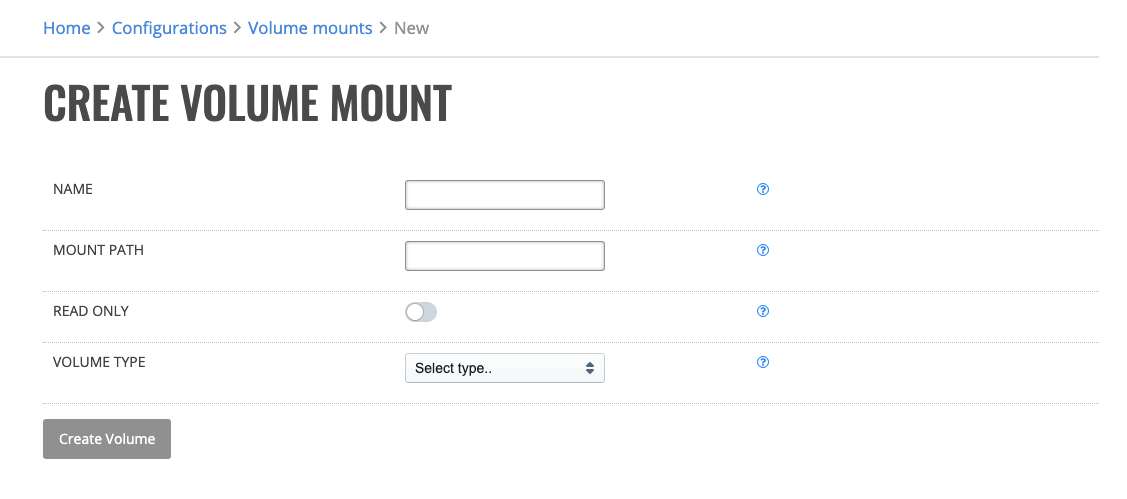
On this page you can create a new Kubernetes Volume Mount.
Enter identifying name of the volume.
Enter the path where this volume will be mounted at inside the Driverless AI instance. Must not contain ‘:’.
Choose whether the volume will be only mounted as read-only or not.
Select a Volume type. Choices are: Host Path, Kubernetes Secret, Kubernetes ConfigMap, Network File System (NFS), Persistent Volume Claim or Container Storage Interface (CSI).
Base on the selected volume type, read the information bubble and fill in the parameters.
Click Create Volume when you are done.
Don’t forget to add the created volume to Driverless AI - Kubernetes profile!
Creating Volume Mounts - Host Path
A Host Path volume mounts a file or directory from the host node’s filesystem into your Driverless AI instance. This is not something that most Driverless AI instances will need, but it offers a powerful escape hatch for some applications.
Caution: Driverless AI instances with identical configuration may behave differently on different nodes due to different files on the nodes. The files or directories created on the underlying hosts are only writable by root. You need to modify the file permissions on the host to be able to write to a Host Path volume.
Path: Path of the directory on the host. If the path is a symlink, it will follow the link to the real path.
Creating Volume Mounts - Kubernetes Secret
A secret volume is used to pass sensitive information, such as passwords, to Driverless AI instances. You can store secrets in the Kubernetes API and mount them as files for use by Driverless AI instances without coupling to Kubernetes directly. Secret volumes are backed by tmpfs (a RAM-backed filesystem) so they are never written to non-volatile storage.
Caution: You must create a secret in the Kubernetes API before you can use it.
Secret Name: Name of the Secret in the pod’s namespace to use.
Creating Volume Mounts - Kubernetes ConfigMap
The ConfigMap resource provides a way to inject configuration data into Driverless AI instances. The data stored in a Kubernetes ConfigMap object can be made acessible from the Driverless AI instance.
Caution: You must create a ConfigMap in the Kubernetes API before you can use it.
Config Map Name: Name of the ConfigMap in the pod’s namespace to use.
Creating Volume Mounts - NFS
An NFS volume allows an existing NFS (Network File System) share to be mounted into your Pod. The contents of an NFS volume are preserved and the volume is merely unmounted. This means that an NFS volume can be pre-populated with data, and that data can be “handed off” between Driverless AI instances. NFS can be mounted by multiple writers simultaneously.
Caution: You must have your own NFS server running with the share exported before you can use it.
Server: Hostname or IP address of the NFS server.
Path: Path that is exported by the NFS server.
Creating Volume Mounts - Persistent Volume Claim
A PVC volume is used to mount a PersistentVolume into a Driverless AI instance. PersistentVolumes are a way for administrators to “claim” durable storage (such as a GCE PersistentDisk or an iSCSI volume).
Claim Name: Name of a PersistentVolumeClaim in the same namespace as the pod using this volume.
Creating Volume Mounts - CSI
Container Storage Interface (CSI) defines a standard interface for container orchestration systems (like Kubernetes) to expose arbitrary storage systems to their container workloads. Once a CSI compatible volume driver is deployed on a Kubernetes cluster, users may use the csi volume type to attach, mount, etc. the volumes exposed by the CSI driver.
Driver: Driver is the name of the CSI driver that handles this volume. Consult with your admin for the correct name as registered in the cluster.
FS Type: Filesystem type to mount. Ex. ‘ext4’, ‘xfs’, ‘ntfs’. If not provided, the empty value is passed to the associated CSI driver which will determine the default filesystem to apply.
Volume Attributes: Volume Attributes stores driver-specific properties that are passed to the CSI driver. Consult your driver’s documentation for supported values. Insert one key=value pair per line.
HDFS and Hive
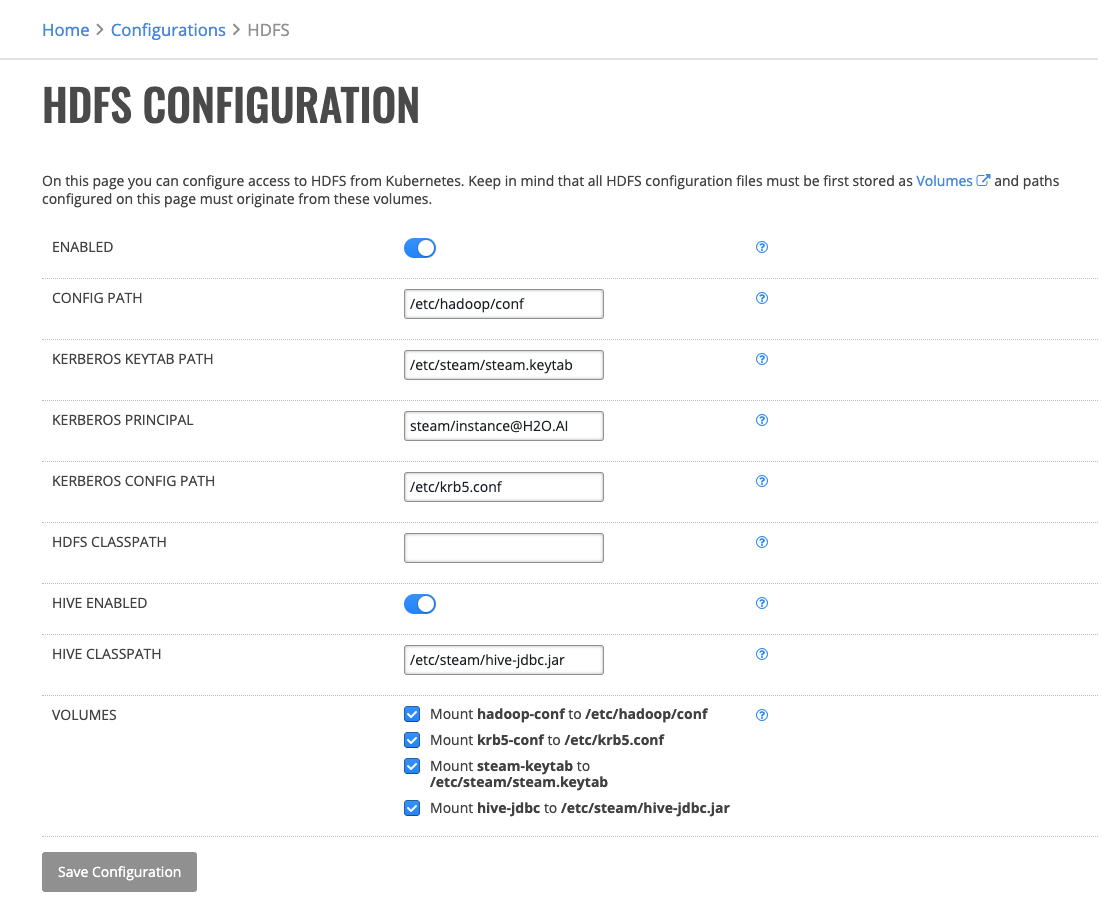
On this page you can configure access to HDFS and Hive from Kubernetes. Remember, Driverless AI instance start as a minimal container and all configuration files must be mounted to it. All HDFS configuration files must be first stored as Volumes and paths configured on this page must originate from these volumes.
Click HDFS under the Kubernetes Backend section. This opens the Kubernetes HDFS Configuration page.
Click Enabled to enable HDFS on Kubernetes backend.
Enter the absolute path to the Hadoop configuration folder (HADOOP_CONF_DIR) of the Hadoop cluster.
Enter the absolute path to the Kerberos keytab that is configured to impersonate Enterprise Steam users. See the Set Up Hadoop Impersonation section for more details.
Enter the name of Kerberos principal associated with the keytab above.
Enter the absolute path to the Kerberos configuration file (krb5.conf).
Optionally enter a Java classpath that will be used when interacting with HDFS.
Optionally enable Hive support and add the Hive JDBC JAR file to the Hive classpath.
Mount volumes so the path mentioned in the configuration originate from the mounted volumes.
Click Save Configuration when you are done.
H2O Agent Configuration
To enable the on-premise deployment backend, download and install the H2O Agent on your servers. The H2O Agent is available here: https://h2o-agent.s3.amazonaws.com/release/0.1.0/index.html. After installing the Agent on your servers, you will be able to add those agents on the H2O Agents page.
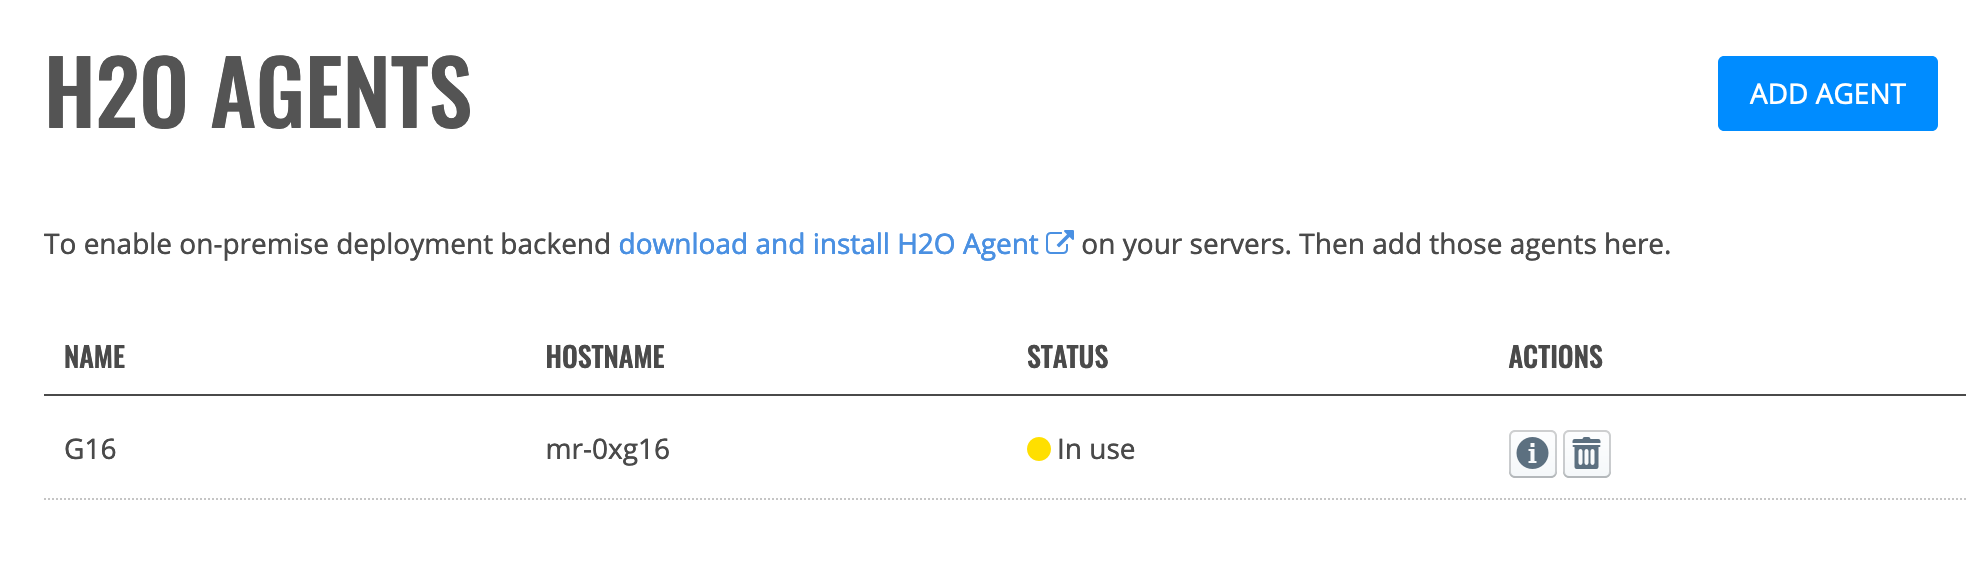
Adding an H2O Agent
Click Configuration under the H2O Backend section. This opens the H2O Agent page, which shows currently available H2O agents.
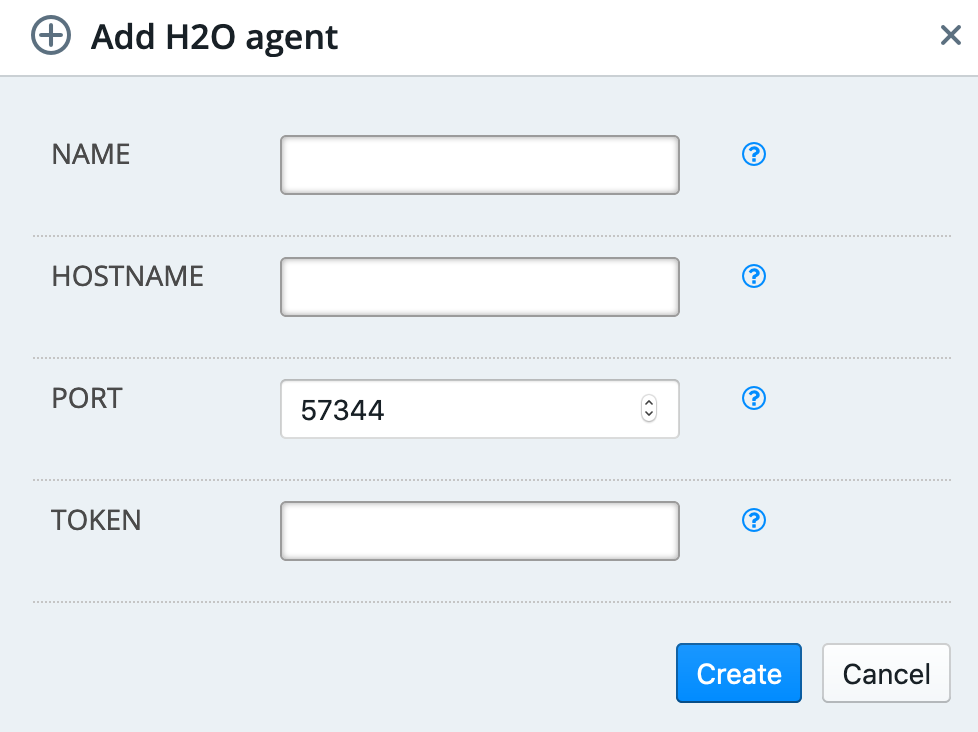
Click Add Agent.
Enter a unique name for the agent.
Enter the server hostname for the agent.
Enter the H2O agent port. This defaults to 57344.
Enter the H2O agent’s API token. This is located at
/etc/h2o-agent/secret_token.Click Create when you are done.
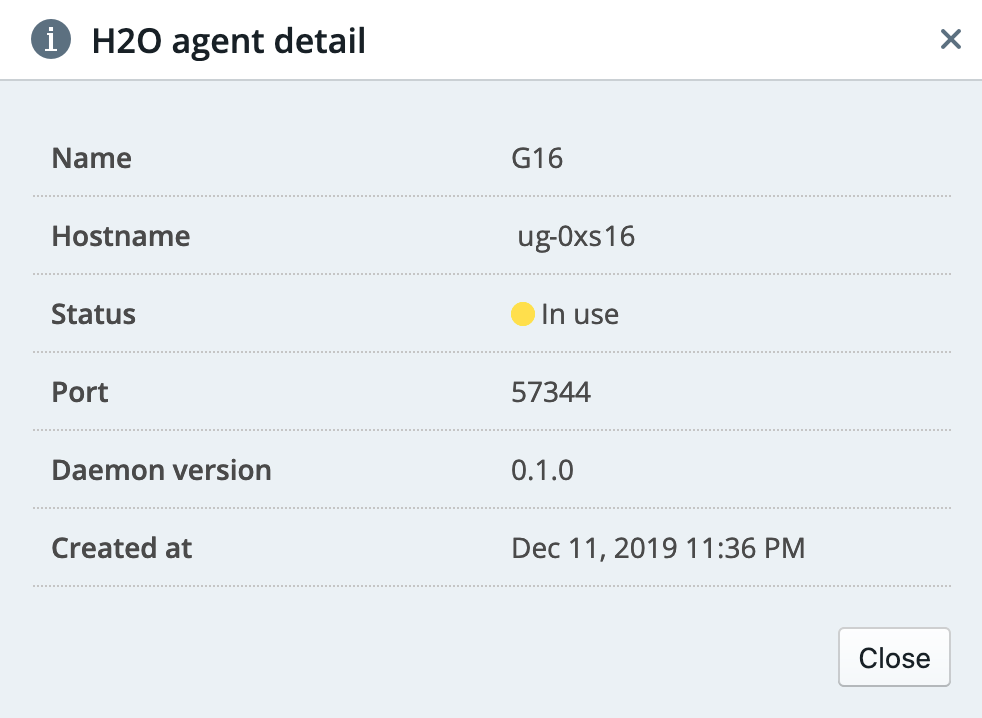
Viewing H2O Agent Details
Click the Information icon (![]() ) beside the agent that you want to review. This opens a page with details about the agent.
) beside the agent that you want to review. This opens a page with details about the agent.
Deleting an H2O Agent
Click the Delete icon (![]() ) beside the agent that you want to delete. You will be prompted to confirm this action. Click Remove to complete the deletion process, or click Cancel to return to the H2O Agent screen without deleting.
) beside the agent that you want to delete. You will be prompted to confirm this action. Click Remove to complete the deletion process, or click Cancel to return to the H2O Agent screen without deleting.