Film Wizard will automatically setup gerber layers for optimal film output. Excellent for anyone who needs Gerber or Postscript photoplots from their artwork.
This unique Plug-In is guaranteed to SAVE YOU UP TO 50% OFF YOUR PHOTOPLOTTING EXPENSES! Film Wizard will also eliminate any operator errors (due to someone else wrongly mirroring or changing polarity), and get you faster turn-around times. Within a few photoplot jobs Film Wizard will have already paid for itself!
![]()
l This Guide assumes that you have already loaded Gerber files into the workspace, and they are visible in the editor . The gerber files used in this Learn Guide are found in the folder examples/274X.
l To begin Film Wizard, goto menu: Tools | Film Wizard...
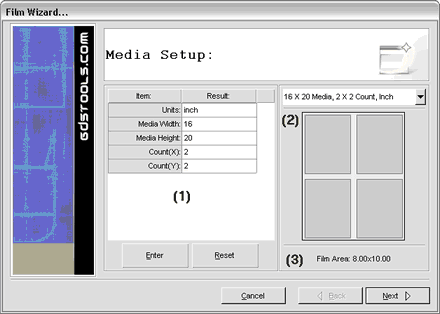
l Verify Media size (1). Most photoplotter's group your individual films onto a larger media. This media is sent to the photoplotter and all images are plotted onto the media. Once the media has been developed, it is cut up into individual film sizes when you receive.
l You may refer to the preview area (2) to verify that you have chosen an approbate Media size and film count.
l Select Next to proceed.
Our example in this guide has 8 gerber layers, with an area of 5"X7" (120mm X 175mm). If you are not using the example, then you must choose a media size that will be large enough to hold at least 2-4 individual films. In this example a media size of 16" X 20" will work perfect, and each final Film Area is 8"X10" (3). (You may contact your photoplotting service to determine what are acceptable media & film sizes to use in their photoplotting process).
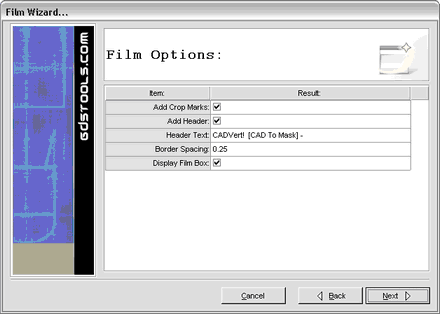
l Review the Film Options, and Select Next to proceed.
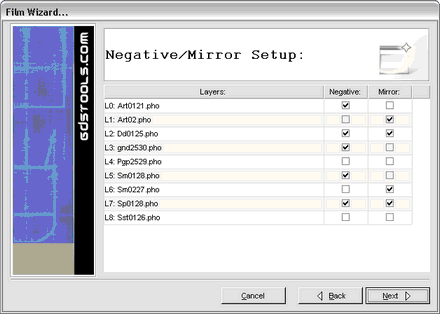
l Assign Polarity & Mirror attributes for each individual layer. In most cases the bottom layers will be mirrored, and plane layers will be negative. You may assign whatever attributes are required for your purposes.
l Select Next to proceed. Film Wizard will now begin to run.
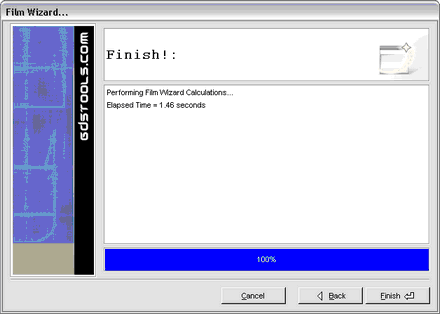
l Select Finish to complete Film Wizard, and view the new film layers created.
Below is the screen capture of the outputted layer(s) from Film Wizard. Notice that mirror and rotation have been included automatically!
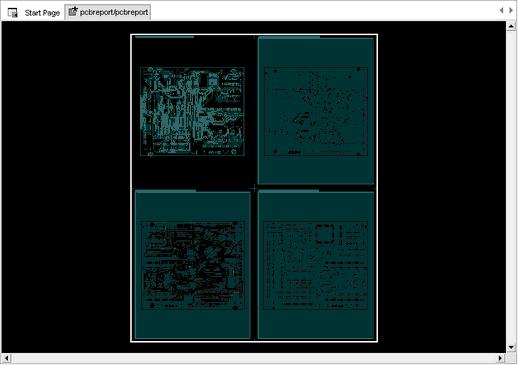
At this point all you need to do now is export these "Film Wizard" layers to either Gerber or Postscript, and send them to your local photoplotter. You do not need to send your original gerber files.
You have just saved 50% on your photoplotter service expenses!