Adds Text to the active design.
![]()
Command Sequence
1. Select menu: Add | Text.
2. Assign the active layer. The active Layer combo box, is located in the Toolbar.
![]() Note: New objects will be placed on the active layer. If the active layer is turned off, you will not be able to add the new object (until that layer is turned on).
Note: New objects will be placed on the active layer. If the active layer is turned off, you will not be able to add the new object (until that layer is turned on).
3. Select the Origin point for text. The Add Text dialog box will appear.
4. Enter Text String. The text message to be used.
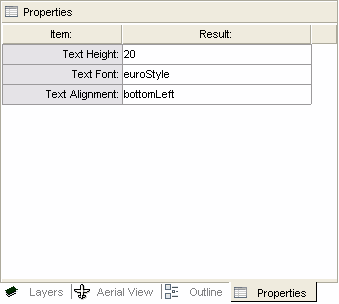
5. Enter Text Height. The text height to be used.
6. Enter Text Style. The text font style to be used.
![]() Note: The text style combo box includes all Fab It! compiled fonts located in the Fab It! folder "/fonts". If there is not a text style available that you want, you may create your own Fab It! compiled font from any TrueType or AutoCAD SHX font.
Note: The text style combo box includes all Fab It! compiled fonts located in the Fab It! folder "/fonts". If there is not a text style available that you want, you may create your own Fab It! compiled font from any TrueType or AutoCAD SHX font.
7. Enter Alignment. The alignment to be used.
![]() Note: The alignment options are upperLeft, centerLeft, lowerLeft, upperCenter, centerCenter, lowerCenter, upperRight, centerRight, lowerRight.
Note: The alignment options are upperLeft, centerLeft, lowerLeft, upperCenter, centerCenter, lowerCenter, upperRight, centerRight, lowerRight.
8. Enter Orientation
9. Stroke Width. Determine how to fill text: Choose either Active Dcode or Polygon.
10. Press OK to create Text.
11. If the command is incorrect, you may Undo.
![]() Note: To add this object to a composite, change the value in the pull-down "Composite Level". This pull-down becomes available when you activate a drawing command.
Note: To add this object to a composite, change the value in the pull-down "Composite Level". This pull-down becomes available when you activate a drawing command.
Add Text Options:

String:
The text message to be used.
Height:
The text height to be used.
Text Style:
The text font style to be used.
Alignment:
The alignment to be used.
The alignment options are upperLeft, centerLeft, lowerLeft, upperCenter, centerCenter, lowerCenter, upperRight, centerRight, lowerRight.
Stroke With:
Determine how to fill text. Choose either Active Dcode or Polygon.
![]() Notes/Links:
Notes/Links:
The Object will be placed on the active layer.