DISASSEMBLY
NOTE:
If the transmission is being reconditioned (clutch/seal replacement) or replaced, it is necessary to perform the Quick Learn Procedure using the DRBIII Scan Tool
(Refer to 8 - ELECTRICAL/ELECTRONIC CONTROL MODULES/TRANSMISSION CONTROL MODULE - STANDARD PROCEDURE).
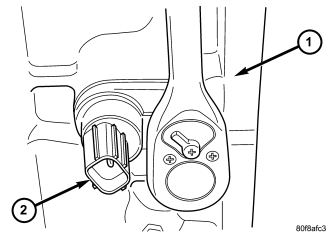
Before disassembling transmission, move the shift lever clockwise as far as it will go and then remove the shift lever.
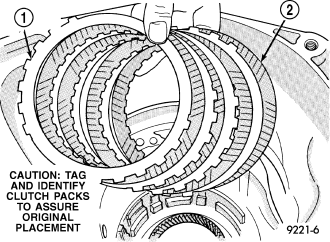
NOTE:
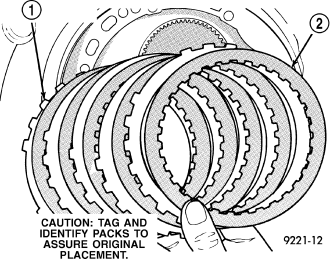
Tag all clutch pack assemblies, as they are removed, for reassembly identification.
CAUTION:
Do not intermix clutch discs or plates as the unit might then fail.
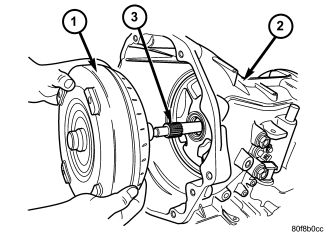
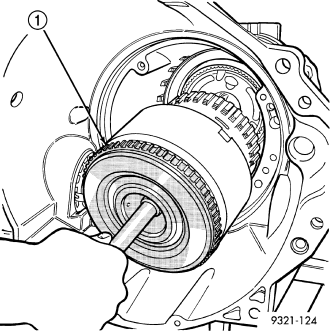
1.
Remove the torque converter from the transmission input shaft .
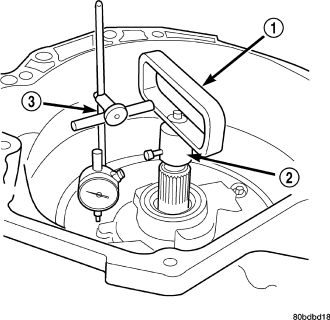
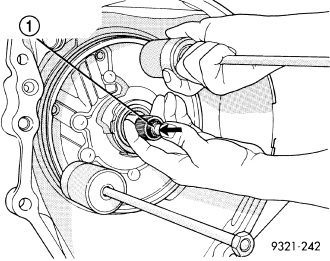
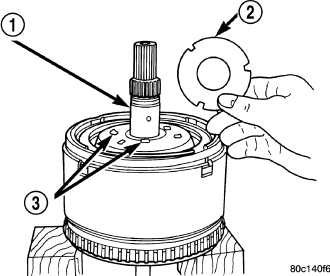
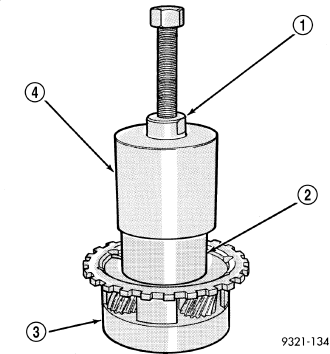
2.
Measure input shaft end play using End Play Set 8266. Set up the required pieces from End Play Set 8266 and a dial indicator as . Move input shaft in and out to obtain end play reading. End play
specifications are 0.127 to 0.635 mm (0.005 to 0.025 inch). Record indicator reading for reference when reassembling the transmission. If endplay exceeds the specified range, the #4 thrust plate needs to
be inspected and changed if necessary.

NOTE:
The four bolts along the bottom of the adapter housing have a sealing patch applied from the factory. Note the locations of these bolts and separate these bolts for reuse.
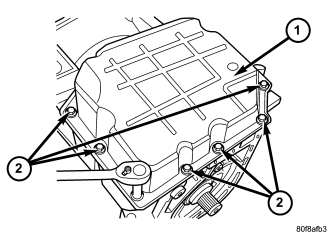
3.
Remove the bolts that hold the adapter housing onto the transmission case.
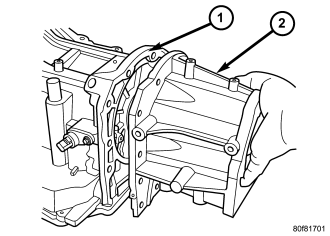
NOTE:
There are two pry slots located near the bottom corners of the housing for separating the housing from the transmission case
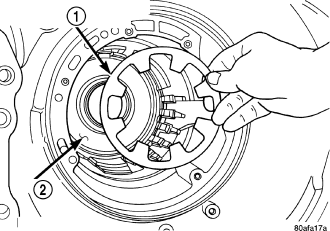
4.
Remove the adapter housing from the transmission case.
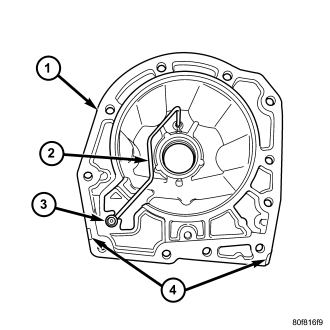
5.
Inspect the lube tube grommet for damage. If the grommet lip is damaged, it will need to be replaced.
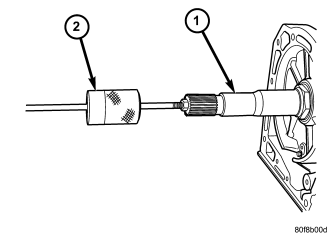
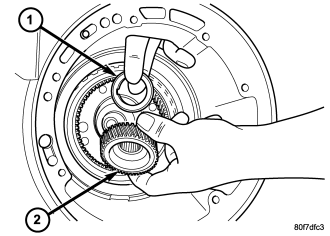
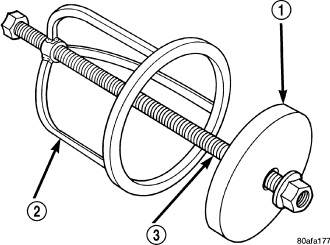
6.
Using a Slide Hammer C-3752 , remove the 4X4 stub shaft from the transmission output shaft. Inspect the cir-clip on the shaft for damage and replace the clip if necessary.
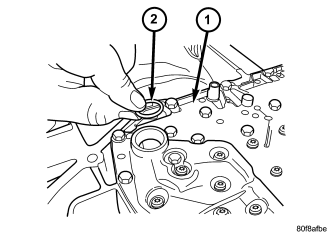
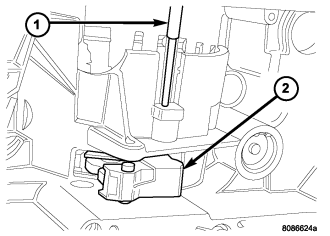
7.
Remove the input speed sensor bolt and sensor.
8.
Remove the output speed sensor bolt and sensor .
NOTE:
One of the oil pan bolts has a sealing patch applied from the factory. Separate this bolt for reuse.
9.
Remove the transmission oil pan bolts .
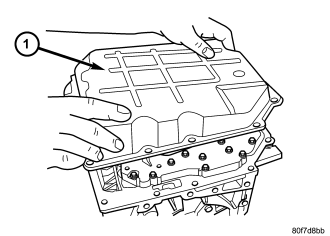
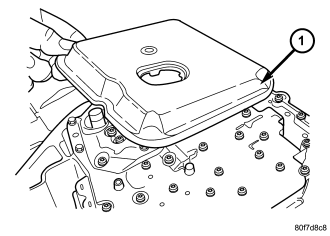
10.
Remove the transmission oil pan .
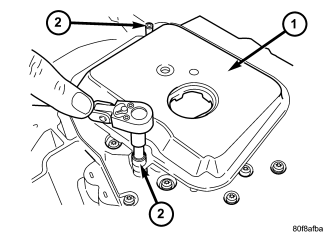
11.
Remove the transmission oil filter screws .
12.
Remove transmission oil filter.
13.
Remove the oil filter o-ring from the valve body .
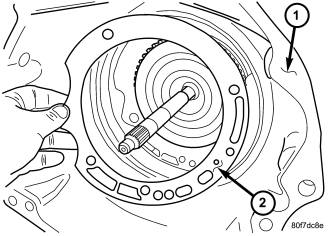
14.
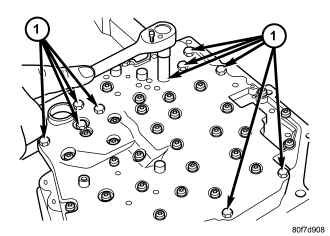
Remove valve body-to-case bolts .
CAUTION:
Do not handle the valve body by the manual shaft. Damage could result.
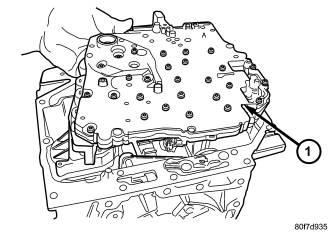
15.
Remove valve body from transmission .
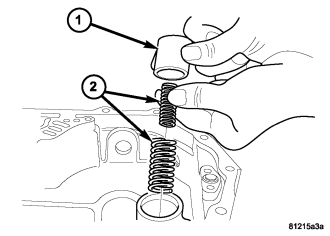
16.
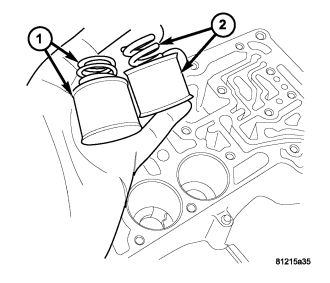
Remove underdrive and overdrive accumulators .
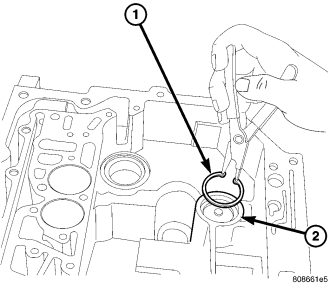
17.
Remove the low/reverse accumulator snap ring .
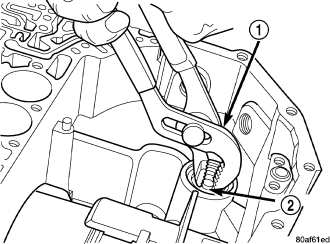
18.
Remove the low/reverse accumulator plug .
19.
Remove low/reverse accumulator piston and springs .
NOTE:
The oil pump bolts are not to be reused.
20.
Remove and discard the oil pump-to-case bolts .
21.
Remove oil pump using Slide Hammers C-3752 .
22.
Remove oil pump while pushing in on input shaft .
23.
Remove oil pump gasket .
CAUTION:
By-pass valve must be replaced if transmission failure occurs.
24.
Remove the cooler by-pass valve .
25.
Remove the #1 caged needle bearing .
26.
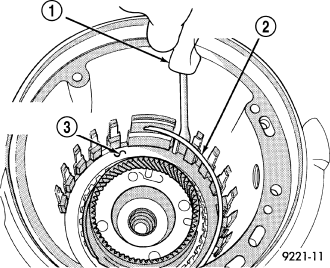
Remove the input clutch assembly .
27.
Remove the #4 thrust plate .
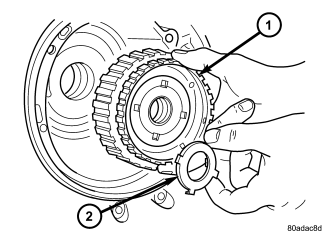
28.
Remove the front sun gear assembly and #4 thrust washer (if still in place) .
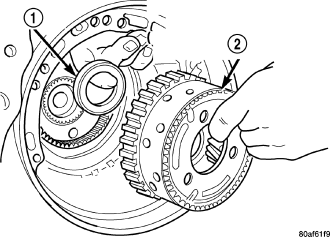
29.
Remove the front carrier/rear annulus and #6 needle bearing .
NOTE:
The number seven needle bearing has three antireversal tabs and is common with the number five and number two position. The orientation should allow the bearing to seat flat
against the rear sun gear .
30.
Remove the rear sun gear and #7 needle bearing and .
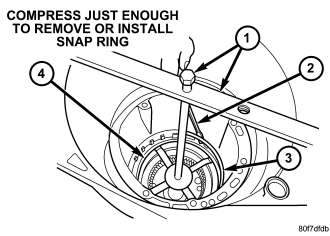
NOTE:
Verify that Compressor 5058A is centered properly over the 2/4 clutch retainer before compressing. If necessary, fasten the Compressor 5058A bar to the bellhousing flange with
any combination of locking pliers and bolts to center the tool properly.
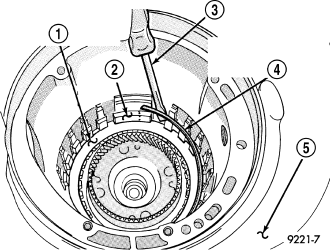
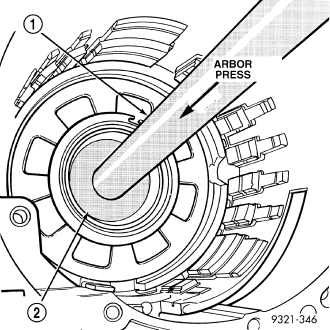
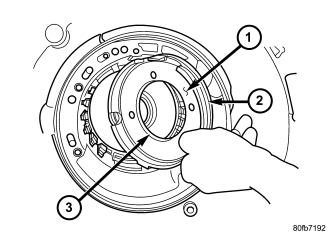
31.
Install and load Compressor 5058A to remove the 2/4 clutch retainer snap ring .
NOTE:
The 2/4 Clutch Piston has bonded seals which are not individually serviceable. Seal replacement requires replacement of the piston assembly.
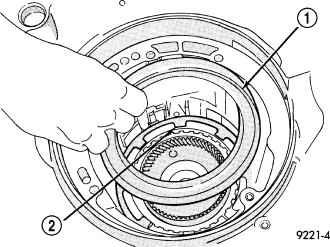
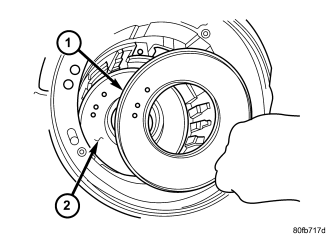
32.
Remove the 2/4 clutch retainer .
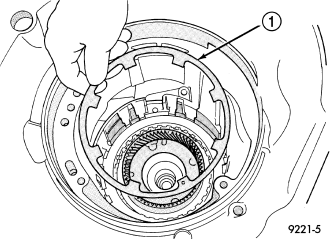
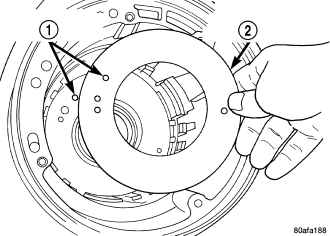
33.
Remove the 2/4 clutch return spring .
34.
Remove the 2/4 clutch pack.
35.
Remove the tapered snap ring .
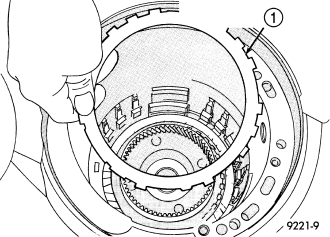
36.
Remove the low/reverse reaction plate .
37.
Remove one (1) low/reverse clutch disc to facilitate snap ring removal .
38.
Remove the low/reverse reaction plate snap ring .
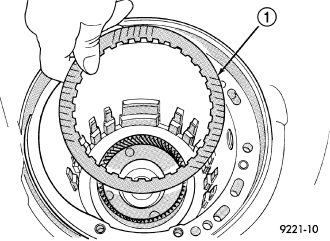
39.
Remove the low/reverse clutch pack .
CAUTION:
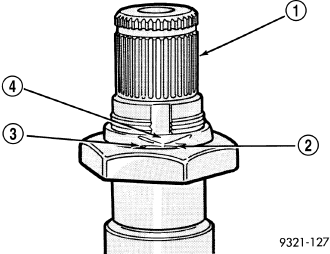
Failure to grind and open stakes of the output shaft nut will result in thread damage to the shaft during nut removal.
WARNING:
Wear safety goggles while grinding stake nuts.
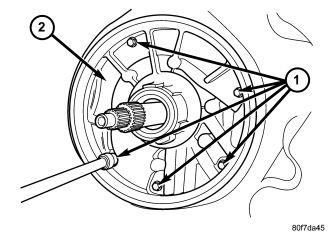
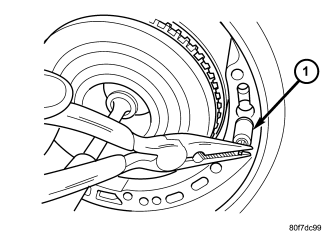
40.
Using a die grinder or equivalent, grind the stakes in the shoulder of the shaft nuts as shown in . Do not grind all the way through the nut and into the shaft. There are two stakes on each nut.
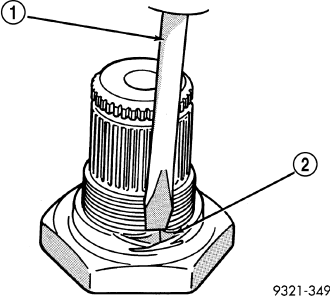
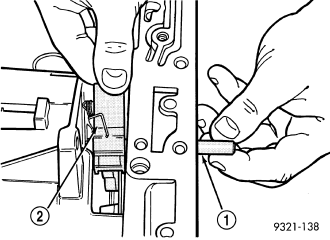
41.
Using a small chisel, carefully open the stakes on nut .
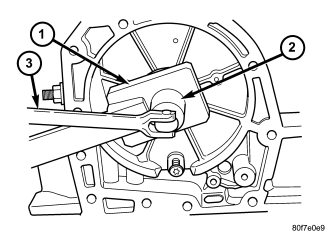
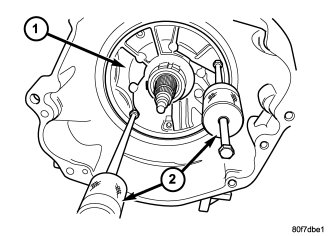
42.
Use Wrench 6497 and Wrench 6498A to remove the transfer shaft nut or the output shaft nut .
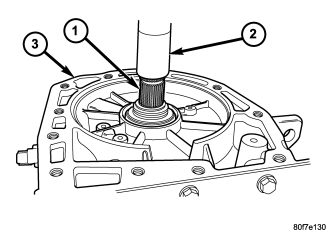
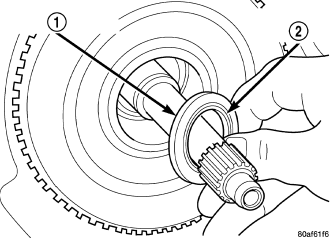
43.
Remove the output shaft from case using a press .
Use Remover 6596 with a press to remove the front output shaft bearing cup .
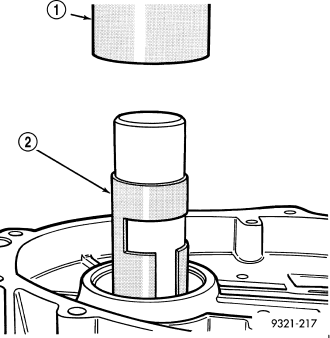
44.
Use Remover 6597 and Universal Handle C-4171 and Handle Extension C-4171-2 to press the rear output shaft bearing cup rearward .
45.
Remove the rear carrier front bearing cone .
46.
Install and load compressor
47.
Remove the low/reverse belleville spring snap ring .
48.
Remove the low/reverse piston belleville spring .
49.
Remove the park sprag pivot retaining screw.
50.
Drive out the anchor shaft using suitable punch .
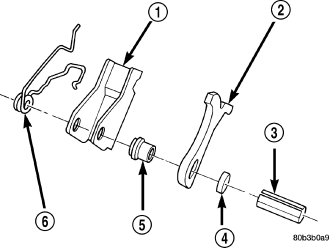
51.
Remove the guide bracket pivot shaft . Inspect all components for wear and replace if necessary.
NOTE:
The Low/Reverse Clutch Piston has bonded seals which are not individually serviceable. Seal replacement requires replacement of the piston assembly.
52.
Remove the low/reverse clutch piston .
53.
Remove the low/reverse piston retainer screws.
54.
Remove low/reverse piston retainer .
55.
Remove the low/reverse piston retainer gasket .