REMOVAL
CAUTION:
When removing the radiator or A/C condenser for any reason, note the location of all radiator-to-body and radiator-to-A/C condenser rubber air seals. These are used at
the top, bottom and sides of the radiator and A/C condenser. To prevent overheating, these seals must be installed to their original positions.
1.
Disconnect negative battery cable at battery.
2.
Drain cooling system
(Refer to 7 - COOLING - STANDARD PROCEDURE) drain coolant into a clean container for reuse.
3.
Remove coolant recovery container
(Refer to 7 - COOLING/ENGINE/COOLANT RECOVERY CONTAINER - REMOVAL).
4.
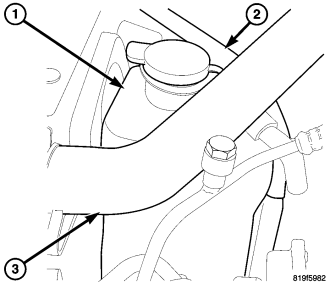
Remove radiator upper seal (2).
5.
Remove the electric cooling fan
(Refer to 7 - COOLING/ENGINE/RADIATOR FAN - REMOVAL)
6.
Remove lower radiator seal.
7.
Remove lower radiator hose.
8.
Remove front grill
(Refer to 23 - BODY/EXTERIOR/GRILLE - REMOVAL).
9.
Remove two A/C condenser mounting bolts. Lift A/C condenser out of J-clips.
10.
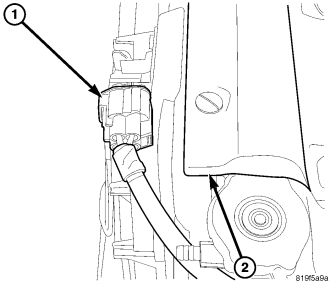
Loosen horn mounting bolt. Rotate horn out of the way.
11.
Remove A/C tubing mounting bracket bolt.
12.
Remove radiator mounting bolts.
13.
The lower part of radiator is equipped with two alignment dowel pins. They are located on the bottom of radiator tank and fit into rubber grommets. These rubber grommets are pressed into the radiator
lower crossmember.
14.
Lift radiator straight up and out of vehicle taking care not to damage radiator fins.
15.
When removing radiator, note position of the rubber seals located on the top and bottom of radiator (on certain models only). To prevent possible overheating, these seals must be installed to
their original positions.