You have the ability to make the following edits to saved group: edit the name of the group; edit the names of the individual groups; add groups; delete groups; move, remove, or add students to groups.
1. On the Home page, click the Manage Roster button. The Roster page appears.
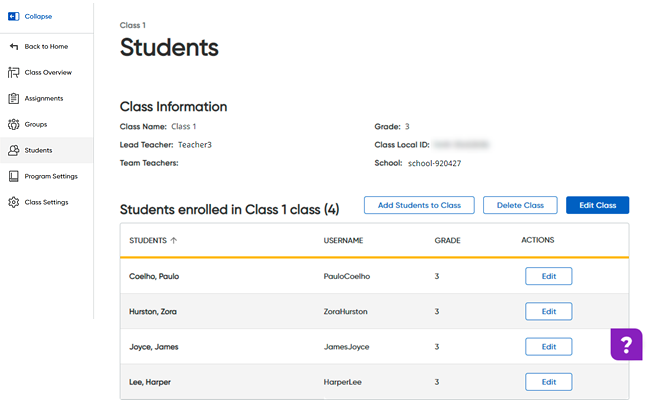
2. Locate the class to which you want to edit groups and open the class by clicking the class name link in the CLASSES column. The Students page appears, showing class information and the list of students currently enrolled in the class.

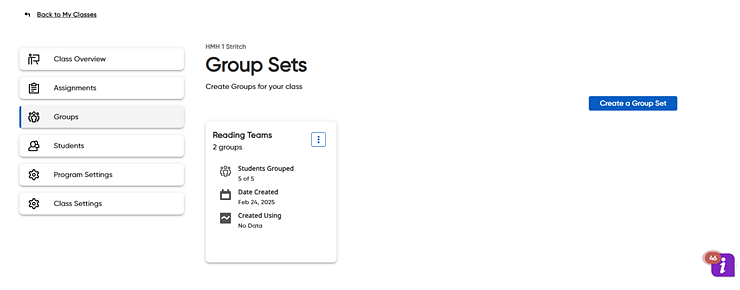
3. On the left panel, click Groups. The Groups page appears showing the groups you have previously created and saved.

4. Click
a group card to select it or  click
the vertical ellipsis button of a card and select Edit.
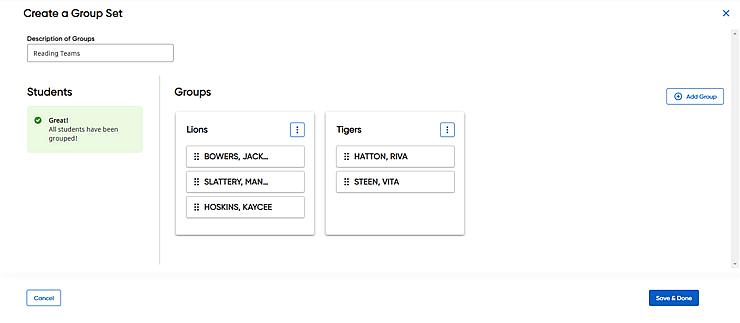
The Create Groups page appears.

5. Edit the group as follows:
Action |
Steps |
Rename the group |
➔ In the Description of Groups field, type a name or description to identify the groups. Note: If you have multiple groupings for the same class, the Group Description allows you to quickly differentiate between them. |
Add more groups |
➔ Click the Add Group button. A new group card appears. |
Delete groups |
➔ Click
the |
Rename individual groups |
➔ Click
the or ➔ Click
the |
Move students |
➔ Move
a student or students from one group to another by |
Remove students |
➔ Remove
students to groups by |
Add students |
➔ Add
students to groups by |
6. Click Save & Done to save the edits to the groups.