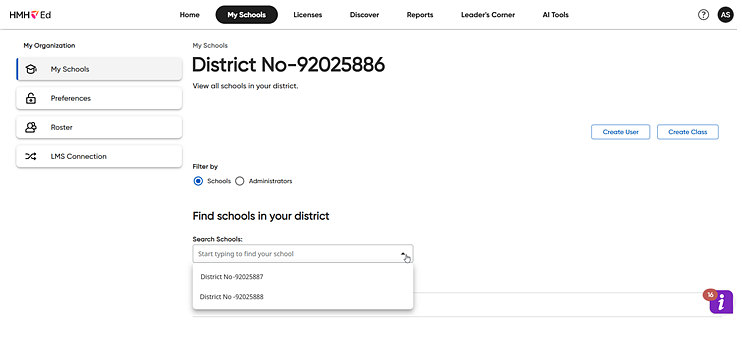
1. On the My Schools page, click the Schools option button (which is the default) and then select a school as follows.
– If you are a district administrator, select a school from the list of schools.
The page for the school appears and defaults to the Teachers page, which lists all of the teachers associated with the selected school.
– If
you are a school administrator, ![]() the
Teachers page is the first page
that appears.
the
Teachers page is the first page
that appears.
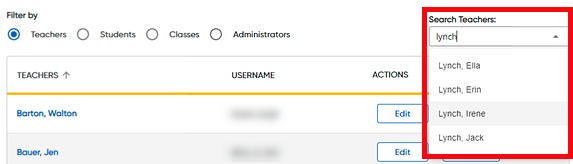
2. Locate the teacher account to be edited by doing either of the following:
– In the Search Teachers box, type all or part of the teacher's name. The list of teachers that meet your search criteria displays on the page.
Note: To clear
the search criteria, click the  in the search box.
– Scroll through the list using the scroll bar, arrow buttons, and/or the page arrows at the bottom of the list.

Note: On the Teachers page, you can use buttons in the ACTIONS column to edit or delete a teacher account or you can click a teacher name link to view more details about the teacher and select further actions from that page. (Continue to step 3 for details.)
3. In the TEACHERS column, click a teacher's name link. The Teacher Account Overview page appears showing the teacher details and listing all the classes to which the teacher is assigned.
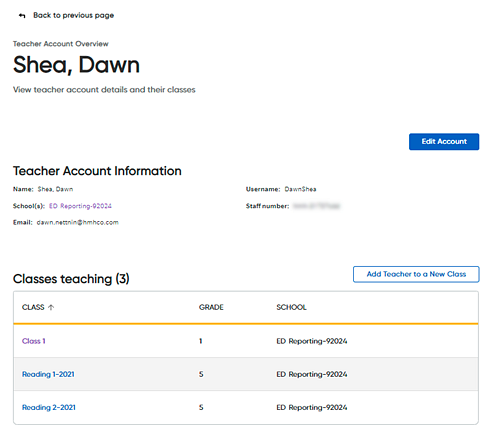
4. On the Teacher Account Overview page, do any of the following:
To do the following . . . |
Follow these steps: |
Edit a teacher's account information |
a. Click
b. See
HMH Rostering Service Help: Edit User Account
|
Create a new class to which to add this teacher |
➔ Click
|
View and edit the class information |
➔ In
the CLASSES column, click
a class name link. The Class
Overview page appears showing the class details and listing
all the students associated with the selected class. |
Return to the My Schools page |
➔ At
the top of the Teacher Account
Overview page, click the |
See Also:
Data Impact of Moving User Accounts
View and Edit Student Information

 . The
. The  . The
. The  link. The
main
link. The
main