Configure
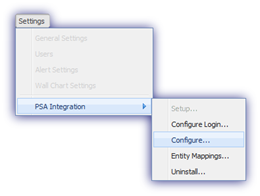
It may be necessary to amend the PSA Integration settings post-setup and this can be achieved from:
- Settings
- PSA Integration
- Configure
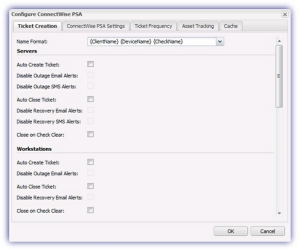
Ticket Creation Settings
Within this section it is possible to change the Ticket Creation Settings, including the Name Format used by the tickets, whether they are auto created as well as the Alert and Check Clearing behavior.
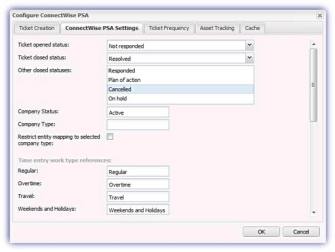
ConnectWise PSA Settings
The ConnectWise PSA Settings may be used to change various aspects such as the ticket opened and closed status, other closed statuses that may be required the company status and type. The Time entry work type references of Regular, Overtime, Travel as well as Weekends and Holidays can also be configured at this stage. This dialog also includes the option to Restrict entity mapping to selected company type which filters the number of returned results from ConnectWise in the Entity Mappings dialog preventing a timeout when attempting to access the entity data.
Ticket Frequency
Changes to the 24x7, Daily Safety Check and Device Outage Ticket Priorities and Due Date Offsets can be made under Ticket Frequency.
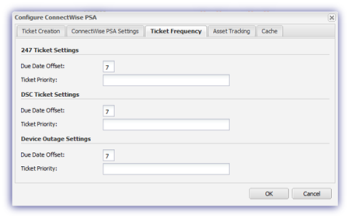
Where the string entered in the Ticket Priority section of the Dashboard does not precisely match the corresponding ConnectWise Priority description a Could not find a priority named * error message may be returned when attempting to create a ticket. Further information on this setting is available here.
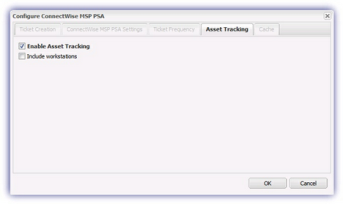
Asset Tracking
The option to synchronize your device asset information with ConnectWise is only available for ConnectWise accounts that have the ConnectWise MSP plugin.
If you have already purchased the ConnectWise MSP plugin and wish to integrate Asset Tracking, please use the Previous buttons to navigate back to Step 1 of the PSA Integration and select ConnectWise MSP from the product drop-down list.
For information on setting up the ConnectWise MSP integration please refer to the section: ConnectWise MSP.
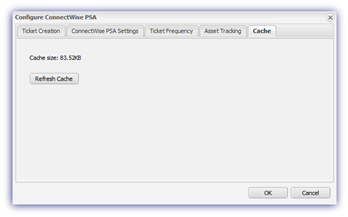
Cache
To speed up the integration process information relating to the devices is cached and in some cases it may be necessary to clear this cache and this can be achieved by selecting Refresh Cache from the Cache tab.