Google BigQuery Setup
Driverless AI lets you explore Google BigQuery data sources from within the Driverless AI application. This section provides instructions for configuring Driverless AI to work with Google BigQuery. This setup requires you to enable authentication. If you enable the GCS and/or GBQ connectors, those file systems will be available in the UI, but you will not be able to use those connectors without authentication.
In order to enable the GBQ data connector with authentication, you must:
Retrieve a JSON authentication file from GCP.
Mount the JSON file to the Docker instance.
Specify the path to the /json_auth_file.json with the gcs_path_to_service_account_json config option.
Notes:
The account JSON includes authentications as provided by the system administrator. You can be provided a JSON file that contains both Google Cloud Storage and Google BigQuery authentications, just one or the other, or none at all.
Depending on your Docker install version, use either the
docker run --runtime=nvidia(>= Docker 19.03) ornvidia-docker(< Docker 19.03) command when starting the Driverless AI Docker image. Usedocker versionto check which version of Docker you are using.
Enable GBQ with Authentication
This example enables the GBQ data connector with authentication by passing the JSON authentication file. This assumes that the JSON file contains Google BigQuery authentications.
nvidia-docker run \
    --pid=host \
    --init \
    --rm \
    --shm-size=256m \
    -e DRIVERLESS_AI_ENABLED_FILE_SYSTEMS="file,gbq" \
    -e DRIVERLESS_AI_GCS_PATH_TO_SERVICE_ACCOUNT_JSON="/service_account_json.json" \
    -u `id -u`:`id -g` \
    -p 12345:12345 \
    -v `pwd`/data:/data \
    -v `pwd`/log:/log \
    -v `pwd`/license:/license \
    -v `pwd`/tmp:/tmp \
    -v `pwd`/service_account_json.json:/service_account_json.json \
    h2oai/dai-centos7-x86_64:1.9.3-cuda10.0.xx
This example shows how to configure the GBQ data connector options in the config.toml file, and then specify that file when starting Driverless AI in Docker.
Configure the Driverless AI config.toml file. Set the following configuration options:
enabled_file_systems = "file, upload, gbq"
gcs_path_to_service_account_json = "/service_account_json.json"
Mount the config.toml file into the Docker container.
nvidia-docker run \
  --pid=host \
  --init \
  --rm \
  --shm-size=256m \
  --add-host name.node:172.16.2.186 \
  -e DRIVERLESS_AI_CONFIG_FILE=/path/in/docker/config.toml \
  -p 12345:12345 \
  -v /local/path/to/config.toml:/path/in/docker/config.toml \
  -v /etc/passwd:/etc/passwd:ro \
  -v /etc/group:/etc/group:ro \
  -v /tmp/dtmp/:/tmp \
  -v /tmp/dlog/:/log \
  -v /tmp/dlicense/:/license \
  -v /tmp/ddata/:/data \
  -u $(id -u):$(id -g) \
  h2oai/dai-centos7-x86_64:1.9.3-cuda10.0.xx
This example enables the GBQ data connector with authentication by passing the JSON authentication file. This assumes that the JSON file contains Google BigQuery authentications.
Export the Driverless AI config.toml file or add it to ~/.bashrc. For example:
# DEB and RPM
export DRIVERLESS_AI_CONFIG_FILE="/etc/dai/config.toml"

# TAR SH
export DRIVERLESS_AI_CONFIG_FILE="/path/to/your/unpacked/dai/directory/config.toml"
Specify the following configuration options in the config.toml file.
# File System Support
# file : local file system/server file system
# gbq : Google Big Query, remember to configure gcs_path_to_service_account_json below
enabled_file_systems = "file, gbq"

# GCS Connector credentials
# example (suggested) -- "/licenses/my_service_account_json.json"
gcs_path_to_service_account_json = "/service_account_json.json"
Save the changes when you are done, then stop/restart Driverless AI.
Adding Datasets Using GBQ
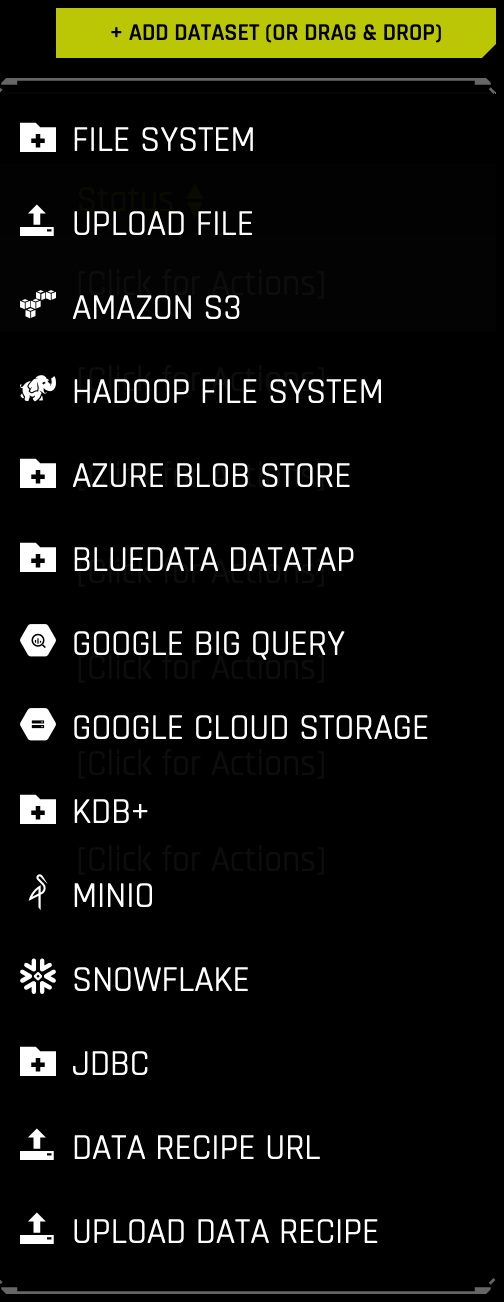
After Google BigQuery is enabled, you can add datasets by selecting Google Big Query from the Add Dataset (or Drag and Drop) drop-down menu.
Specify the following information to add your dataset.
Enter BQ Dataset ID with write access to create temporary table: Enter a dataset ID in Google BigQuery that this user has read/write access to. BigQuery uses this dataset as the location for the new table generated by the query.
Note: Driverless AI’s connection to GBQ will inherit the top-level directory from the service JSON file. So if a dataset named “my-dataset” is in a top-level directory named “dai-gbq”, then the value for the dataset ID input field would be “my-dataset” and not “dai-gbq:my-dataset”.
Enter Google Storage destination bucket: Specify the name of Google Cloud Storage destination bucket. Note that the user must have write access to this bucket.
Enter Name for Dataset to be saved as: Specify a name for the dataset, for example,
my_file.Enter BigQuery Query (Use StandardSQL): Enter a StandardSQL query that you want BigQuery to execute. For example:
SELECT * FROM <my_dataset>.<my_table>.(Optional) Specify a project to use with the GBQ connector. This is equivalent to providing
--projectwhen using a command-line interface.When you are finished, select the Click to Make Query button to add the dataset.
