Install on Azure
This section describes how to install the Driverless AI image from Azure.
Watch the installation video here. Note that some of the images in this video may change between releases, but the installation steps remain the same.
Environment
| Provider | Instance Type | Num GPUs | Suitable for |
|---|---|---|---|
| Azure | Standard_NV6 | 1 | Experimentation |
| Standard_NV12 | 2 | Experimentation | |
| Standard_NV24 | 4 | Serious use | |
| Standard_NC6 | 1 | Experimentation | |
| Standard_NC12 | 2 | Experimentation | |
| Standard_NC24 | 4 | Serious use |
Installing the Azure Instance
- Log in to your Azure portal at https://portal.azure.com, and click the Create a Resource button.
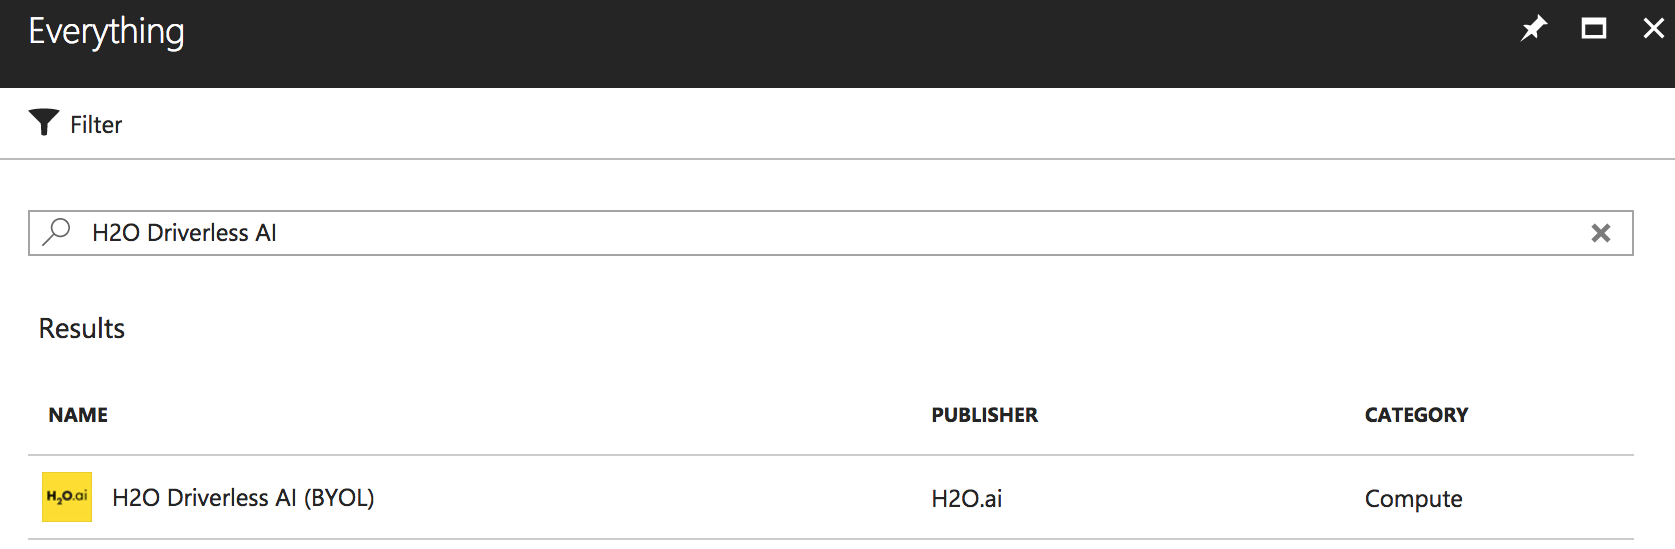
- Search for and select H2O DriverlessAI in the Marketplace.
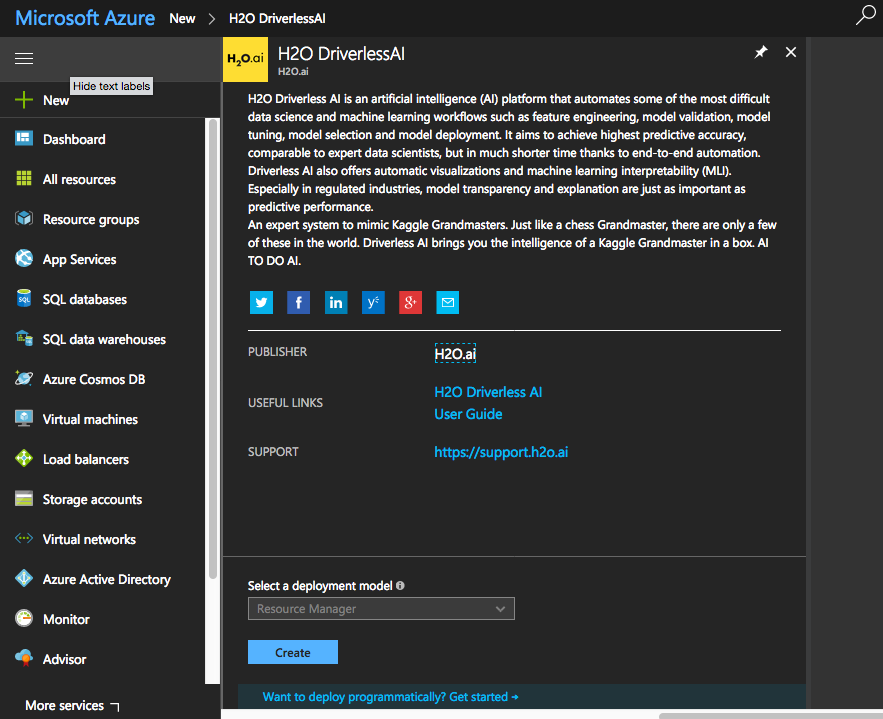
- Click Create. This launches the H2O DriverlessAI Virtual Machine creation process.
- On the Basics tab:
- Enter a name for the VM.
- Select the Disk Type for the VM. Use HDD for GPU instances.
- Enter the name that you will use when connecting to the machine through SSH.
- Enter and confirm a password that will be used when connecting to the machine through SSH.
- Specify the Subscription option. (This should be Pay-As-You-Go.)
- Enter a name unique name for the resource group.
- Specify the VM region.
Click OK when you are done.

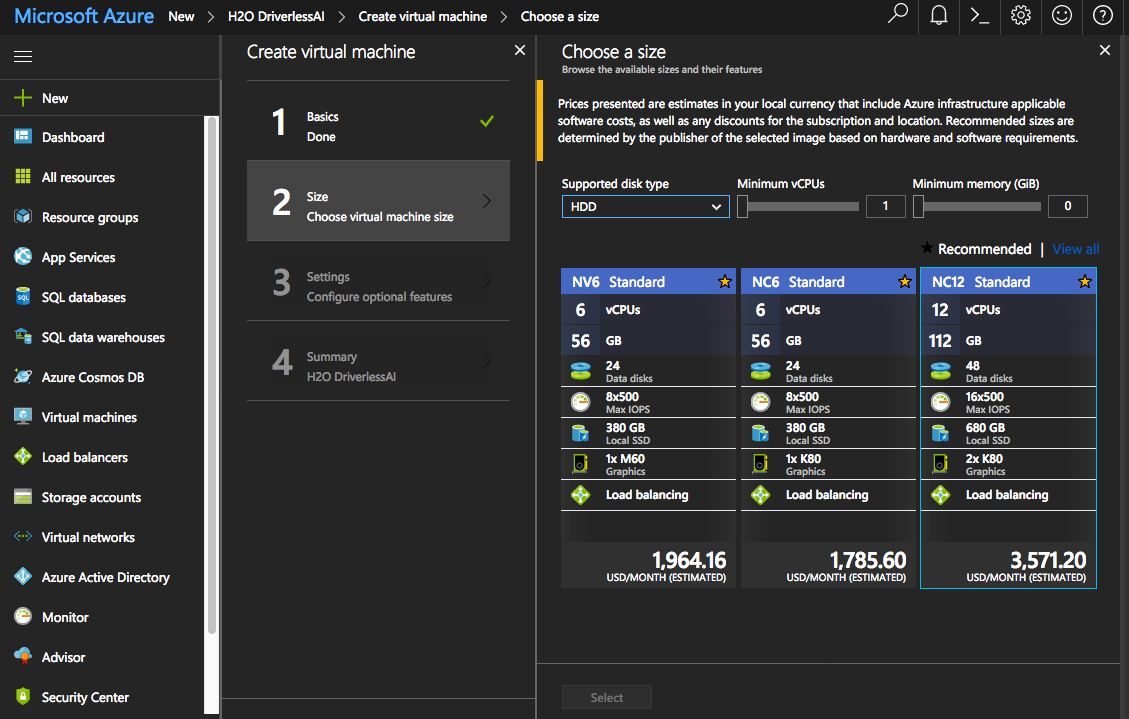
- On the Size tab, select your virtual machine size. Specify the HDD disk type and select a configuration. We recommend using an N-Series type, which comes with a GPU. Also note that Driverless AI requires 10 GB of free space in order to run and will stop working of less than 10 GB is available. We recommend a minimum of 30 GB of disk space. Click OK when you are done.
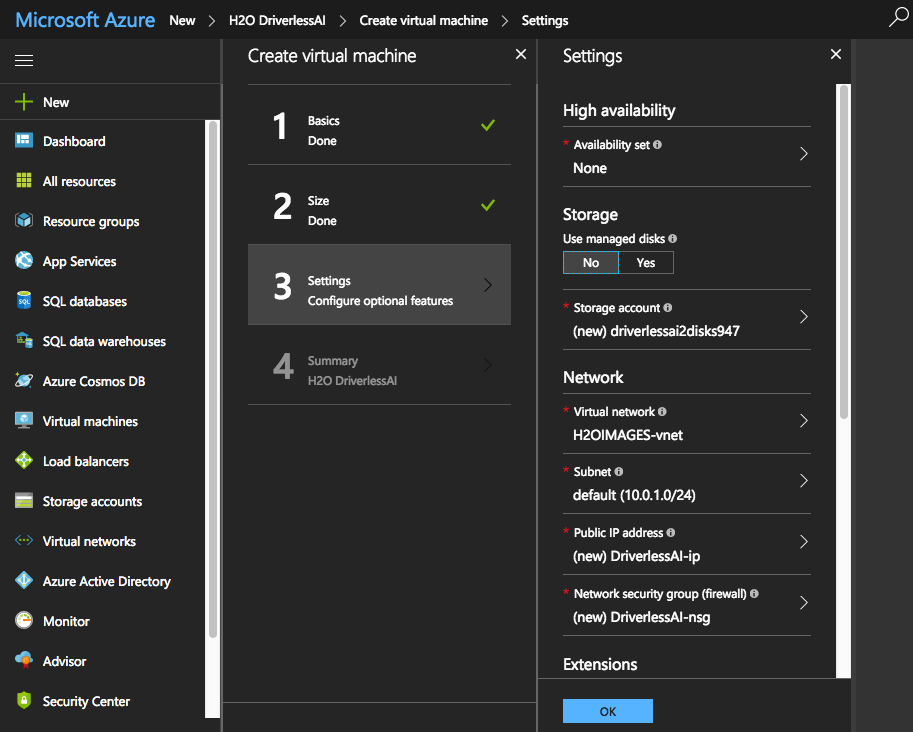
- On the Settings tab, select or create the Virtual Network and Subnet where the VM is going to be located and then click OK.
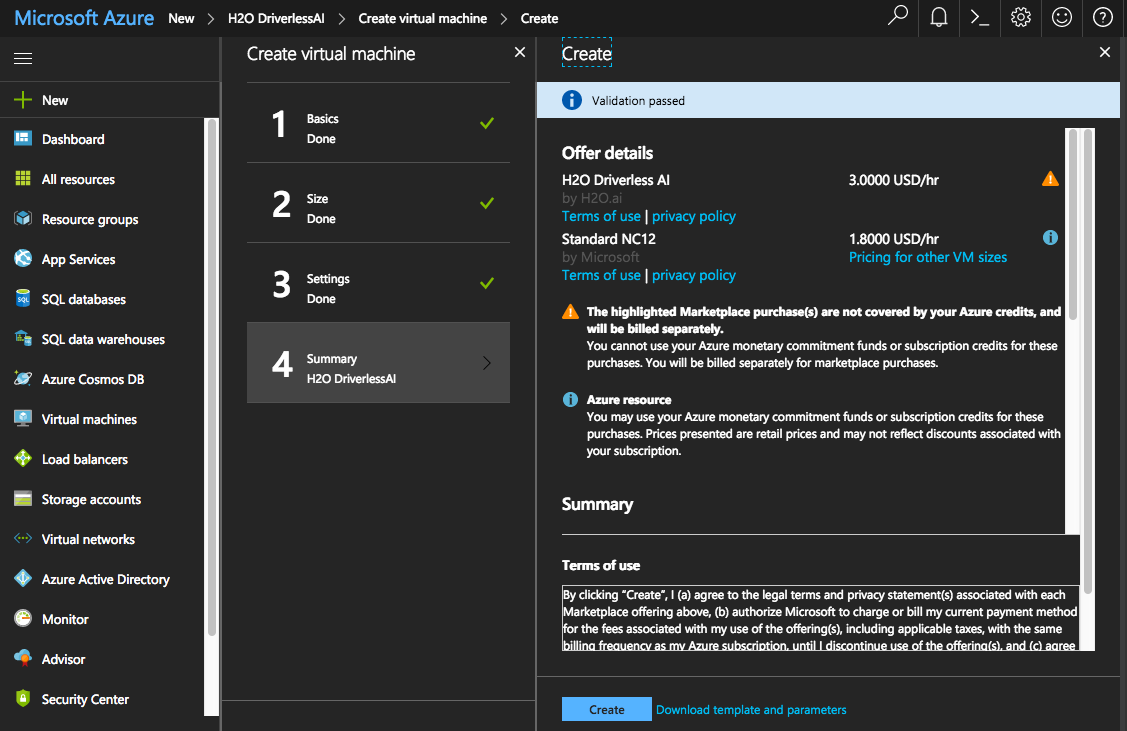
- The Summary tab performs a validation on the specified settings and will report back any errors. When the validation passes successfully, click Create to create the VM.
- After the VM is created, it will be available under the list of Virtual Machines. Select this Driverless AI VM to view the IP address of your newly created machine. Then open a terminal window and ssh into the machine running the VM. Optionally run
pwdto retrieve your current location in the VM, and optionally runnvidia-smito verify that the NVIDIA driver is running. - Use the following command to retrieve the latest Driverless AI version. Replace VERSION and BUILD with the Driverless AI version.
wget https://s3.amazonaws.com/artifacts.h2o.ai/releases/ai/h2o/dai/VERSION-BUILD/x86_64-centos7/dai-docker-centos7-x86_64-VERSION.tar.gz
- Set up the data, log, and license directories on the host machine:
# Set up the data, log, license, and tmp directories on the host machine
cd /etc/h2oai
mkdir data
mkdir log
mkdir license
mkdir tmp
- At this point, you can copy data into the data directory on the host machine using
scp. For example:
scp <data_file>.csv <username>@<vm_address>:/etc/h2oai/dataThe data will be visible inside the Docker container.
- Load the Driverless AI Docker image
docker load < dai-docker-centos7-x86_64-VERSION.tar.gz
- If you selected a GPU machine, then you must enable persistence of the GPU. Note that this needs to be run once every reboot. Refer to the following for more information: http://docs.nvidia.com/deploy/driver-persistence/index.html.
sudo nvidia-persistenced --user <USER>
sudo nvidia-smi -pm 1
- Run
docker imagesto find the new image tag. - Start the Driverless AI Docker image with nvidia-docker and replace TAG below with the image tag:
# Start the Driverless AI Docker image
nvidia-docker run \
    --pid=host \
    --init \
    --rm \
    --shm-size=256m \
    -u `id -u`:`id -g` \
    -p 12345:12345 \
    -v `pwd`/data:/data \
    -v `pwd`/log:/log \
    -v `pwd`/license:/license \
    -v `pwd`/tmp:/tmp \
    h2oai/dai-centos7-x86_64:TAG
Driverless AI will begin running:
--------------------------------
Welcome to H2O.ai's Driverless AI
---------------------------------

- Put data in the volume mounted at /data
- Logs are written to the volume mounted at /log/20180606-044258
- Connect to Driverless AI on port 12345 inside the container
- Connect to Jupyter notebook on port 8888 inside the container
- Connect to Driverless AI with your browser:
http://Your-Driverless-AI-Host-Machine:12345
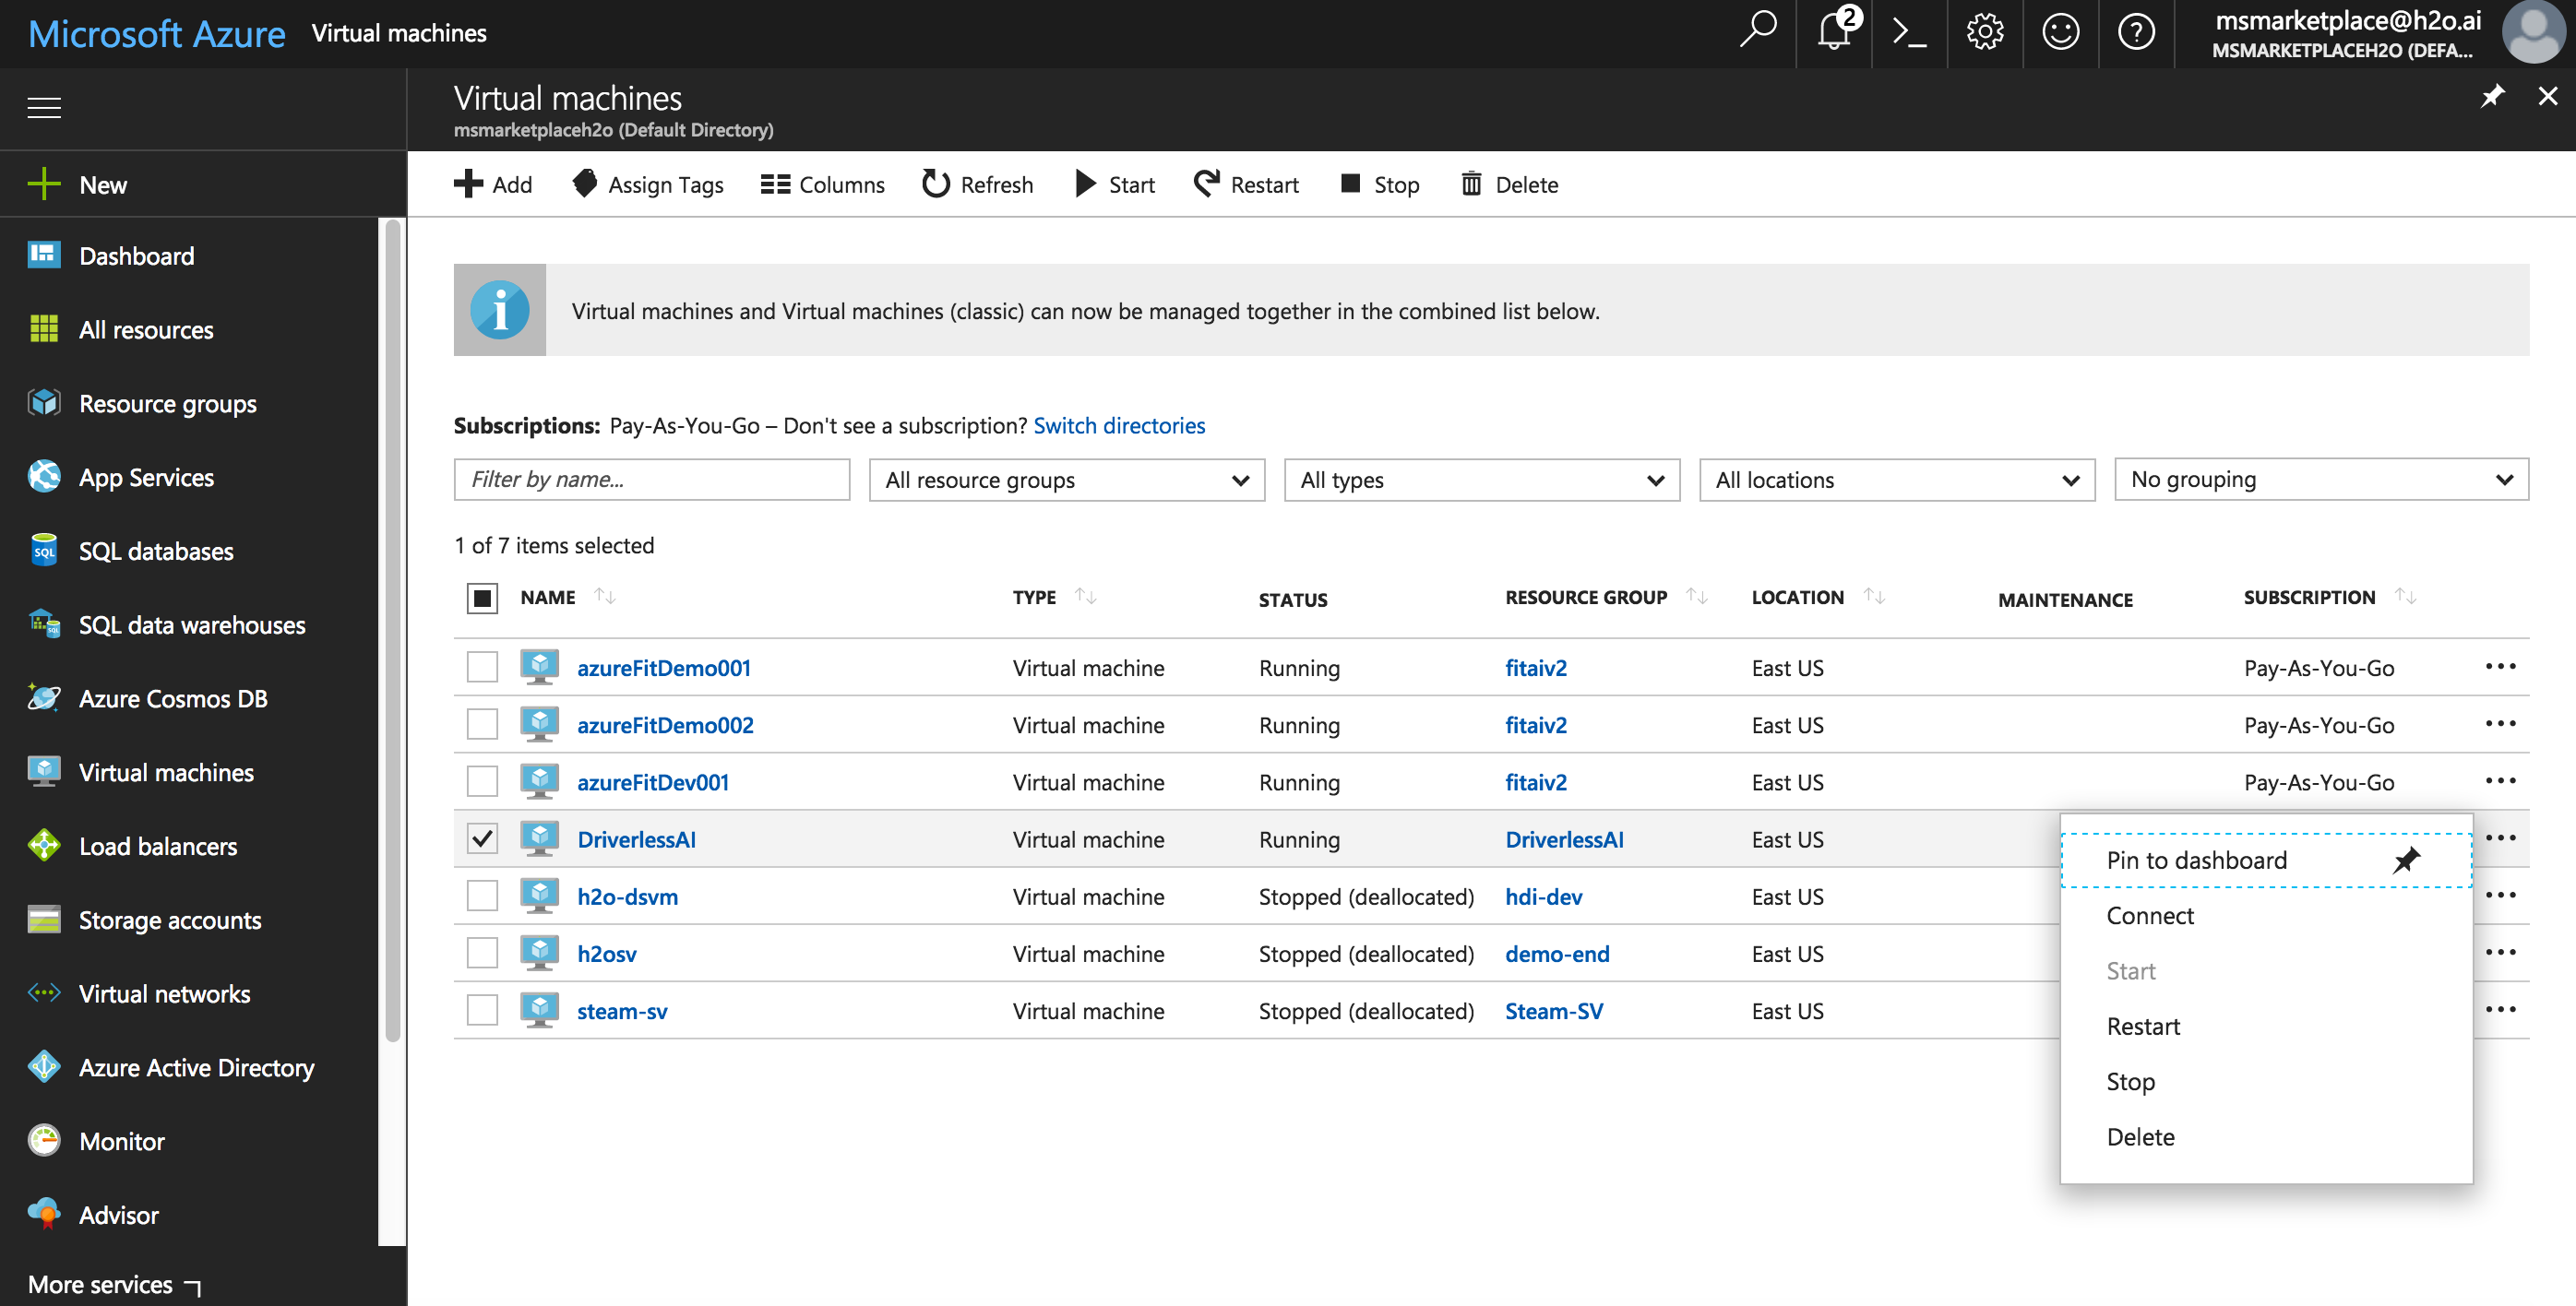
Stopping the Azure Instance
The Azure instance will continue to run even when you close the Azure portal. To stop the instance:
- Click the Virtual Machines left menu item.
- Select the checkbox beside your DriverlessAI virtual machine.
- On the right side of the row, click the … button, then select Stop. (Note that you can then restart this by selecting Start.)
Upgrading the Driverless AI Image
WARNING: Experiments, MLIs, and MOJOs reside in the Driverless AI tmp directory and are not automatically upgraded when Driverless AI is upgraded.
- Build MLI models before upgrading.
- Build MOJO pipelines before upgrading.
- Back up your Driverless AI tmp directory before upgrading.
If you did not build MLI on a model before upgrading Driverless AI, then you will not be able to view MLI on that model after upgrading. Before upgrading, be sure to run MLI jobs on models that you want to continue to interpret in future releases. If that MLI job appears in the list of Interpreted Models in your current version, then it will be retained after upgrading.
If you did not build a MOJO pipeline on a model before upgrading Driverless AI, then you will not be able to build a MOJO pipeline on that model after upgrading. Before upgrading, be sure to build MOJO pipelines on all desired models and then back up your Driverless AI tmp directory.
Upgrading from Version 1.2.2 or Earlier
It is not possible to upgrade from version 1.2.2 or earlier to the latest version. You have to manually remove the 1.2.2 container and then reinstall the latest Driverless AI version. Be sure to back up your data before doing this.
Upgrading from Version 1.3.0 or Later
- SSH into the IP address of the image instance and copy the existing experiments to a backup location:
# Set up a directory of the previous version name
mkdir dai_rel_1.3.0

# Copy the data, log, license, and tmp directories as backup
cp -r ./data dai_rel_1.3.0/data
cp -r ./log dai_rel_1.3.0/log
cp -r ./license dai_rel_1.3.0/license
cp -r ./tmp dai_rel_1.3.0/tmp
wgetthe newer image. Replace VERSION and BUILD below with the Driverless AI version.
wget https://s3.amazonaws.com/artifacts.h2o.ai/releases/ai/h2o/dai/VERSION-BUILD/x86_64-centos7/dai-docker-centos7-x86_64-VERSION.tar.gz
- Use the
docker loadcommand to load the image:
docker load < dai-docker-centos7-x86_64-VERSION.tar.gz
- Run
docker imagesto find the new image tag. - Start the Driverless AI Docker image with nvidia-docker and replace TAG below with the image tag:
# Start the Driverless AI Docker image
nvidia-docker run \
    --pid=host \
    --init \
    --rm \
    --shm-size=256m \
    -u `id -u`:`id -g` \
    -p 12345:12345 \
    -v `pwd`/data:/data \
    -v `pwd`/log:/log \
    -v `pwd`/license:/license \
    -v `pwd`/tmp:/tmp \
    h2oai/dai-centos7-x86_64:TAG