Downloading or Restoring Files and Folders
In this procedure you select the files and folders. The files are either restored to their original location, or they are downloaded to the machine where you run the Zerto User Interface. Make sure that the machine has enough space for the recovered files.
Before you begin:
If you want to restore the files/folders to their original location on the production site, before you proceed make sure you create credentials with which you will access the protected VM.
|
•
|
These credentials should have the following permissions on all paths to which the user wants to restore the file/s: |
To download files/folders or to restore files/folders to their original location:
|
1.
|
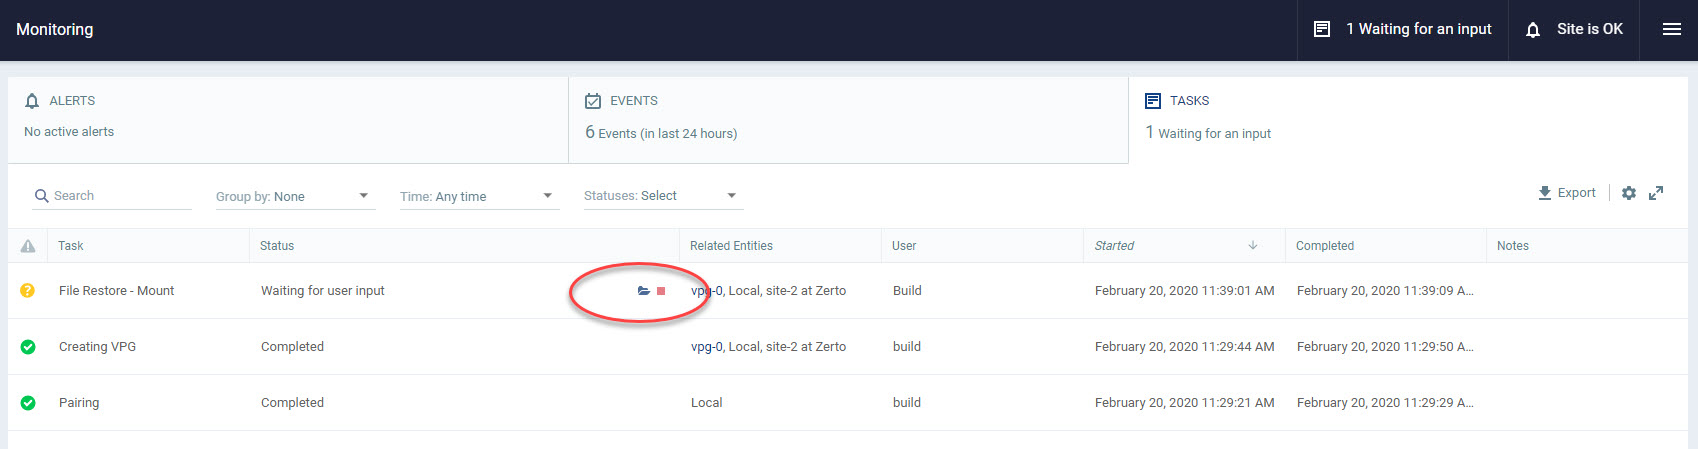
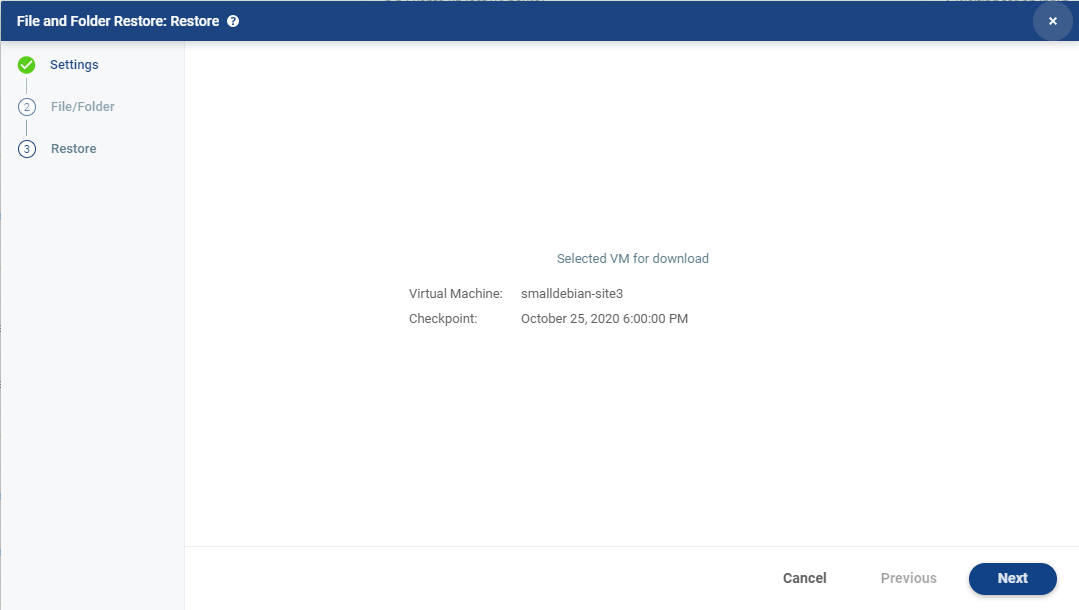
Click the folder icon ( ). ). |
The File and Folder Restore dialog is displayed showing the VM and the point in time selected.
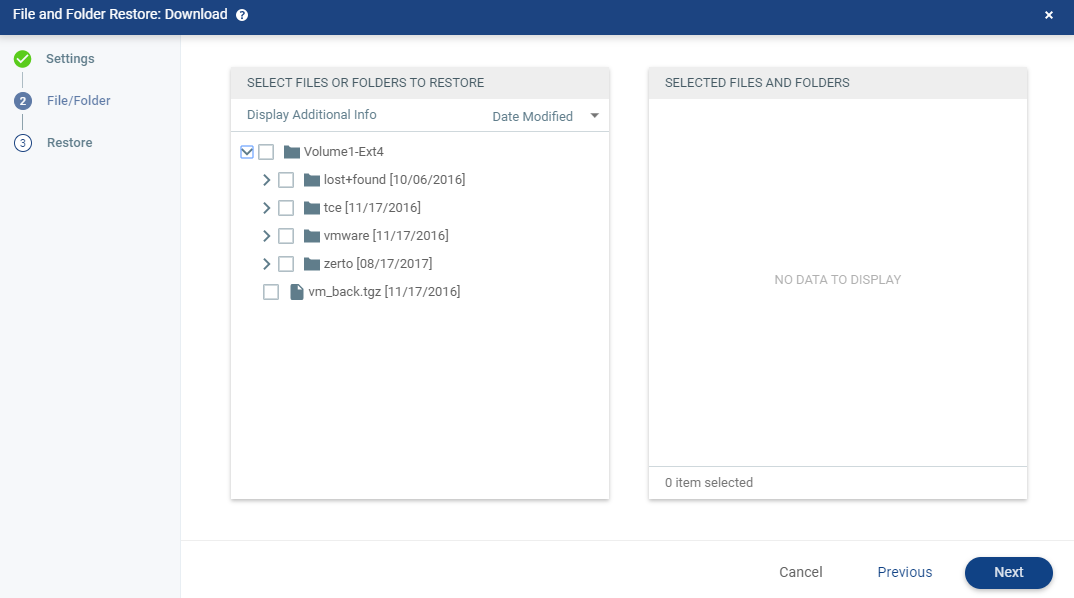
The File/Folder step is displayed.
|
3.
|
Select the files and folders you want to restore or download. |
Note:
|
•
|
Grayed out files are not supported therefore cannot be selected. For a list of unsupported files, see the Interoperability Matrix. When hovering over a grayed out item, a message is displayed when there is an error parsing a supported file system. The error does not fail the entire mount task. |
|
•
|
When a selected folder contains unsupported files, only the supported files will successfully download. Meaning, only the supported files will appear in the download folder. |
|
•
|
For NTFS, Zerto will show the drive letter of the volume as it appears in Windows. |
|
•
|
For Linux and other scenarios where the drive letter cannot be calculated, Zerto will present {Volume #1-Filesystem type-label (if it exists). |
The selected files or folders are displayed in the right pane of the dialog. The number of items selected is displayed and the size of the selected files is also displayed.
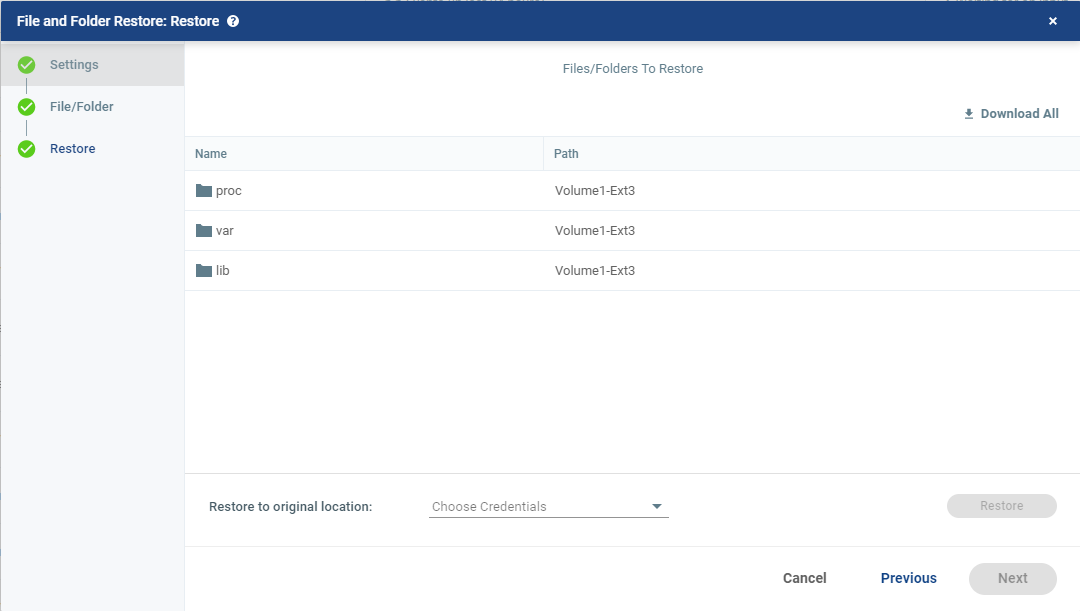
The Restore step is displayed. It shows the files and folders you selected for restoring or downloading.
By default, when you select multiple files or one or more folders for download, the data is compressed before it is downloaded.
You can choose to either:
|
•
|
Download the files as a compressed zip folder. Continue with step 5 |
|
•
|
Restore the files to their original location in the production site. Continue with step 7 |
|
5.
|
To download the selected files, click Download All (at the top right of the window). The files are downloaded in a ZertoDownloads ZIP file. |
|
•
|
The files and folders are downloaded by default to the downloads folder on the computer where you run the Zerto User Interface. |
|
6.
|
To restore the files or folders to their original location, from the Restore to original location area, select the pre-defined credentials which will be used to access the protected VM, and click Restore. |
|
•
|
A new dedicated folder is created for each path to which the file/s are restored. |
|
•
|
The dedicated folder name is Z_Restored <mount checkpoint time>. |
The checkpoint time is in the following format: MMHHYY_HHMMSS. For example, Z_Restored 082820_072614
|
•
|
If a section of the path to the folder does not exist, it will be created before creating the dedicated folder. |
|
•
|
If the folder already exists, a running number will be added. For example, Z_Restored 082820_072614(1) |
|
•
|
The checkpoint time is based on the time zone of the recovery ZVM. |
When a selected folder contains unsupported files, only the supported files will successfully download. Meaning, only the supported files will appear in the download folder.
|
7.
|
When a selected folder contains unsupported files, only the supported files will successfully download or be restored. Meaning, only the supported files will appear in the download folder, or will appear in their original location. |
|
Note:
|
Saving the files and folders to a network share is dependent on the browser used to display the Zerto User Interface and the settings for this browser. |
|
•
|
When you select one file to download, and do not compress the file, the name of the downloaded file is the name of the file. For example, if you download a file called Important-file.docx, the name of the file on your computer will be Important‑file.docx. |
|
•
|
When you choose one file and choose to compress it, or you select multiple files, the files are zipped into a file called ZertoDownloads.zip. |
|
8.
|
Unmount the virtual machine after the files or folders are downloaded. To unmount the virtual machine, click the unmount icon ( ). ). |
See also: