Performing an Express Installation
You can install Zerto using the defaults provided by Zerto. Site and connectivity information can be updated in the Zerto User Interface after installation, if required.
Before you Begin:
■ Make sure you deployed Zerto Cloud Appliance.
To perform an express install of Zerto:
1. Run the Zerto Installer for Microsoft Azure.
2. Follow the wizard through the installation until the window for the Installation Type and select the Express Installation option.
3. Click NEXT.
The Azure Authentication window is displayed.
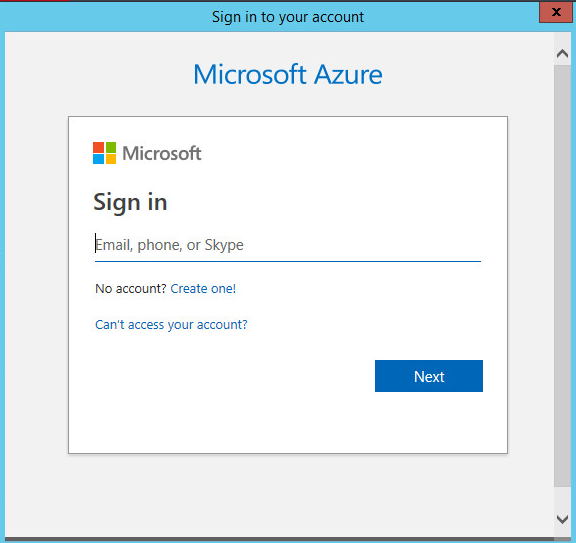
4. Click AUTHENTICATE.
An external Microsoft Azure authentication window is displayed.
5. In the external Microsoft Azure authentication page, specify the following:
a) The email or phone number of the account who is the Azure subscription User Access Administrator, then click Next.
b) Enter the password of the account, then click Sign in.
The Azure Authentication window reappears.
6. Select a Subscription. Only subscriptions related to the region where the ZCA is installed are displayed.
7. Once you select a subscription, a Directory related to the subscription is populated.
8. The Region where ZCA is installed is automatically populated in the Azure Authentication window.
9. Define a new storage account that will be used for replication and recovery, or select one from a list of existing storage accounts in the drop down menu.
By default, the Create new storage account option is selected.
Important: |
Each ZCA requires a separate storage account. Multiple ZCAs using the same account is not supported. |
a) By using the default option Create new in the Storage Account field, the installation creates a new resource group and a Standard storage account.
b) Click Use existing to select an existing storage account. When you select this option, the drop down menu becomes active.
■ Only Standard storage accounts which exist in the selected region and subscription are displayed in the storage account drop down menu.
■ General-purpose v1 (GPv1) accounts are supported.
■ Blob Storage accounts are not displayed for selection since the Blob Storage account type is not supported.
■ When you select an existing storage account, the account is automatically tagged with a Zerto unique tag.
Note: |
When a storage account is either created or selected, the following occurs: ■ The journal and recovery disks are created in the storage account. ■ The selected storage account appears in Site Settings, in the Site Information tab. |
10. Click NEXT.
The Connectivity window is displayed.
11. Select the IP address of the machine on which you are installing the Zerto Cloud Appliance. The protected site accesses the Azure site through VPN using this IP.
12. Specify a name to identify this site.
13. Click NEXT.
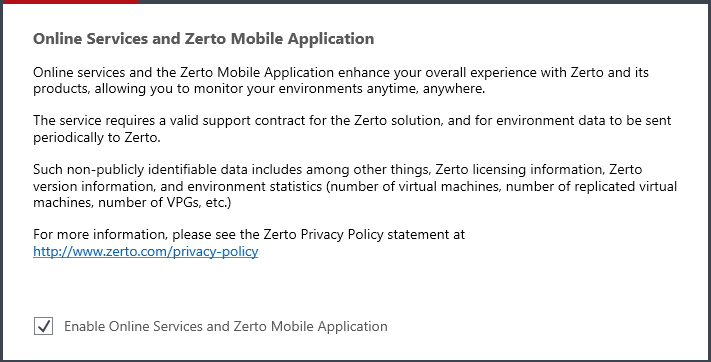
The Online Services and Zerto Mobile Application window is displayed.
14. Click NEXT.
15. If you reached the subscription’s maximum limit of storage accounts, a message appears informing the user that creating a new storage account has failed.
16. The Validation window appears.
Review any errors and warnings. The Zerto installation also validates the limit and availability of the core quota in the Azure region, and in DSv2. For example:
■ If you have 200 core in the region, but the core quota limit for DSv2 is set to 10, instead of the 50 minimum cores required, then during the Zerto installation an error will appear.
■ If your core quota limit for DSv2 is set to 100, and you have 20 available cores in the region, then during the Zerto installation a warning will appear.
■ If your core quota limit for DSv2 is set to 100, and you already have 70 cores used by DSv2 instances, then during the Zerto installation a warning will appear.
17. After you see that Zerto software can be installed successfully, click RUN and continue to the end of the installation.
18. If you are managing your disaster recovery from this machine, you can select to open the Zerto Virtual Manager (ZVM) Interface at the end of the installation, logging in with the user name and password for the Azure instance on which you installed the Zerto Virtual Manager. In this user interface you set up Zerto, as described in “Initial Configuration”, on page 20.
19. You must exclude the following folders from antivirus scanning:
Zerto Virtual Replication |
%ProgramData%\Zerto\Data\zvm_db.mdf |
C:\Program Files\Zerto\Zerto Virtual Replication\Zerto.Zvm.Service.exe |
C:\Program Files\Zerto\Zerto Virtual Replication\Zerto.Vba.VbaService.exe |
C:\Program Files\Zerto\Zerto Virtual Replication\Zerto Online Services Connector\Zerto.Online.Services.Connector.exe |
C:\Program Files\Zerto\Zerto Virtual Replication\Embedded DB Manager Service\Zerto.LocalDbInstanceManagerService.exe |
Failure to do so may lead to the Zerto Virtual Replication folder being incorrectly identified as a threat and in some circumstances corrupt the Zerto Virtual Replication folder.
20.