Recovering Files and Folders
The procedure to recover files and folders involves the following steps:
■ Mounting the disk that contains the required files and folders.
■ Downloading the files and folders from the disk.
To mount a disk that includes files and folders to restore:
1. Select ACTIONS > RESTORE FILE.
The File and Folder Restore wizard is displayed.
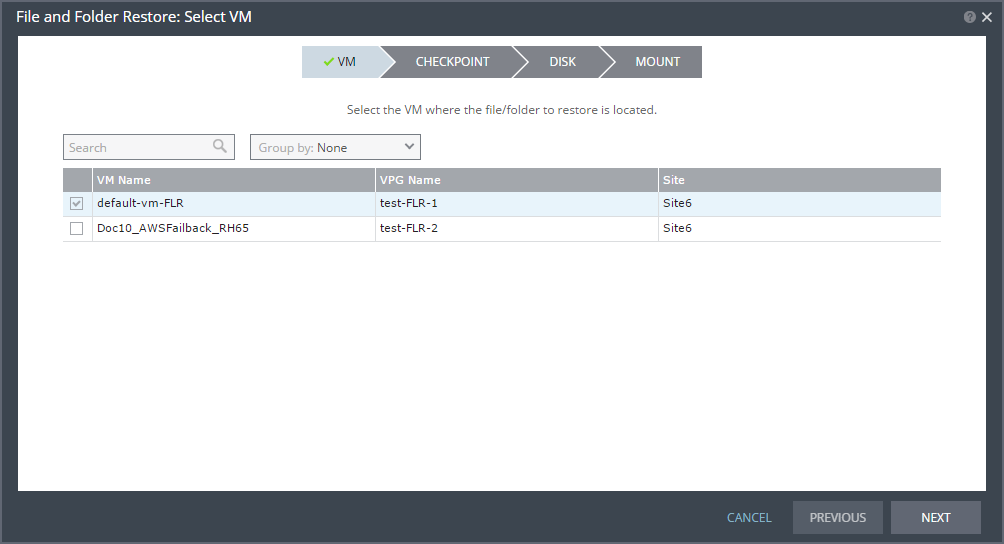
The list of all protected virtual machines is displayed. You can only recover files or folders from one virtual machine at a time.
2. Select the virtual machine on which the file or folder is located and click NEXT.
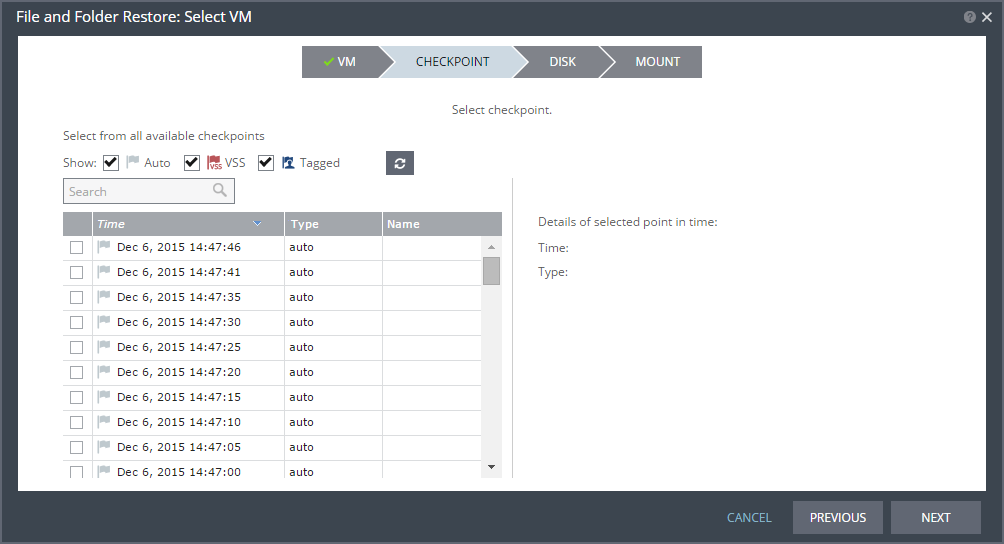
The CHECKPOINT step is displayed. By default, all checkpoints are displayed.
3. Select the checkpoint from which to recover the file or folder.
Auto – Checkpoints generated by the Zerto Virtual Manager are displayed.
VSS – Checkpoints that were synchronized with VSS snapshots are displayed. When VSS is used, recovery to the latest VSS snapshot ensures that the data is both crash‑consistent and application consistent to this point. The frequency of VSS snapshots determines how much data can be recovered.
Tagged – Checkpoints that were added by a user, or were added by the Zerto Virtual Manager when a failover test was performed on the VPG that included the virtual machine, or when the virtual machine was added to an existing VPG after the virtual machine was synchronized.
4. Click NEXT.
The DISK step is displayed. All disks associated with the selected virtual machine are displayed.
5. Select a disk to mount and click NEXT.
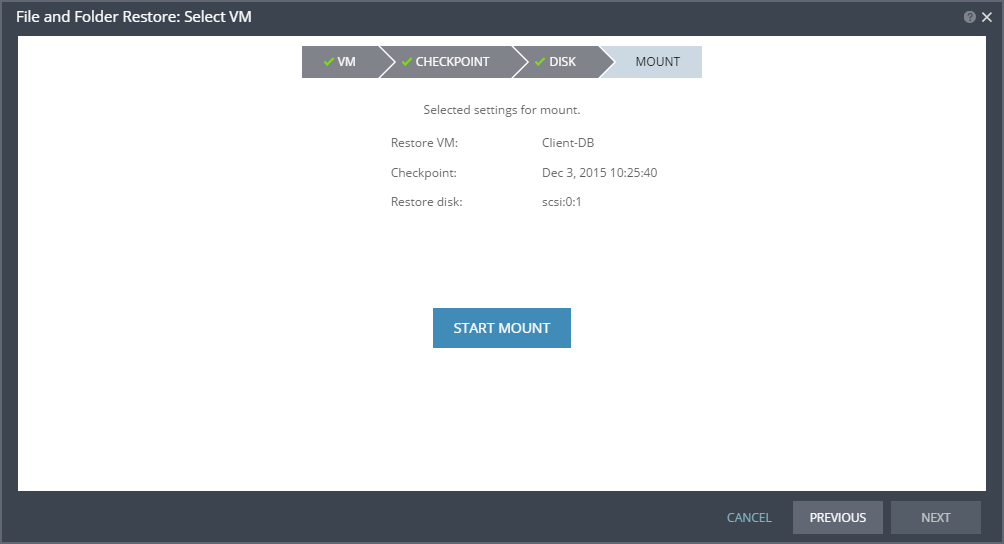
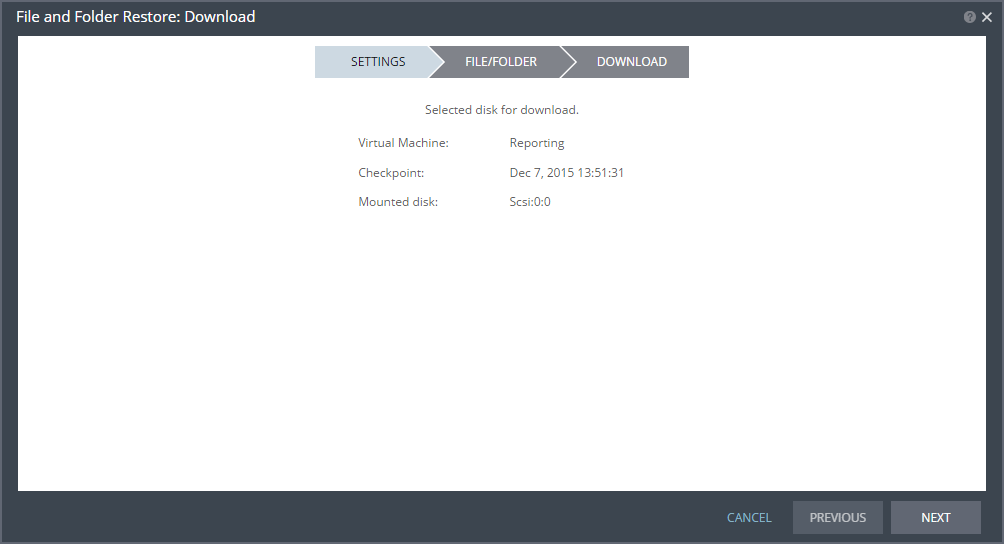
The MOUNT step is displayed. The settings you selected are displayed.
6. Click START MOUNT to mount the disk.
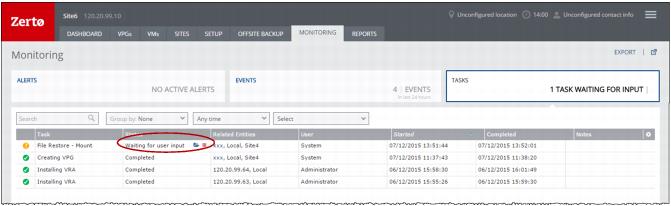
Mounting the disk may take some time, depending on the selected checkpoint and the number of files and folders on the disk.
When the first part of the restore process is done, icons appear next to the completed task. Click the folder icon (

) to browse the folders and files on the disk. Click the unmount icon (

) to unmount the disk without restoring any files or folders.
To download folders or files:
1. Click the folder icon.
The File and Folder Restore dialog is displayed.
2. Click NEXT.
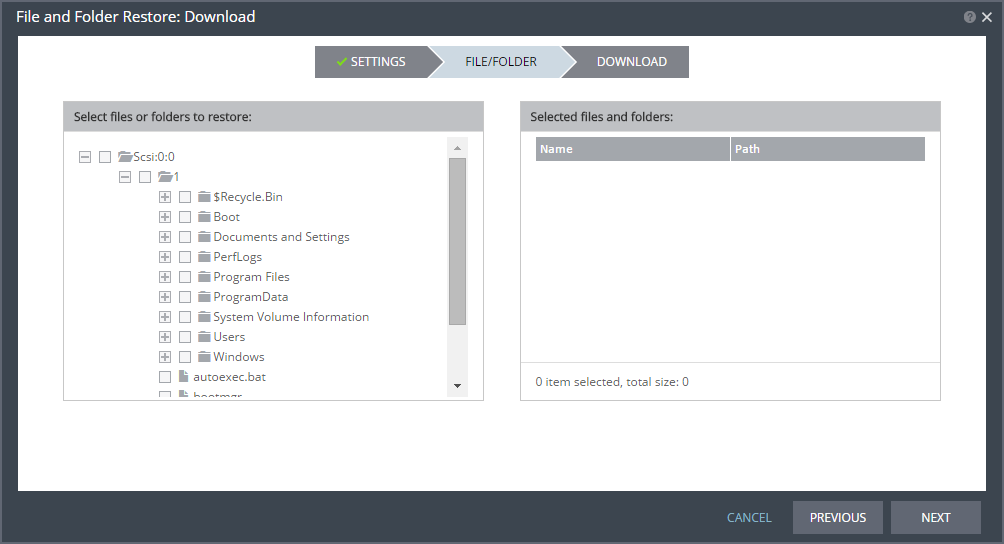
The FILE/FOLDER step is displayed.
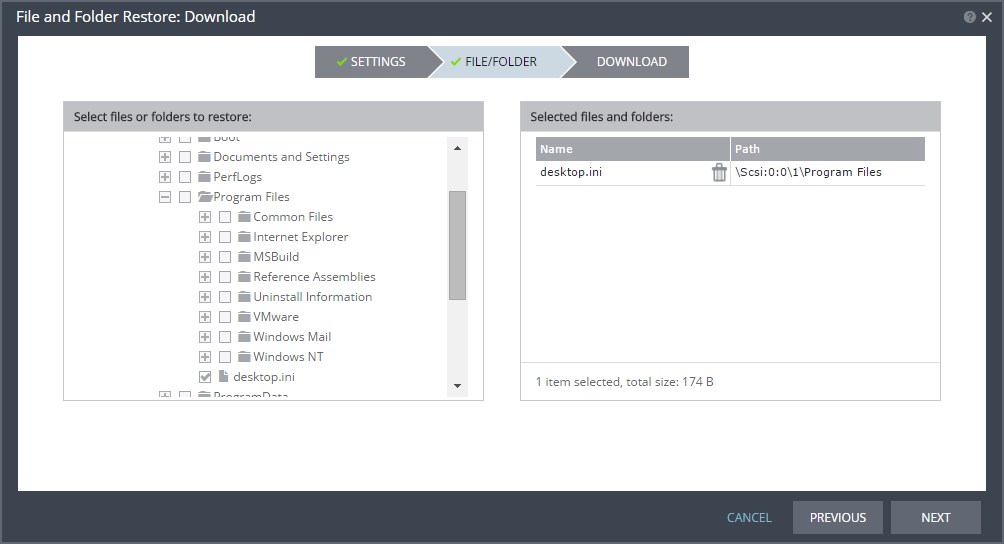
3. Select the files and folders you want to download.
The selected files or folders are displayed in the right pane of the dialog. The number of items selected is displayed and the size of the selected files is also displayed.
4. Click NEXT.
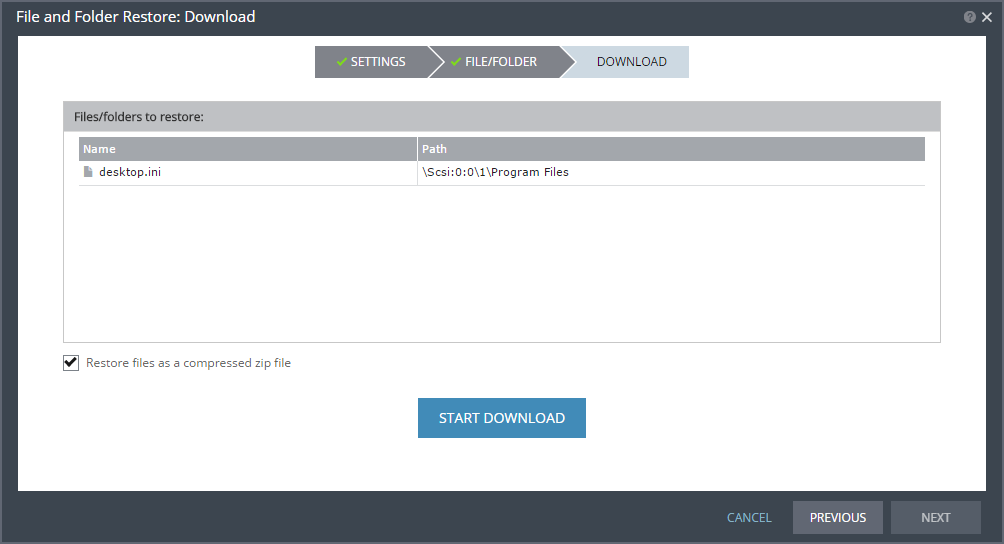
The DOWNLOAD step is displayed. It shows the files and folders you selected for downloading. By default, when you select multiple files or one or more folders, the data is compressed before it is downloaded. If you select only one file, for download, you can choose whether or not the file is compressed.
5. Click START DOWNLOAD.
The files and folders are downloaded by default to the downloads folder on the computer where you run the Zerto User Interface.
Note: Saving the files and folders to a network share is dependent on the browser used to display the Zerto User Interface and the settings for this browser.
When you select one file to download, and do not compress the file, the name of the downloaded file is the name of the file. For example, if you download a file called Important-file.docx, the name of the file on your computer will be Important‑file.docx. When you choose one file and choose to compress it, or you select multiple files, the files are zipped into a file called ZertoDownloads.zip.
Zerto recommends that, after the files or folders are downloaded, you unmount the disk. While the disk is mounted:
■ If you start a live failover or move, Zerto Virtual Manager forcibly unmounts the disk so the live failover or move can be performed.
■ Scheduled backups do not start.
■ Manual backups fail.
■ You can perform a test failover or clone.