How to Verify Your Installation
Verify the Import Server
- Search for Web Admin Console in Windows.
The Smart Previews Web Admin Console - Central Administration page appears.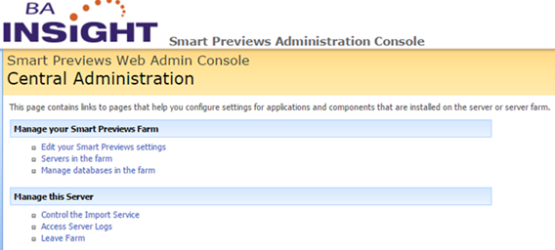
- If you see the Central Admin page, you know that the Import Server was correctly installed.
- Click Edit your Smart Previews settings to check the configuration of the Import Server.
The Farm Settings page appears.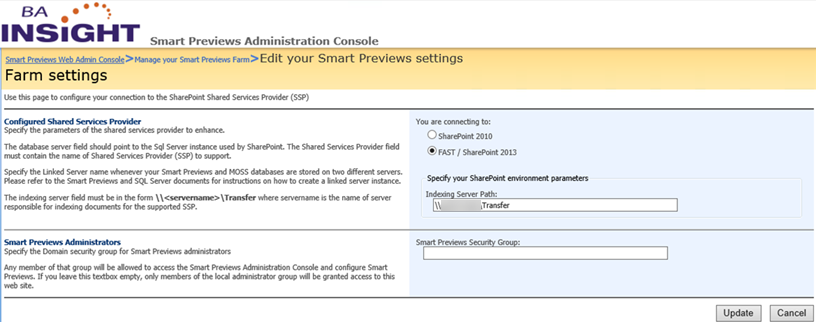
- Check to make sure that the Indexing Server Path is the same path that you specified in your configuration XML file.
This path is formed by the Transfer FolderHostNameand theShareNamenodes. - Go back to the Smart Previews Web Admin Console - Central Administration page and click
Control the Import Service. The Service management page appears.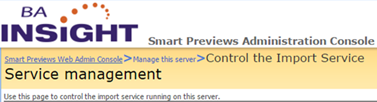
- Scroll to the bottom right-hand corner of the Service management page to check the preview generation rules.

- If you see the rules that are displayed above, you know that the Import Server rules are configured correctly.
Verify the Transfer Folder
-
Using your configuration XML file specification, navigate to the Transfer folder on your server.

- If you see the
Transferfolder, you know that the transfer folder is correctly installed. - Check your Transfer folder share name. Optional.
Transferfolder: Right-click and select Properties. The Properties wizard appears.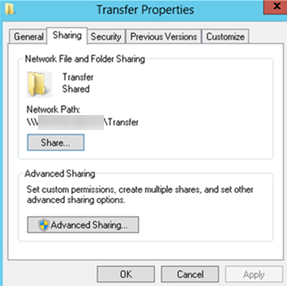
Sharing: Click to check the Network Path.
- Alternatively, make sure that the Transfer folder is shared by pasting the path to this folder into Windows Explorer. If you can access the path, the Transfer folder is shared.
Verify Your Enrichment Components and Services
When you validate your enrichment components, you check the CEWS and Fast Proxy services using the following steps:
- Navigate to the Services page on your server.
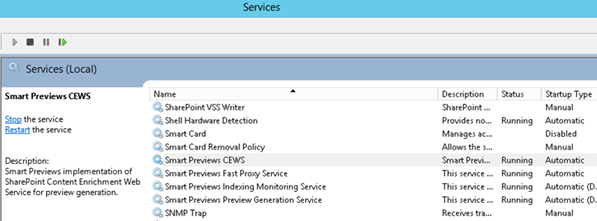
- Locate and start following services if they are not already set to Running:
- Smart Previews CEWS
- Smart Previews FastProxy Service
- Smart Previews Indexing Monitoring Service
- Smart Previews Preview Generation Service
- If the Smart Previews Fast Proxy Service is not correctly configured, it is shown with a status of Stopped.
- Navigate to the FastProxy directory and open it.
- The default location for the FAST Proxy directory is C:\Program Files\BA Insight\Previews Components\FastProxy.
- Open the Fast Proxy configuration file using Notepad.
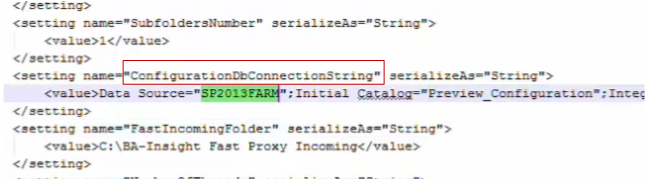
- Setting for the database: Check, this value should be
ConfigurationDBConnectionString. - Data source:
- Check this value.
- This is the name of the Preview Database server.
- In this example, this name is
SP2013FARM.
- Navigate to the FastProxy directory and open it.
Verify the Program Files
-
To verify the program files, navigate to the
Import Serverfolder on your server. -
For example, go to the directory C:\Program Files (x86)\BA Insight\Smart Previews Import Server.
Validate the Smart Previews Hybrid Site for O365 and SmartHub
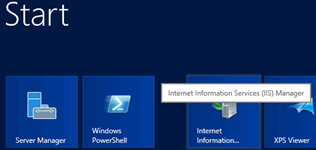
- Access the IIS Manager.
- Sites: Locate the Smart Previews site.
- Smart Previews site: Click and select Content View to see the Smart Previews Content window.
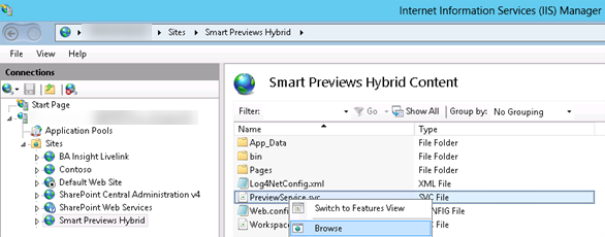
- PreviewService.svc:
- Right-click and select Browse from the drop-down list that appears.
- See the service page displayed in your default browser.
- Navigate to the Smart Previews content page.
- Validate that the Configure page has the correct data:
- Pages directory > Configure.aspx: Right-click and select Browse on the Configure page.
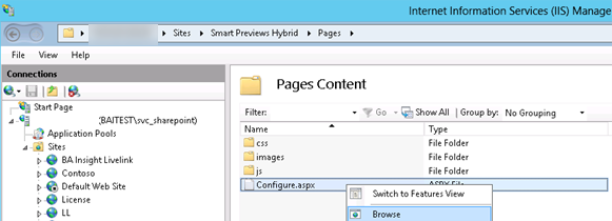
The configuration page is displayed in your browser.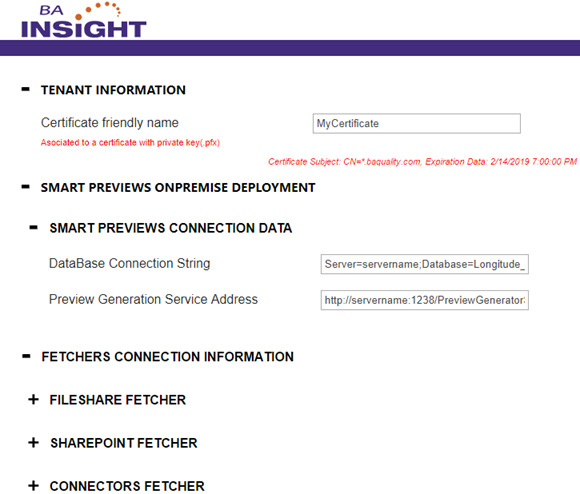
- Pages directory > Configure.aspx: Right-click and select Browse on the Configure page.
- Click Save if you make any changes.