L2
Moldings
Decorative Enhancements
(Shownfieldcuta
basetofitagans
Molding Stack Information
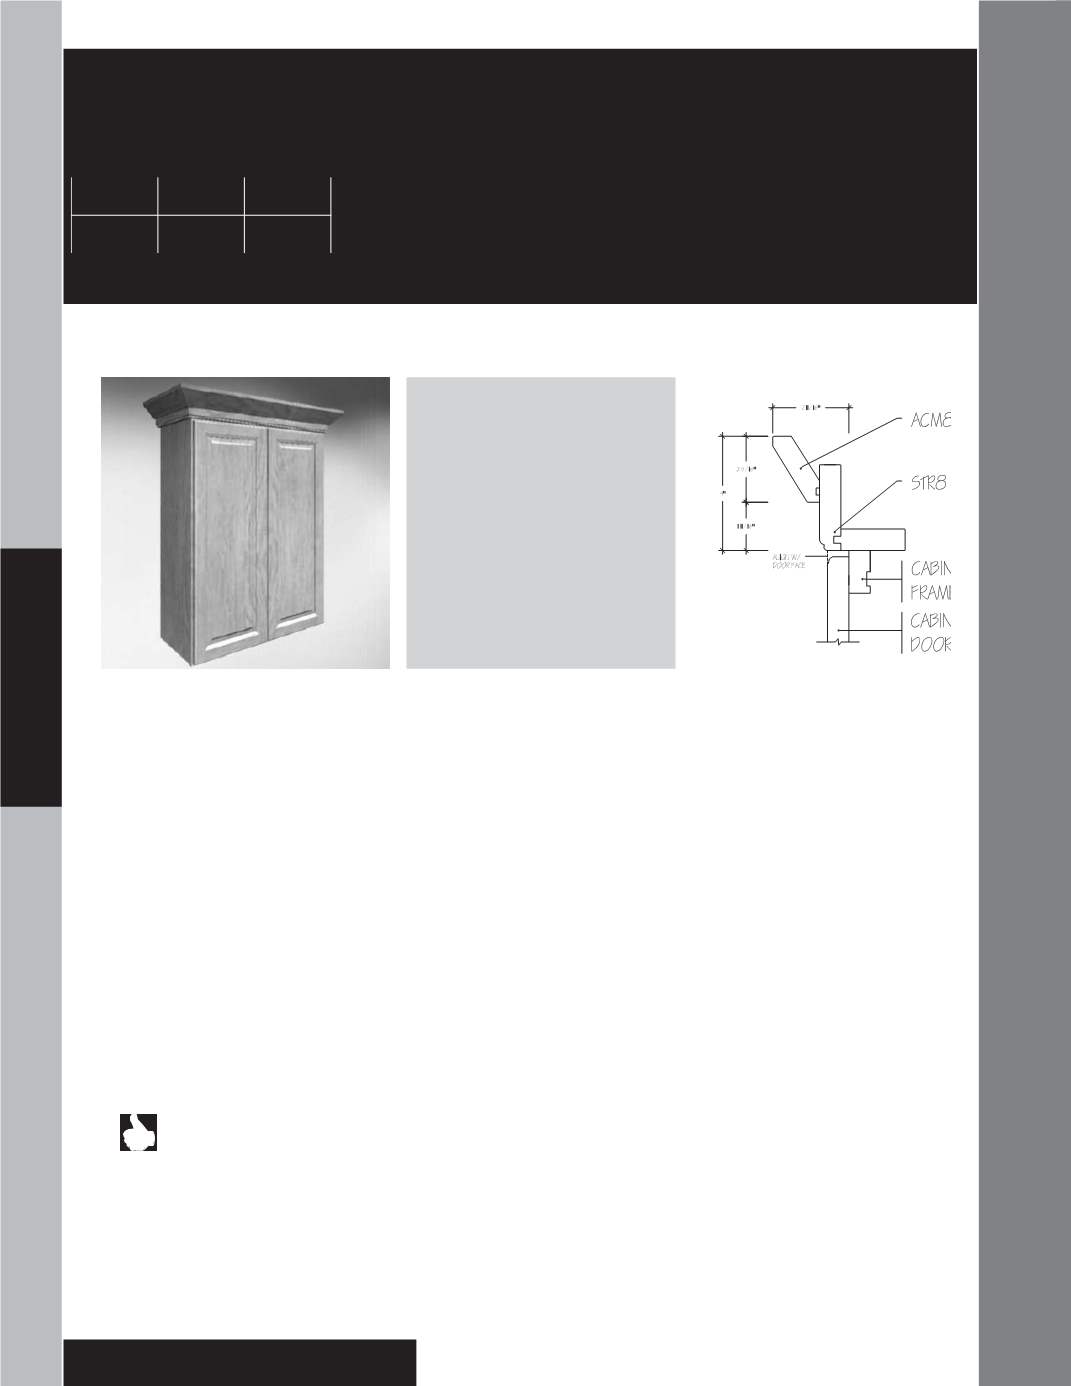
To add Molding Stacks in your 2020 Design, locate them in the Drag ‘N Drop list under:
Moldings>Top Moldings>Pre-Stacked Moldings. To view the PDFs, right-click on a specific stack and go to specs.
Installation Tips:
• Cover countertops and work area to ensure a clean, free from damage work situation.
• Use a nail gun with a 23 gauge pin for trim. Standard is typically 18 gauge, however the 23 gauge micro pin makes smallest holes to minimize fill
work.
• Expect to lose up to 4”- 6 ½” per cut, so plan extra molding accordingly. Always order one or two extra pieces of molding to make up the cut loss
which could be up to 3” per cut to ensure the moldings are at the job site for a timely installation. Ordering additional molding after the fact to
complete the job means the molding is not pulled as a group or run at the same time of color application.
• Consider staining cut edges before installing them together. is added step will visually conceal the installation joinery, especially if wall situation
and molding cuts are not precise. Painted molding installation would be virtually the same recommendation as for stain.
• When starting with your molding setting, start from either side, pull from the wall and determine overhang to wall cabinetry and door overlay type.
Setting a consistent pattern, such as right to left, or left to right provides a consistent plan. Apply this same strategy with the starter molding if this is
a functional piece.
• We recommend using a starter molding, but wood blocking can assist installation. Any scrap can be used as blocking.
• Side return moldings: Decorative end panels should have same overhang as the front; Flush end panels, should have approximately ¼” overhang;
Under cabinet moldings should also meet door profile.
• You can shoot an 18 gauge pin from ½” to 2” in depth to shoot from the top if you don’t have room between the ceiling and the face frame. Drilling
and screwing through the bottom of the upper top rail into the molding in a secure fashion. Glue all miters when accessible.
• Use your touch up kit crayon to fill all miters and pin holes during installation. Wipe away excess with a soft cotton white rag to ensure a successful
blend. e touch-up marker can be used to touch up any scratches and to help blend the crayon color.
• Using construction adhesive when appropriate to secure the crown to the starter strip.
Supplies for installation
• Miter saw and sharp blade
• Screw gun, drill and bits
• 23 and 18 gauge pins and pinners
• Air compressor and hoses
• Laser or level
• Touch up kit and materials
• White soft rag
• Wood glue
• Clamps
• Hammer, nail set or spring loaded nail set
• Tape measure
• 4 ft. and 6 ft. ladder
• #2 pencil, white pencil and sharpener
• Cover for work area
Moldings
Construction Options and
Modifications
(Blank)
Not
available
I
Available with exceptions
l
Available with an upcharge
v
Included as standard
C Cherry
H Hickory
M Maple
O Oak
ACM 8 •UF
code
length
suffix


